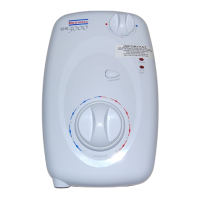
SECTION 3
General layout of a
shower installation
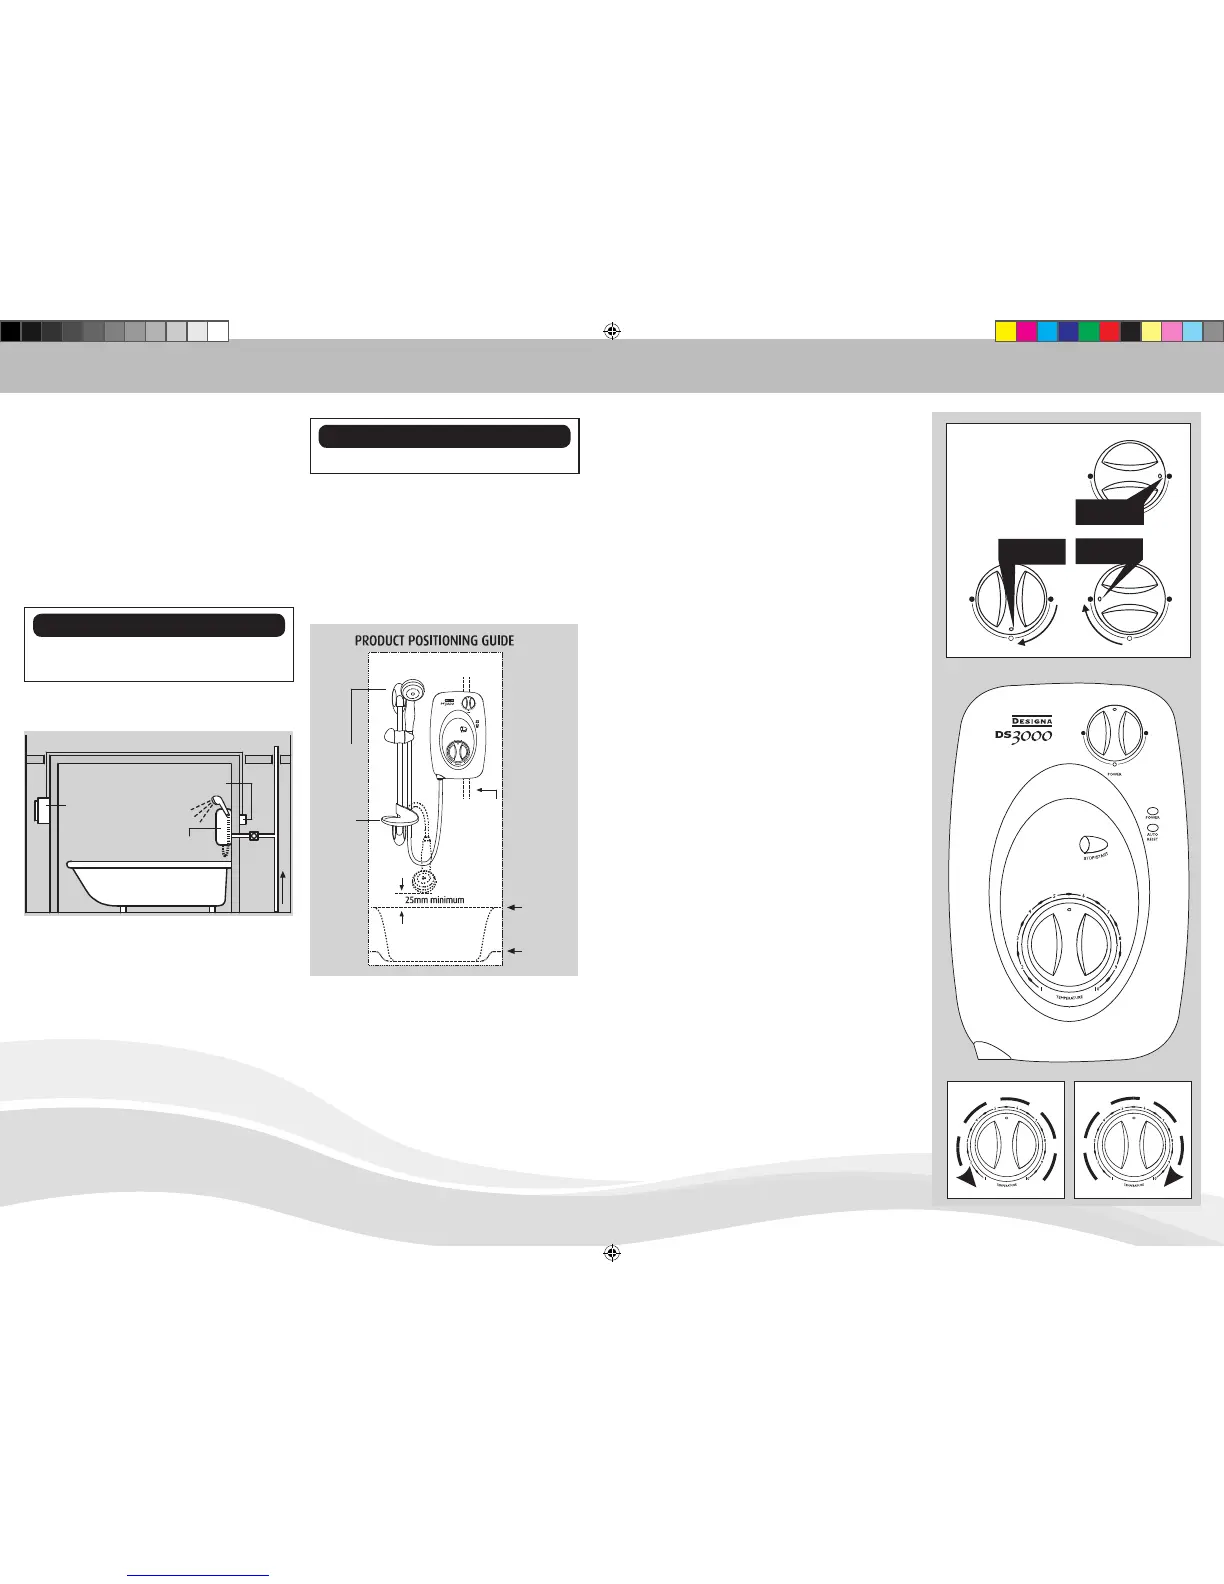
A TYPICAL INSTANTANEOUS ELECTRIC SHOWER
INSTALLATION
Plan your own installation carefully. Check on
the nearest and most readily accessible rising
mains water supply, this may be beneath the
bath or in the loft, where it feeds the cold
water storage tank. Use only the cold rising
water main supply.
Do not connect the shower unit to the
down service from the tank.
Avoid connecting the shower unit, if possible,
were it will be affected by water drawn off by
other appliances, e.g. From the mains feed to
the W.C., This may cause a drop in pressure
too low for the shower unit to work correctly.
An isolating valve must be fitted into the water
supply for servicing purposes.
Remove the two screws securing the shower
unit cover and remove the cover complete with
the control knobs.
Place the shower unit on the wall and mark the
location of the fixing screws through the back
plate.
Carefully drill the holes as marked using a
sharp 5.5mm masonry drill.
Fix the shower unit to the wall using the plugs
and screws provided, do not fully tighten at
this stage.
This appliance is not intended for use by
persons (Including children) with reduced
physical, sensory or mental capabilities,
or lack of experience and knowledge,
unless they have been given supervision
or instruction concerning use of the
appliance by a person responsible for
their safety.
Children should be supervised to ensure
that they do not play with the appliance.
OPERATING INSTRUCTIONS
4. Wait a few seconds for the warmer water to
reach the handset.
5. If necessary turn bottom ‘Temperature’
control knob slowly to obtain desired
showering temperature. Again, waiting
a few seconds after each adjustment in
temperature to reach the handset.
Note:
To adjust the shower temperature.
The water temperature is altered by
increasing or decreasing the flow rate
of water through the shower unit via the
temperature control.
To increase the shower temperature
Turn the temperature control knob
clockwise, this will decrease the flow
of water and increase the shower
temperature.
To decrease the shower
temperature
Turn the temperature control knob
anti-clockwise, this will increase the
flow of water and decrease the shower
temperature.
6. To turn off the shower unit press the
STOP/START button.
7. A small amount of water will be retained
in the shower head after the shower has
been turned off. This may drain over a few
minutes.
8. Switch off pull-cord or wall mounted switch.
9
 Loading...