EN
10. The recommended spray distance is normally 150-200mm. (6-8")
9. The spray pattern will be optimised when the spray gun is perpendicular to the target.
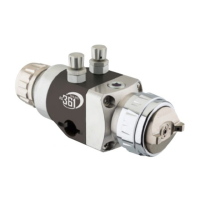
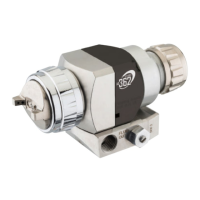
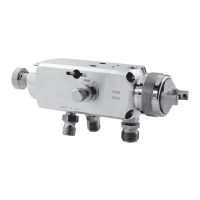
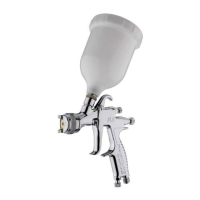
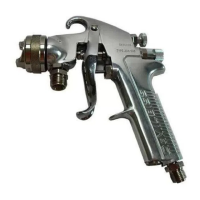
1. The ATOM air valve controls the atomising air pressure, the FAN valve controls the spray pattern
size. To increase the pressure, turn anti-clockwise and to reduce the pressure turn clockwise.
8. The pattern size can be reduced by turning adjusting valve clockwise. A reduction in the spray fan
may require a reduction in fluid flow.
5. Test spray - if the finish is too dry or fine, reduce the air flow by reducing the air inlet pressure or
by screwing the ATOM valve in clockwise. Alternatively increase the fluid flow using the fluid supply
pressure.
7. Use the needle adjustment knob for final fine tuning of the fluid flow.
2. Turn the FAN and ATOM air valves anti-clockwise to be fully open.
TYPICAL START-UP SEQUENCE
3. Trigger the gun and adjust the fluid supply pressure, to obtain the recommended fluid flow shown
in the air cap performance guide table.
11. Always turn off air and fluid supply, relieve pressure and clean down when gun is not in use.
4. Trigger the gun and set the gun inlet air pressure regulator, to achieve the recommended start
pressures, shown in the air cap performance guide table.
6. Test spray - if the finish is too wet, reduce the fluid supply pressure to reduce the fluid flow.
Alternativeily increase the air inlet pressure to increase atomising pressure.
2. Fluid flow can be adjusted with the needle adjustment knob, fluid flow is increased when you turn
the knob anti-clockwise.
1. Turn the needle adjustment knob anti-clockwise until the needle is fully open.
TYPICAL SETTING
SB-E-2-643 R5.0
14/28