Do you have a question about the DeWalt D25003 and is the answer not in the manual?
DEWALT declares these Power Tools comply with specific EEC directives and EN standards.
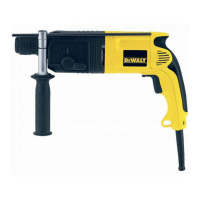
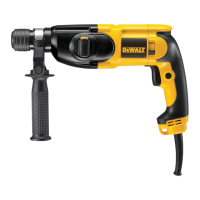
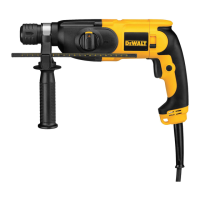
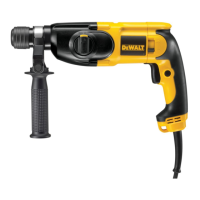
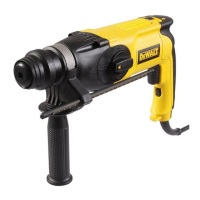
Provides detailed specifications for the D25002 and D25003 models, including voltage, power, and dimensions.
Cluttered areas can cause accidents. Keep work area well lit and free of inflammable liquids.
Prevent body contact with earthed surfaces. Use an isolating transformer or earth-leakage circuit-breaker if needed.
Prevent children from contacting the tool or extension cord. Keep all people away from the work area.
When used outdoors, always use extension cords intended for outdoor use and marked accordingly.
Do not wear loose clothing or jewellery. Wear protective hair covering for long hair.
Use a face or dust mask if operations produce dust or flying particles.
Take measures for hearing protection if sound pressure of 85 dB(A) is exceeded.
Use clamps or a vice to hold the workpiece for safer operation and free hands.
Do not carry plugged-in tools with a finger on the switch. Ensure switch is released when plugging in.
Shut off power and wait for standstill before leaving unattended. Unplug when not in use or before servicing.
Always check that adjusting keys and wrenches are removed from the tool before operating.
Use the tool for its intended purpose. Do not force small tools for heavy-duty jobs.
Never carry by cord or pull to disconnect. Keep cord away from heat, oil, and sharp edges.
Before use, check for misalignment, breakage, or conditions affecting operation. Repair or replace damaged parts.
Power Tool must be repaired by qualified technicians to avoid danger.
Lists items included in the package: drill, side handle, depth rod, kitbox, manual, exploded drawing.
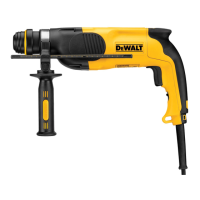
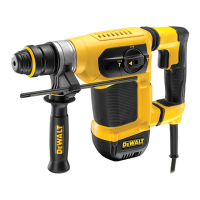
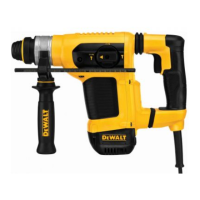
Details the D25002 for drilling/hammer drilling/screwdriving and D25003 for added chiselling/demolition.
Reduces maximum torque reaction transmitted to operator during jamming. Prevents gearing and motor stalling.
Motor designed for one voltage. Tool is double insulated, requiring no earth wire.
Use approved extension cables suitable for power input. Minimum conductor size is 1.5 mm².
Always unplug the tool before assembly or adjustment.
Rotate the mode selector to choose between rotary drilling, hammer drilling, or hammering only.
Clean and grease bit shank. Insert into tool holder, push down, turn slightly until it fits.
The side handle can be fitted for both right-hand (RH) and left-hand (LH) users.
Observe safety rules, be aware of pipework/wiring, use gentle pressure, and avoid drilling too deep.
Press variable speed switch to run. Press lock-on button for continuous operation. Release switch to stop.
Select hammer mode, insert SDS-plus® bit, mark spot, press tool against workpiece, and switch ON.
Select rotary drilling mode. Proceed as for hammer drilling. Use SDS-plus® adaptors for standard chucks.
Select rotary mode, direction, insert screwdriving adaptor and bit. Use gentle pressure for screw head protection.
Insert SDS-plus® chisel, check lock. Turn chisel to desired position; turn slightly if resistance is met.
Tool designed for long operation with minimum maintenance. Clean ventilation slots and housing regularly.
| Type | Rotary Hammer |
|---|---|
| Voltage | 230 V |
| No Load Speed | 0 - 1100 rpm |
| Chuck Type | SDS-Plus |
| Weight | 2.5 kg |
| Max. Drilling Capacity [Concrete] | 26 mm |
| Max. Drilling Capacity [Steel] | 13 mm |
| Max. Drilling Capacity [Wood] | 30 mm |
| Tool Holder | SDS-Plus |