32
English
Medium • Welding plastics
• Bending plastic pipes and sheets
• Loosening rusted or tightly fastened
nuts and bolts
High • Removing paint and lacquer
• Soldering plumbing joints
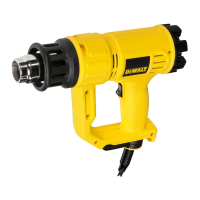
Attach the Correct Accessory (Fig.1)
This tool is supplied with a set of accessories for different
applications.
Icon Description Purpose
20
φ
Cone nozzle
Welding, shrink
sleeving
(heat concentrated
over small area)
50 mm Fish tail
surface nozzle
Drying, thawing
(heat spread over
wide area)
1. Make sure the on/off switch (A) is in position "O" and the tool
is disconnected from the power source. Ensure the nozzle has
cooled down.
2. Place the desired accessory onto the nozzle.
OPERATION
WARNING: Make sure the nozzle ALWAYS points away from you
and any bystanders.
WARNING: DO NOT drop anything into the nozzle.
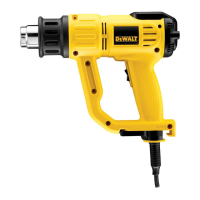
WARNING: Use only one hand to hold the tool as shown in
Figure2. Do not place your other hand over the air vents (Fig. 3).
FIG. 2 FIG. 3
PRIOR TO OPERATION (FIG. 1)
1. Attach the correct accessory recommended for the application.
2. Turn the air temperature adjustment knob/ LCD air temperature
indicator and adjuster (D) to desired air temperature.
Switching On and Off (Fig.4)
1. Push the on/off switch (A) to
A
FIG. 4
the desired air flow settings:
I:240 liter/min [122–752 °F
(50°C–400°C)]
A low air flow to heat up
the workpiece slowly.
II:450 liter/min [122–1112ºF
(50°C–600°C)]
A high air flow to heat up
the workpiece quickly.
2. To turn the tool off, push the
on/off switch (A) to position
O. Disconnect the tool from
the power source and let
the tool cool down before
moving or storing it.
 Loading...