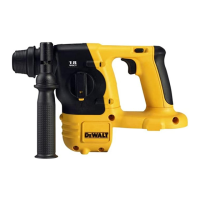
• To select the operating mode, press the safety
lock (4) and rotate the mode selector switch (3)
until it points to the symbol of the required mode.
• Release the safety lock and check that the mode
selector switch is locked in place.
Do not select the operating mode when
the tool is running.
Inserting and removing SDS-plus accessories
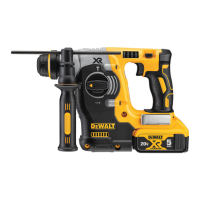
(fig. D)
Your rotary hammer drill uses SDS-plus accessories
(refer to the inset in fig. D for a cross-section of an
SDS-plus bit shank).
• Clean and grease the bit shank.
• Insert the bit shank into the tool holder (5).
• Push the bit down and turn it slightly until it fits
into the slots.
• Pull on the bit to check if it is properly locked.
The hammering function requires the bit to be
able to move axially several centimetres when
locked in the tool holder.
• To remove a bit pull back the tool holder locking
sleeve (14) and pull out the bit.
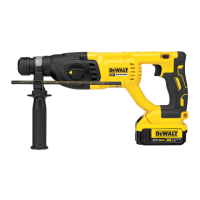
Fitting the side handle (fig. E)
The side handle (8) can be fitted to suit both RH-
and LH-users.
Always use the tool with the side handle
properly assembled.
• Loosen the side handle.
• For RH-users, slide the side handle clamp over
the collar behind the tool holder, handle at the
left.
• For LH-users, slide the side handle clamp over
the collar behind the tool holder, handle at the
right
.
• Rotate the side handle to the desired position
and tighten the handle.
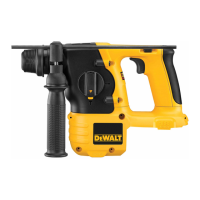
Setting the drilling depth (fig. F)
• Insert the required drill bit.
• Slacken the side handle (8).
• Fit the depth adjustment rod (7) through the hole
in the side handle clamp.
• Adjust the drilling depth as shown.
• Tighten the side handle.
Forward/reverse slider (fig. G)
• Push the forward/reverse slider (2) to the LH-side
for forward (RH) rotation. See arrows on tool.
• Push the forward/reverse slider (2) to the RH-side
for reverse (LH) rotation.
Always wait until the motor has come to
a complete standstill before changing the
direction of rotation.
Replacing the dust cover (fig. D)
The dust cover (6) prevents dust ingress into the
mechanism. Replace a worn dust cover immediately
.
• Pull back the tool holder locking sleeve (14) and
pull the dust cover (6) off.
• Fit the new dust cover.
• Release the tool holder locking sleeve.
Instructions for use
Always observe the safety instructions
and applicable regulations.
• Be aware of the location of pipework and wiring.
• Apply only a gentle pressure to the tool (approx.
5 kg). Excessive force does not speed up drilling
but decreases tool performance and may shorten
tool life.
• Do not drill or drive too deep to prevent damage
to the dust cover.
• Always hold the tool firmly with both hands and
ensure a secure stance . Always operate the tool
with the side handle properly mounted.
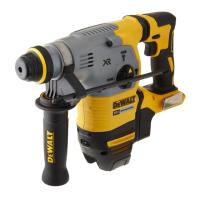
Switching on and off (fig. A)
• To run the tool, press the variable speed switch
(1). The pressure exerted on the variable speed
switch determines the tool speed.
• To stop the tool, release the switch.
• To lock the tool in off position, move the forward/
reverse slider (3) to the central position.
Hammer drilling (fig. A)
• Set the mode selector switch (4) to the „hammer
drilling“ position.
• Insert the appropriate drill bit. For best results
use high quality carbide-tipped bits.
• Adjust the side handle (8) as required.
• If necessary, set the drilling depth.
• Mark the spot where the hole is to be drilled.
• Place the drill bit on the spot and switch on the
tool.
Rotary drilling (fig. A)
• Set the mode selector switch (4) to the “rotary
drilling” position.
• Fit a chuck adaptor/chuck assembly . Special
SDS-plus adaptors with threaded sections are
available for use with standard 10 or 13 mm
chucks to enable straight shank bits to be used.
• Proceed as described for hammer drilling.
Never use standard chucks in the
hammer drilling mode.
6
 Loading...