Do you have a question about the DeWalt DCD710 and is the answer not in the manual?
Guidelines for maintaining a safe and well-lit workspace.
Precautions related to electrical power and connections.
Measures to ensure operator safety and prevent injury.
Safety regulations for Lithium-Ion battery packs.
Step-by-step guide for installing and removing battery packs.
Detailed instructions and safety for drilling operations.
Guidance on using the tool for screwdriving tasks.
How to set and use the torque adjustment collar.
Guidance on operating the dual speed range gearbox.
Instructions for operating the keyless chuck.
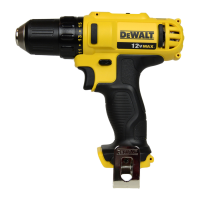
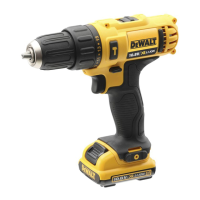
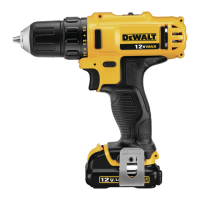
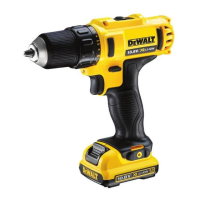
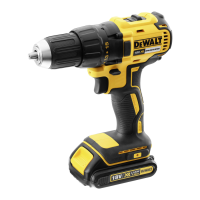
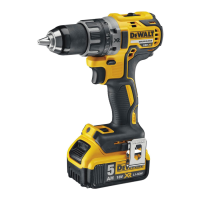
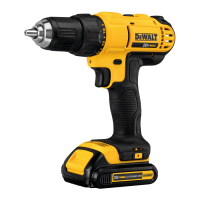
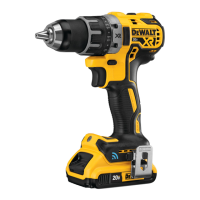
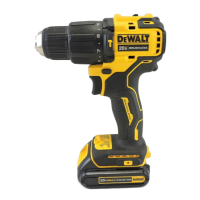
The DEWALT DCD710 is a 10.8 V cordless adjustable clutch drill/driver designed for light fastening and drilling applications. It is a professional power tool intended for use in dry conditions and away from flammable liquids or gases.
The drill/driver features a variable speed trigger switch (a) that allows for precise speed control. Squeezing the trigger turns the tool on, and releasing it turns the tool off, engaging the brake to stop the chuck. The variable speed enables users to select the optimal speed for specific applications, with faster operation as the trigger is squeezed further. However, continuous use in the variable speed range is not recommended as it may damage the switch.
A forward/reverse control button (b) determines the direction of rotation and also functions as a lock-off button. To select forward rotation, the trigger switch must be released, and the forward/reverse control button depressed on the right side of the tool. For reverse rotation, the button is depressed on the left side. The center position of this button locks the tool in the off position. It's important to ensure the trigger is released when changing the control button's position. A clicking sound may be heard the first time the tool runs after changing the direction of rotation, which is normal.
The torque adjustment collar (c) is clearly marked with numbers and a drill bit symbol, allowing users to select the desired fastening torque. Rotating the collar aligns the desired setting with the top of the tool. Higher numbers correspond to higher torque, suitable for driving larger fasteners. For drilling operations, the collar should be set to the drill bit position to lock the clutch. Failure to do so may cause the clutch to slip during drilling.
A dual range gearing system provides versatility by allowing users to shift between low speed/high torque and high speed/low torque settings. The gear shifter (d) is slid forward (towards the chuck) for the low speed/high torque setting and back (away from the chuck) for the high speed/low torque setting. It is crucial not to change gears while the tool is running. If difficulty is encountered, ensure the gear shifter is fully pushed to either extreme.
The tool is equipped with a keyless single sleeve chuck (e) for one-handed operation. To insert a drill bit or accessory, the trigger should first be locked in the OFF position. Then, grasp the black sleeve of the chuck with one hand and secure the tool with the other, rotating the sleeve counterclockwise to open the jaws. Insert the accessory about 19 mm (3/4") into the chuck and tighten securely by rotating the sleeve clockwise while holding the tool. The automatic spindle lock mechanism facilitates one-handed opening and closing. To release an accessory, repeat the opening steps. It is important never to tighten drill bits or accessories by gripping the front part of the chuck and turning the tool on, as this can cause damage and personal injury.
A worklight (h) is located under the torque adjustment collar and activates when the trigger switch is squeezed. This light is intended to illuminate the immediate work surface and not for use as a flashlight.
When operating the drill/driver, proper hand position is essential for safety and control. One hand should be on the main handle (i). Always hold the tool securely to anticipate sudden reactions, especially during drilling.
For drilling operations, the collar should be set to the drill bit symbol. The desired speed/torque range should be selected using the gear shifter to match the planned operation. Only sharp drill bits should be used. For wood, twist drill bits, spade bits, or hole saws are recommended. For metal, high-speed steel (HHS) twist drill bits or hole saws are suitable. Pressure should always be applied in a straight line with the bit, maintaining enough pressure to keep the drill biting without stalling the motor or deflecting the bit. The tool should be held firmly with both hands to control its twisting action, as it may stall if overloaded, causing a sudden twist. If the drill stalls, the trigger should be released immediately, and the drill bit removed from the work to determine the cause. Avoid repeatedly clicking the trigger on and off with a stalled drill, as this can damage the tool. To minimize stalling or breaking through material, reduce pressure on the drill and ease the bit through the final part of the hole. Keep the motor running when pulling the bit out of a drilled hole to prevent jamming. For variable speed drills, a slow speed can be used to start holes, accelerating by squeezing the trigger once the hole is deep enough.
When operating as a screwdriver, the desired speed/torque range should be selected using the dual range gear shifter. The appropriate fastener accessory should be inserted into the chuck. Practice runs on scrap material or unseen areas are recommended to determine the proper clutch collar position.
The DEWALT power tool is designed for long-term operation with minimal maintenance. Consistent satisfactory operation relies on proper tool care and regular cleaning.
Before any assembly, adjustment, or removal/installation of attachments or accessories, the battery pack must always be removed, and the tool switched off. The charger and battery pack are not serviceable and contain no serviceable parts.
The power tool requires no additional lubrication.
For cleaning, dirt and dust should be blown out of the main housing with dry air, especially from around the air vents. Approved eye protection and a dust mask should be worn during this procedure. Solvents or harsh chemicals should never be used for cleaning the non-metallic parts of the tool, as they can weaken the materials. Instead, a cloth dampened with water and mild soap should be used. No liquid should enter the tool, and no part of the tool should be immersed in liquid.
For charger cleaning, the charger must be disconnected from the AC outlet. Dirt and grease can be removed from the exterior using a cloth or soft non-metallic brush. Water or cleaning solutions should not be used.
The long-life battery pack needs recharging when it fails to provide sufficient power for tasks previously done with ease. At the end of its technical life, the battery pack should be discarded responsibly. This involves running the battery pack down completely, removing it from the tool, and taking Li-Ion cells to a dealer or local recycling station for proper recycling or disposal.
| Number of gears | 2 |
|---|---|
| Torque settings | 15 |
| Chuck capacity (max) | 10 mm |
| Chuck capacity (min) | 1 mm |
| Idle speed (1st gear) | 400 RPM |
| Idle speed (2nd gear) | 1500 RPM |
| Drilling diameter in wood (max) | 20 mm |
| Maximum torque (hard applications) | 24 N⋅m |
| Maximum torque (soft applications) | 15 N⋅m |
| Vibration emission | 2.5 m/s² |
| Product color | Black, Yellow |
| Chuck type | Keyless |
| Built-in light | Yes |
| Product design | Pistol grip drill |
| Number of batteries included | 2 pc(s) |
| Power source | Battery |
| Battery voltage | 10.8 V |
| Battery capacity | 2 Ah |
| Depth | 185 mm |
|---|---|
| Width | 50 mm |
| Height | 195 mm |
| Weight | 1100 g |