's CRIMP CONNECT
TM
System software.
NOTE: The CRIMP CONNECT™ System software is governed
by separate terms and conditions available for viewing
through the software download.
Step 1: Download the CRIMP CONNECT™ System software
to your computer at www.dewalt.com/crimpconnect.
Step 2: Follow the instructions in the software to create
your CRIMP CONNECT™ System account.
Step 3: Connect your press tool with the
.com or view the FAQ
page and help screens located inside the software.
ASSEMBLY AND ADJUSTMENTS
WARNING: To reduce the risk of serious personal
injury, turn unit off and remove the battery pack
before making any adjustments or removing/
installing attachments or accessories. An
accidental start-up can causeinjury.
WARNING: To reduce the risk of serious personal
injury, do not use the press tool with any kind
of accessory or attachment other than those
recommended by
.
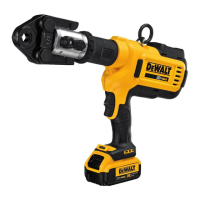
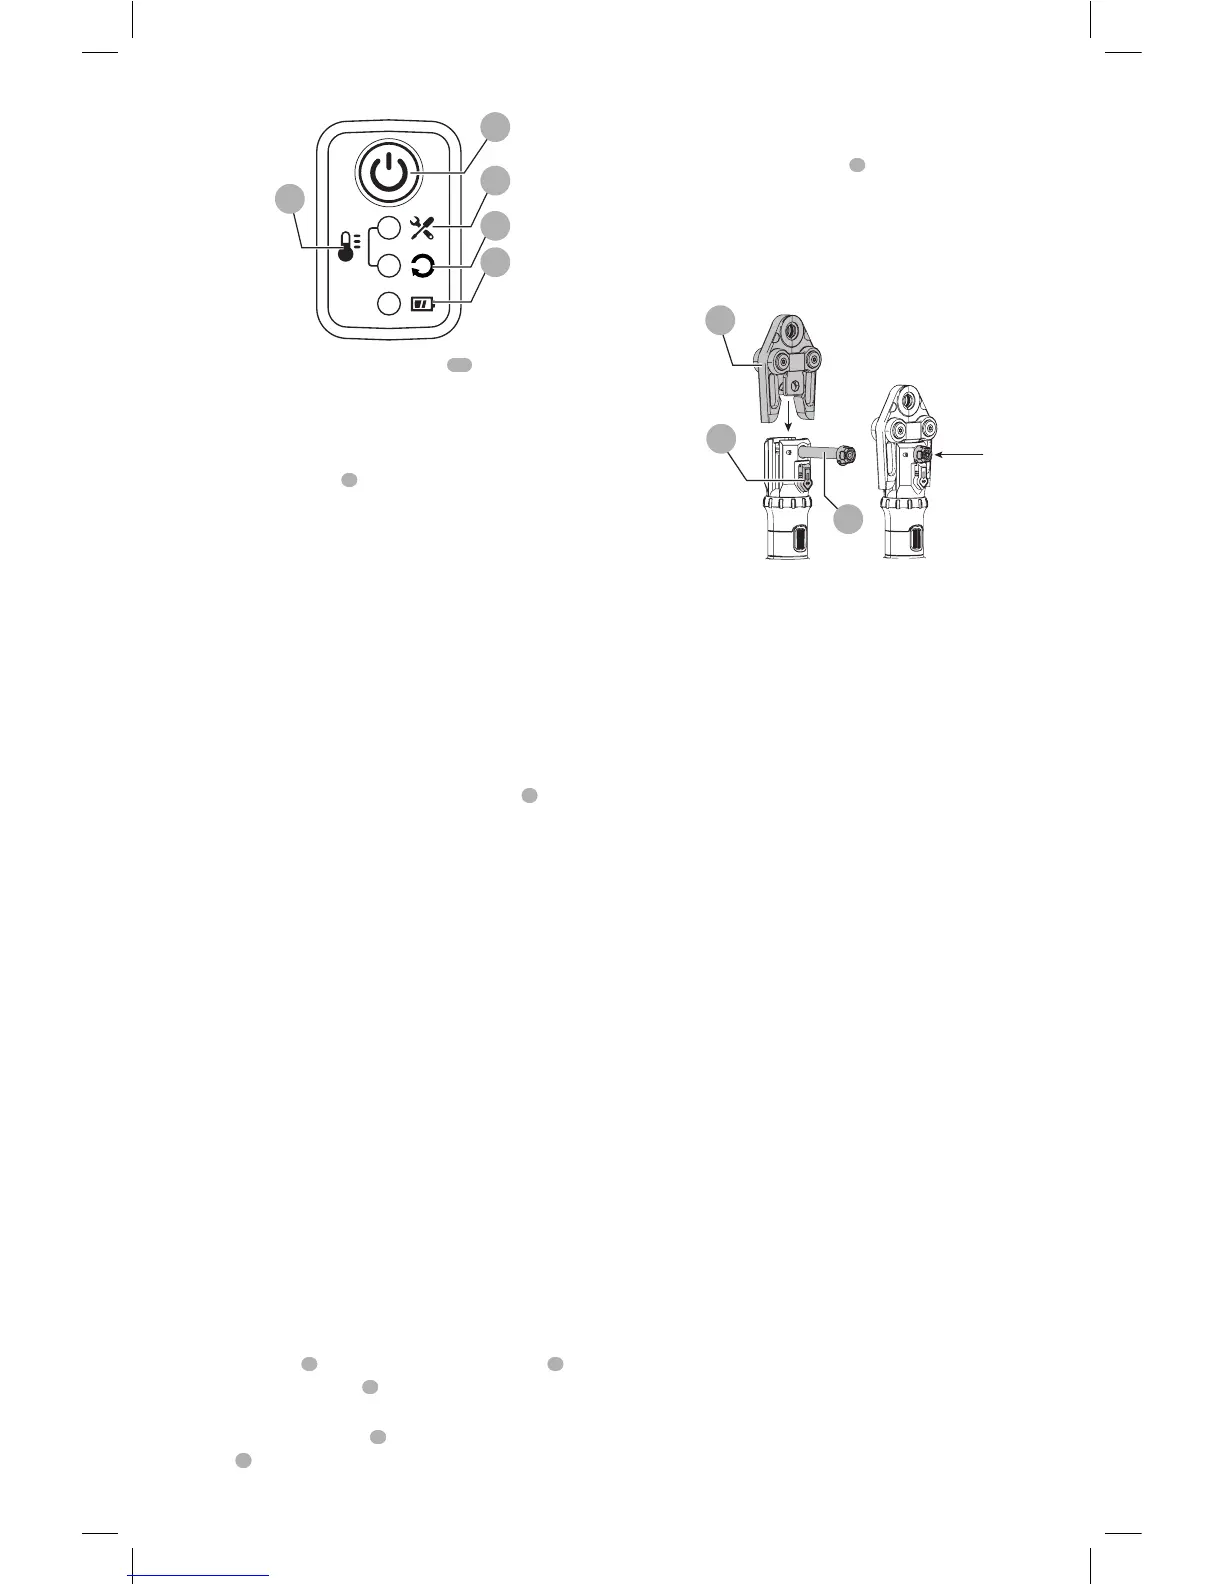
Replacing the Press Jaw (Fig. D)
1. Remove the battery pack.
2. Hold the jaw
1
and move the lock/release slide
4
back.
The jaw retention pin
3
will automatically spring open,
releasing the jaw.
CAUTION: The jaw
1
will fall if the lock/release slide
4
is moved while the jaw is aimed downward.
3. Remove the press jaw or attachment.
4. Replace with a new or different sized press jaw or
attachment as shown in FigureD.
5. Push the jaw retention pin
3
back in until it locks in a
closed position.
NOTICE: To avoid damage to the tool, do not
operate the tool without the jaw retention pin
fully inserted. Damage to the tool may occur.
FIG. D
3
4
1
OPERATION
WARNING: To reduce the risk of serious personal
injury, turn unit off and remove the battery pack
before making any adjustments or removing/
installing attachments or accessories. An
accidental start-up can causeinjury.
WARNING: CUT OR AMPUTATION HAZARD. Never
have any part of your body near the press jaw or
moving parts during the press cycle, or whenever the
main power is ON. Serious personal injury may occur.
WARNING: Proper material preparation
and installation is the responsibility of the
installingcontractor.
WARNING: The press fittings must be used in
compliance with applicable building codes
and as approved by the authorities having
jurisdiction. For proper installation procedures
and to reduce the risk of failure resulting in injury or
property damage, follow all published safety and
installation instructions.
WARNING: To reduce the risk of injury, always
remove the press jaw or attachment for
transport or storage.
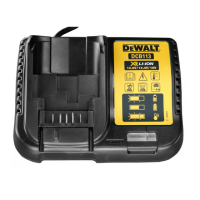
Installing and Removing the Battery Pack
(Fig. E)
NOTE: For best results, make sure your battery pack is
fullycharged.
To install the battery pack into the tool handle, align the
battery pack with the rails inside the tool’s handle and slide
it into the handle until the battery pack is firmly seated in
the tool and ensure that it does notdisengage.
To remove the battery pack from the tool, press the release
button and firmly pull the battery pack out of the tool
handle. Insert it into the charger as described in the charger
section of thismanual.