12
ENGLISH
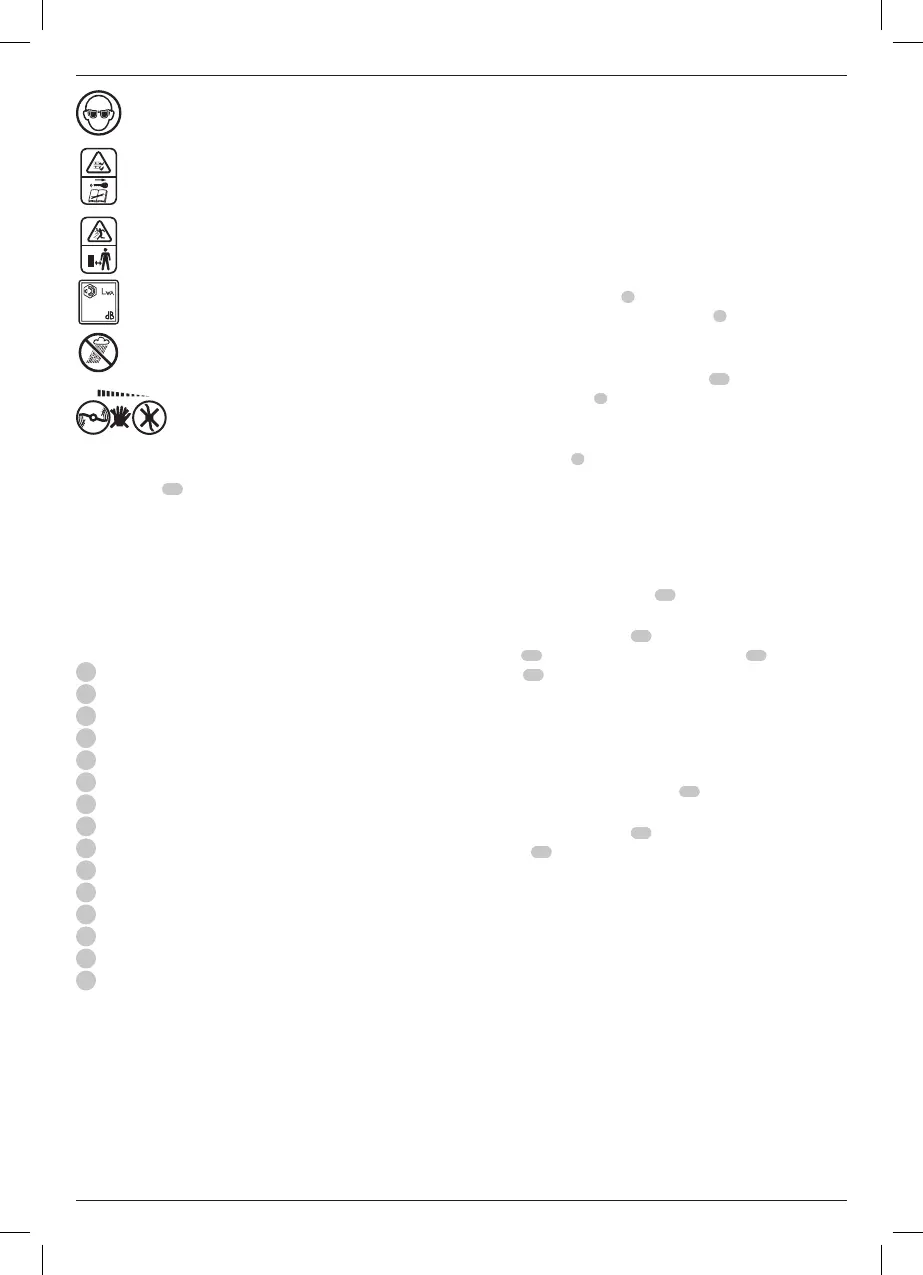
Wear eyeprotection.
Beware of sharp blades. Blades continue to rotate after
the motor is switched off. Remove disabling device
before maintenance or if cord isdamaged.
Beware of flying objects. Keep bystanders away from
the cuttingarea.
Directive 2000/14/EC guaranteed soundpower.
Do not expose torain.
The blades will continue to rotate after the
machine is switchedoff.
Date Code Position (Fig. G)
The date code
35
, which also includes the year of manufacture,
is printed into thehousing.
Example:
2018 XX-XX
Year of Manufacture
Description (Fig. A)
WARNING: Never modify the power tool or any part of it.
Damage or personal injury couldresult.
1
ON-OFF Switch box
2
ON-OFF button
3
Safety key
4
Handle
5
Bail handle
6
Handle locks
7
Handle brackets
8
Handle storage detent holes
9
Battery port cover
10
Cut height adjust lever
11
Rear door cover
12
Grass collection bag
13
Grass collection bag handle
14
Upper carrying handle
15
Lower carrying handle
Intended Use
This lawn mower has been designed for professional lawn
mowingapplications.
DO NOT use under wet conditions or in presence of flammable
liquids orgases.
This lawn mower is a professional lawn care appliance.
DO NOT let children come into contact with the tool.
Supervision is required when inexperienced operators use
thistool.
ASSEMBLY
DANGER: To reduce the risk of serious personal
injury, turn unit off, remove safety key, and remove
battery packs before assembly, making any
adjustments or removing/installing attachments or
accessories. An accidental start-up can causeinjury.
Adjusting Handle Height (Fig. D, E)
The mower is shipped in storage mode. You will need to adjust
the handle to operating position before continuing.
1. To unlock the handle
4
from storage position, pull and
twist a half turn the two handle locks
6
located on both
sides of the handle
as shown in Fig. D
.
2. R
aise the handle to operating position.
3. Locate the two handle detent holes
16
located on the
handle brackets
7
as shown in Fig. E.
4. Adjust the handle to the position that best fits the
operator and lock the handle in place by untwisting the
handle locks
6
allowing them to snap into the desired
detentholes.
Grass Collection Bag (Fig. F, G)
DANGER: Remove safety key and battery packs before
removing mulching insert, and when opening rear door
cover and installing bag.
1. Ensure the mulching insert
22
(Fig. G) is removed from the
mower beforeproceeding to step 2.
2. Lift the rear door cover
11
and place the grass collection
bag
12
onto the mower so the bag hooks
18
rest on the
lugs
21
as shown in Fig. F. Then lower the rear doorcover.
Grass Mulching Insert (Fig. A, G)
DANGER: Remove safety key and battery packs
before removing collection bag, and when installing
mulchinginsert.
1. Ensure the grass collection bag
12
is notattached
beforeproceeding to step 2.
2. Lift the rear door cover
11
and slide the mulching
insert
22
fully into the mower as shown in Fig.G.
3. Ensure the rear door cover is down before turning
moweron.
Rear Discharge
DANGER: Remove safety key and battery packs before
removing collection bag, and mulchinginsert.
1. To operate mower in rear discharge mode remove both the
bag and the mulching insert.
2. Be sure rear door cover is down for rear discharge.
NOTE: The rear door is shaped in such a way that the opening
(at the bottom) cannot be completely closed off.
OPERATION
DANGER: To reduce the risk of serious personal
injury, turn unit off, remove safety key, and remove
battery packs before making any adjustments or