13
ENGLISH
Optional Accessories
WARNING: Since accessories, other than those offered
by DeWALT, have not been tested with this product, use
of such accessories with this tool could be hazardous.
To reduce the risk of injury, only DeWALT recommended
accessories should be used with thisproduct.
Consult your dealer for further information on the
appropriateaccessories.
D
Cleaning
WARNING: Blow dirt and dust out of the main housing
with dry air as often as dirt is seen collecting in and around
the air vents. Wear approved eye protection and approved
dust mask when performing thisprocedure.
WARNING: Never use solvents or other harsh chemicals
for cleaning the non‑metallic parts of the tool. These
chemicals may weaken the materials used in these parts.
Use a cloth dampened only with water and mild soap.
Never let any liquid get inside the tool; never immerse any
part of the tool into aliquid.
C
Lubrication
Your power tool requires no additionallubrication.
MAINTENANCE
Your power tool has been designed to operate over a long
period of time with a minimum of maintenance. Continuous
satisfactory operation depends upon proper tool care and
regularcleaning.
WARNING: To reduce the risk of serious personal
injury, turn tool off and disconnect battery pack
before making any adjustments or removing/
installing attachments or accessories. An accidental
start‑up can causeinjury.
The charger and battery pack are notserviceable.
7. Reinsert nails into magazine (see Loading the Tool)
8. Reinsert batterypack.
NOTE: The tool will disable itself and not reset until the
battery pack has been removed andreinserted.
If nails become jammed in the nosepiece frequently, have the
tool serviced by an authorised DeWALT servicecentre.
Cold Weather Operation
When operating tools at temperatures below freezing:
1. Keep tool as warm as possible prior touse.
2. Actuate the tool 5or 6times into scrap timber beforeusing.
Hot Weather Operation
Tool should operate normally. However, keep tool out of direct
sunlight as excessive heat can deteriorate bumpers and other
rubber parts resulting in increasedmaintenance.
To engage the trigger lock‑off, push the switchdownward.
To release the trigger lock‑off
2
, pull the switchupward.
WARNING: Make sure the trigger lock‑off
2
is engaged
and the battery pack is removed before making any
adjustments or when tool is not in immediateuse.
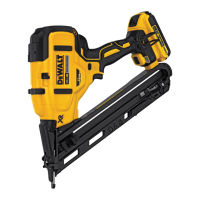
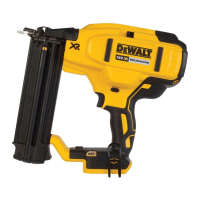
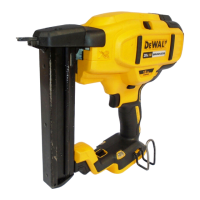
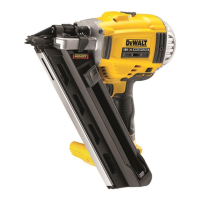
Loading the Tool (Fig.A, D)
1. Insert fasteners into the rear of the magazine
7
.
2. Pull pusher
8
back until the nail follower falls behind
thenails.
3. Release thepusher.
Unloading the Tool
1. Pull and hold the pusher to the bottom of themagazine.
2. Tip the tool up until the nails slide freely out the back of the
magazine. Release thepusher.
3. Open the jam clear door on the nosepiece to verify there are
no nailsremaining.
Adjusting the Driving Depth (Fig.A)
Using the depth adjustment wheel, the nail driving depth can
be adjusted to the type of fastenerused.
1. To drive the nail shallower, rotate the depth adjustment
wheel
3
towards the rear of the tool. Refer to gauge
15
to
understand where the tool is set within the availablerange.
2. To sink a nail deeper, rotate the depth adjustment wheel
3
towards the front of thetool.
Worklights (Fig.H)
This tool has worklights
4
located on each side. The worklights
will light upon activating the trigger or releasing the contact
trip. The lights will automatically go off after 10seconds of
non‑operation. The worklights also function as a low battery
indicator and a jammed nail indicator. For further details, refer to
Low Battery Indicator or Clearing a JammedNail.
WARNING: The worklights are intended for lighting the
immediate work surface. Do not use the worklights as the
only lightsource.
Clearing a Stall or Jammed Nail
(Fig.A,G,H)
If a nail becomes jammed in the nosepiece or the tool stalls, the
right‑hand worklight
4
will blinkcontinuously.
1. Remove battery pack from tool and engage the trigger
lock‑off.
2. Pull the pusher back and remove any loadednails.
3. Lift the jam clear latch
5
then pull up to open the
nosepiecedoor.
4. Remove bent nail, using pliers ifnecessary.
5. If driver blade is in the down position, cycle the stall release
lever
13
using enough force to fully slide it to the other end
of the slot in thehousings.
6. Close the nosepiece door and engage the latch pin under
the two arms on the nosepiece. Push latch until it locks
inplace.

 Loading...