
W
walljenniferAug 6, 2025
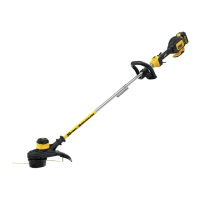
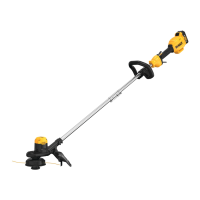
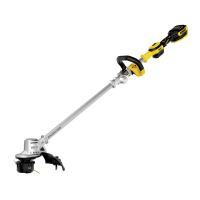
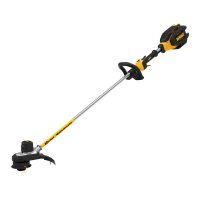
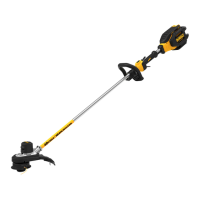
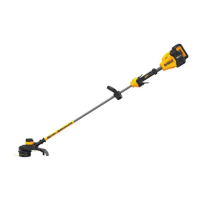
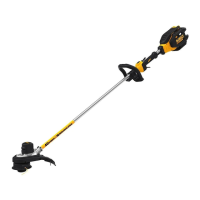
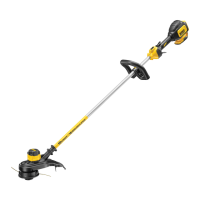
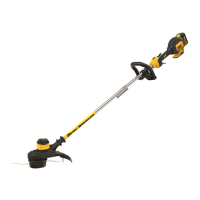
How to fix a DeWalt DCST920P1 that won't start?
- RruizjoanneAug 6, 2025
If your DeWalt Trimmer isn't starting, try these steps: * Ensure the battery is correctly installed. * Verify the battery meets the charging requirements. * Make sure the lock-off is fully pulled back before you engage the main trigger.