ENGLISH
10
CAUTION: Remove all accessories from the chuck
before using the drill as a spotlight. Personal injury or
property damage couldresult.
Low Battery Warning
When in spotlight mode and the battery is nearing
complete discharge, the spotlight will flash twice and then
dim. After two minutes, the battery will be completely
discharged and the drill will immediately shut down. At this
point, replace with a freshbattery.
WARNING: To reduce the risk of injury, always have a
back-up battery or secondary lighting available if the
situation warrantsit.
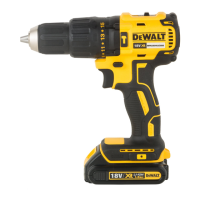
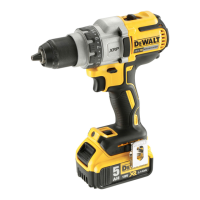
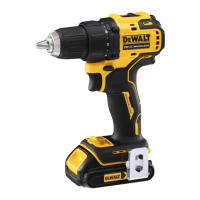
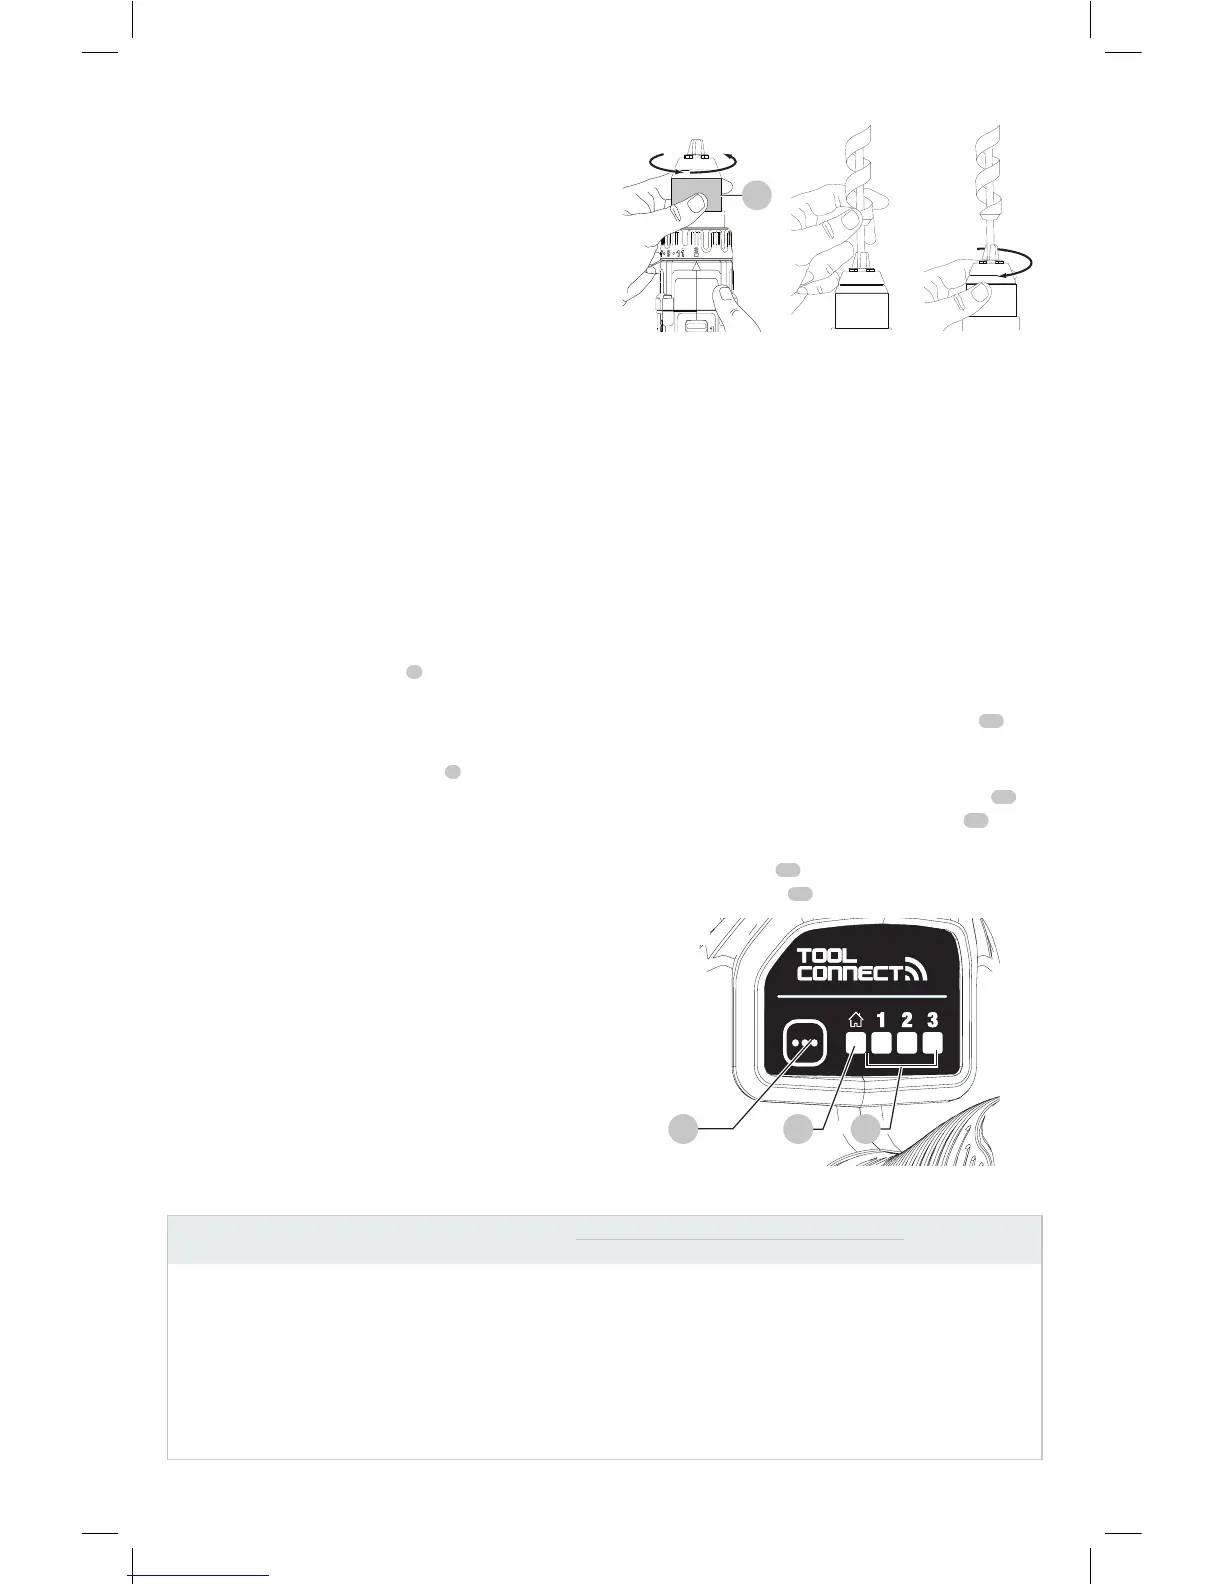
Keyless Single Sleeve Chuck (Fig.G–I)
WARNING: Do not attempt to tighten drill bits (or
any other accessory) by gripping the front part of the
chuck and turning the tool on. Damage to the chuck
and personal injury may result. Always lock off trigger
switch and disconnect tool from power source when
changingacces sories.
WARNING: Always ensure the bit is secure before
starting the tool. A loose bit may eject from tool
causing possible personalinjury.
Your tool features a keyless chuck
6
with one rotating
sleeve for one-handed operation of the chuck. To insert a
drill bit or other accessory, follow thesesteps.
1. Turn tool off and disconnect tool from powersource.
2. Grasp the black sleeve of the chuck
6
with one hand
and use the other hand to secure the tool as shown
in FigureG. Rotate the sleeve counterclockwise (as
viewed from the front) far enough to accept the
desiredaccessory.
3. Insert the accessory about 3/4" (19 mm) into the chuck
and tighten securely by rotating the chuck sleeve
clockwise with one hand while holding the tool with
the other hand. Continue to rotate the chuck sleeve
until several ratchet clicks are heard to ensure full
grippingpower.
Be sure to tighten chuck with one hand on the chuck sleeve
and one hand holding the tool for maximumtightness.
To release the accessory, repeat Steps 1 and 2above.
Fig. H
Fig. I
Fig. G
6
ASSEMBLY AND ADJUSTMENTS
WARNING: To reduce the risk of serious personal
injury, turn unit off and remove the battery pack
before making any adjustments or removing/
installing attachments or accessories. An
accidental start-up can causeinjury. Exception—
Tool Connect™ functions and mode adjustments
require battery to beinstalled.
Mode Selector (Fig.A,J)
WARNING: To reduce the risk of injury, remove
accessories from the tool chuck before using the
modeselector.
Your tool is equipped with a mode selector that allows 3
modes to be customized using the Tool Connect™ app.
Home settings are active when the home indicator
15
is
lit. The following 4 features can becustomized. For more
information, refer to Table 1below.
Once configured, pressing the mode selector button
14
on
the foot of the tool will cycle through the modes
16
.
If you are unsure of the current configuration, press the
mode selector button
14
to set the tool to the Home
setting (home indicator
15
is lit).
14
Fig. J
15 16
Table 1
Customizable Features Home
Factory Presets
Customizable RangeMode 1 Mode 2 Mode 3
Worklight brightness MED OFF MED HIGH OFF-HIGH
Worklight delay off 20 secs 20 secs 20 secs 20 minutes 0–20 minutes
Maximum speed (RPM) in drill
mode
Speed 1
Speed 2
Speed 3
450
1300
2000
450
1300
2000
450
1300
2000
450
1300
2000
140–450
400–1300
600–2000
Bind-Up Control® Disabled Disabled Disabled Disabled Disabled/Enabled

 Loading...