8 /20
W
a
r
n
i
n
g
l
a
b
e
l
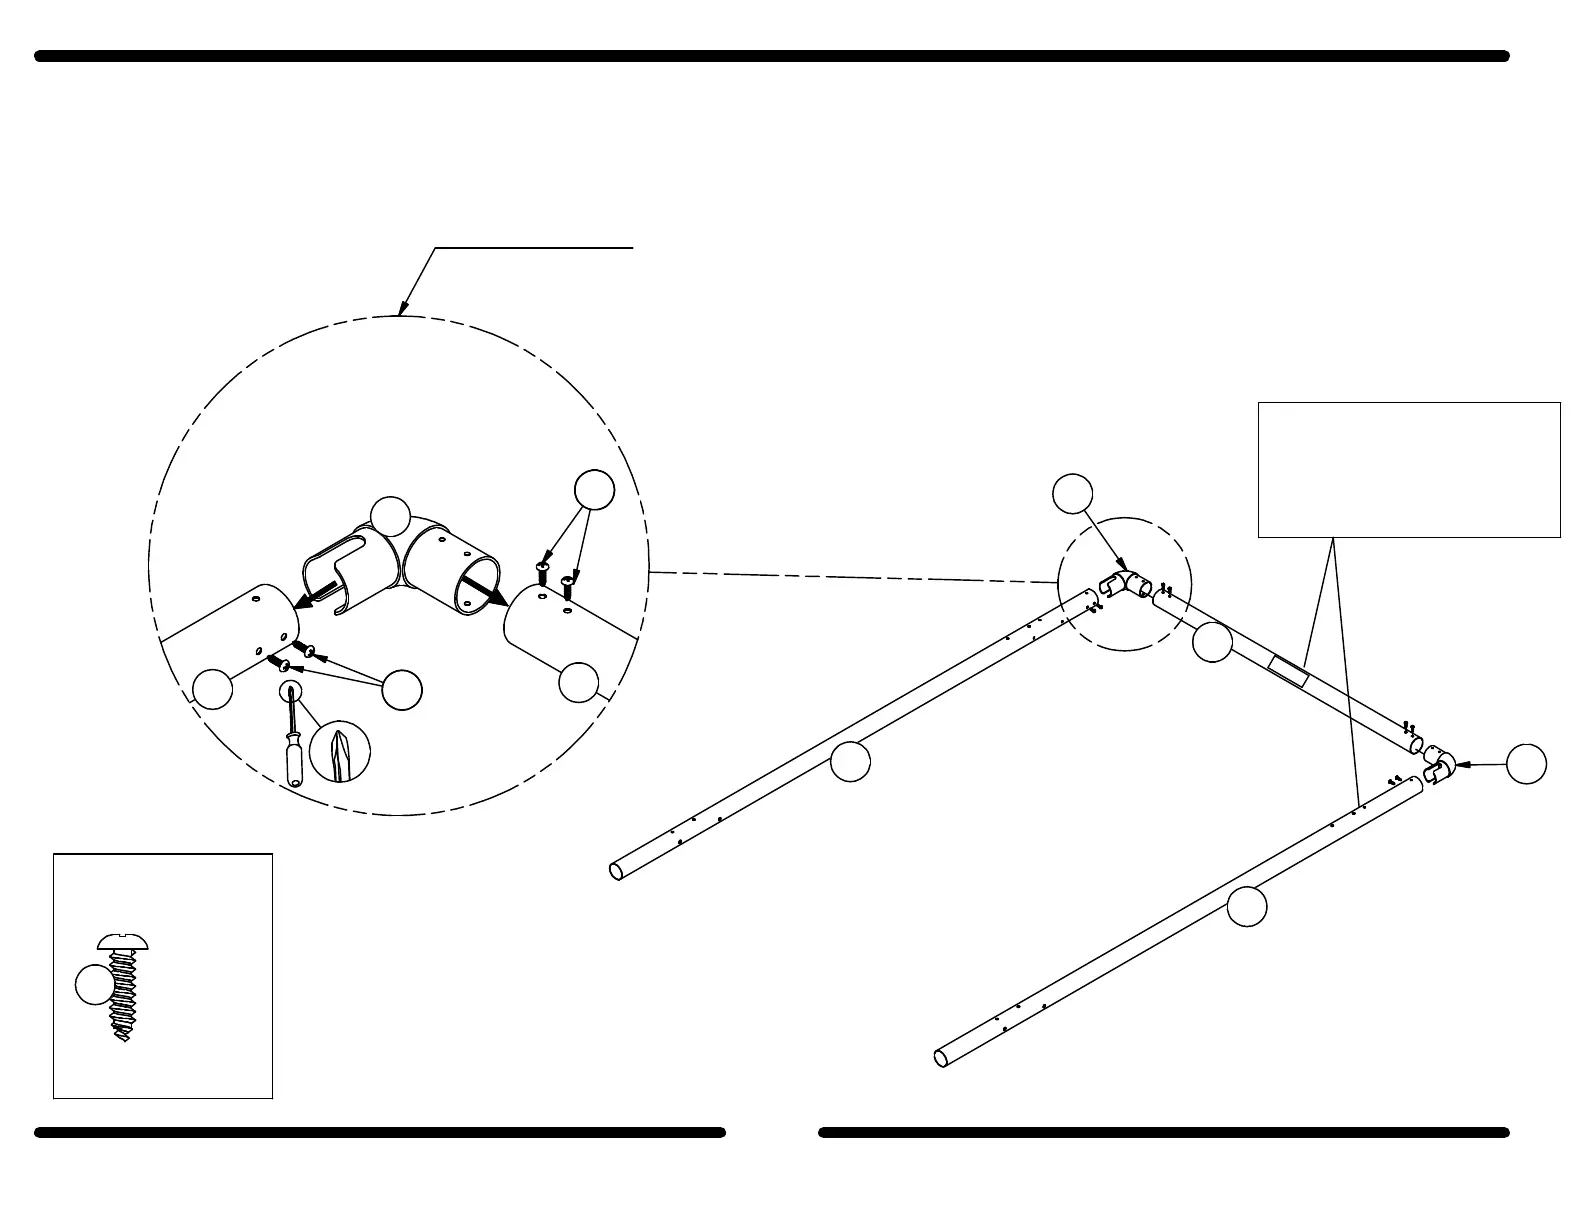
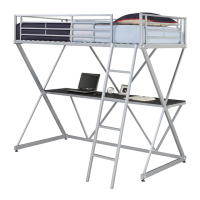
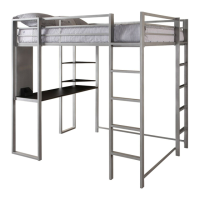
Attach the CONNECTORS (N) to the POST RAIL (M) with the SCREWS (9) as shown. Attach the CONNECTORS (N) to the
REAR POST 1 (A) and FRONT POST1 (C) with the SCREWS (9) as shown.
Repeat this step using POSTS (B & D) to create two end assemblies.
1
Hardware Required
x16
B34313709605
A
C
M
N
9
Note: Don't FULLY tighten the screws at this step,
they shall be fully tightened at the next step
Nota: No apriete COMPLETAMENTE los tornillos en este paso
ellos será apretado completamente en el paso siguiente
9
9
99
N
N
C
M
NOTE: Warning label on the
post (M) must be at the
same side of the bolt holes
on the post (A).