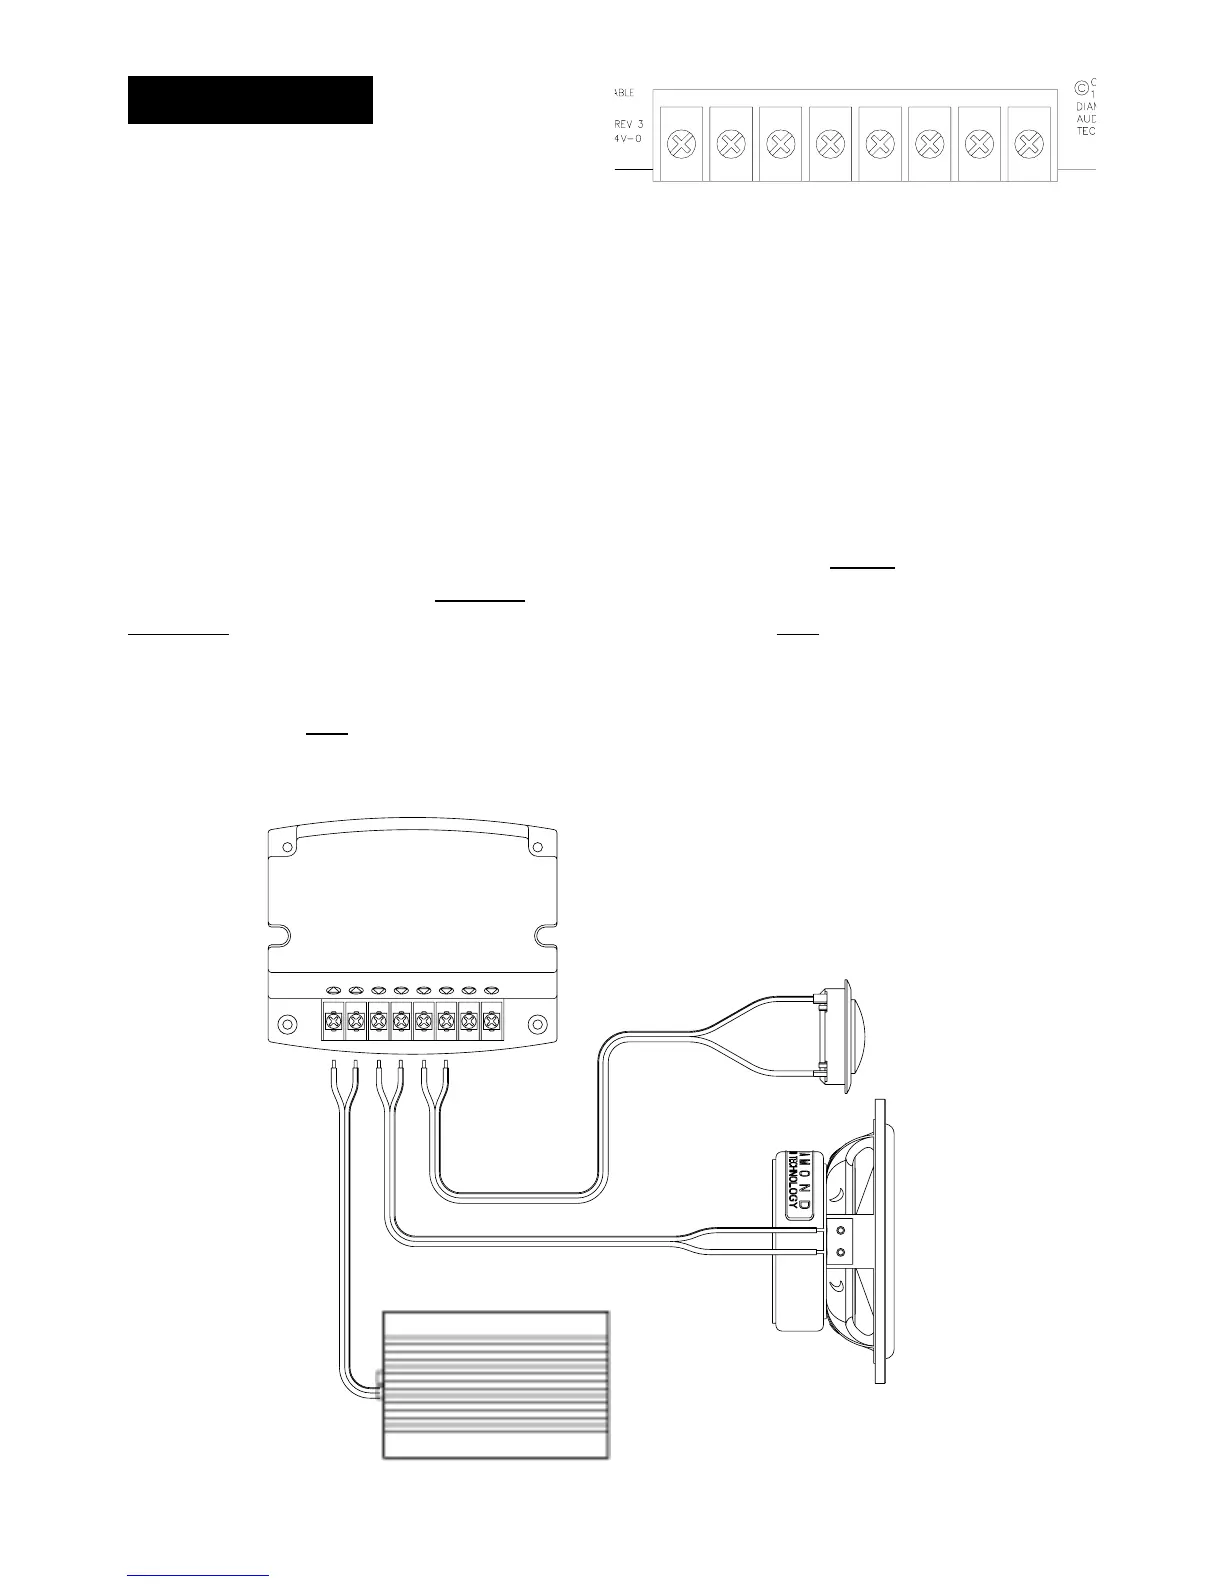
In- In+ W- W+ T- T+ R- R+
Connections should first be made with the rear cover removed to allow for adjustment of the
crossover settings. The tweeter level has jumper positions for +2dB, 0dB and -2dB attenuation.
When you have chosen the final settings, replace the rear cover section and tighten the two hold-
down screws.
The following diagram
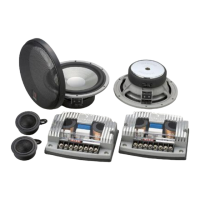
shows the basic installation for the HEX 2-way systems. This basic
layout is the starter for many show winning audio systems. The computer-optimized crossovers
implement a Second-Order Linkwitz-Riley aligned filter, Zobel correction and Peak indication.
To begin, (1) connect the amplifiers speaker output to the crossovers
INPUT terminals. Then, (2)
connect the terminals labeled
WOOFER to the HEX woofer/midbass driver and, (3) connect the
TWEETER terminals to the HEX tweeter. Finished! The remaining RAF outputs may be used for an
optional (available from your DAT dealer) rear-fill driver, coaxial speaker or even the factory original
rear speakers. For applications requiring timbre-matched drivers, we suggest using the S4.0m or
S5.0m units. The
RAF output features attenuation of -10dB for optimum level matching and com-
pensation for vehicle size and length.
Typical Installation Utilizing Stereo (2-Ch.) Amplifier
HEX Tweeter
HEX Midrange/
Midbass
Crossover
Close-up of crossover input/output terminals.
Note polarity when attaching speaker/amplifier
wiring.
- +
REARTWEETERWOOFERINPUT
+
-+-+-+-
Installation
 Loading...