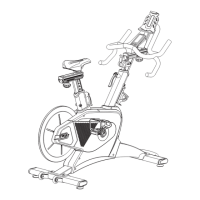
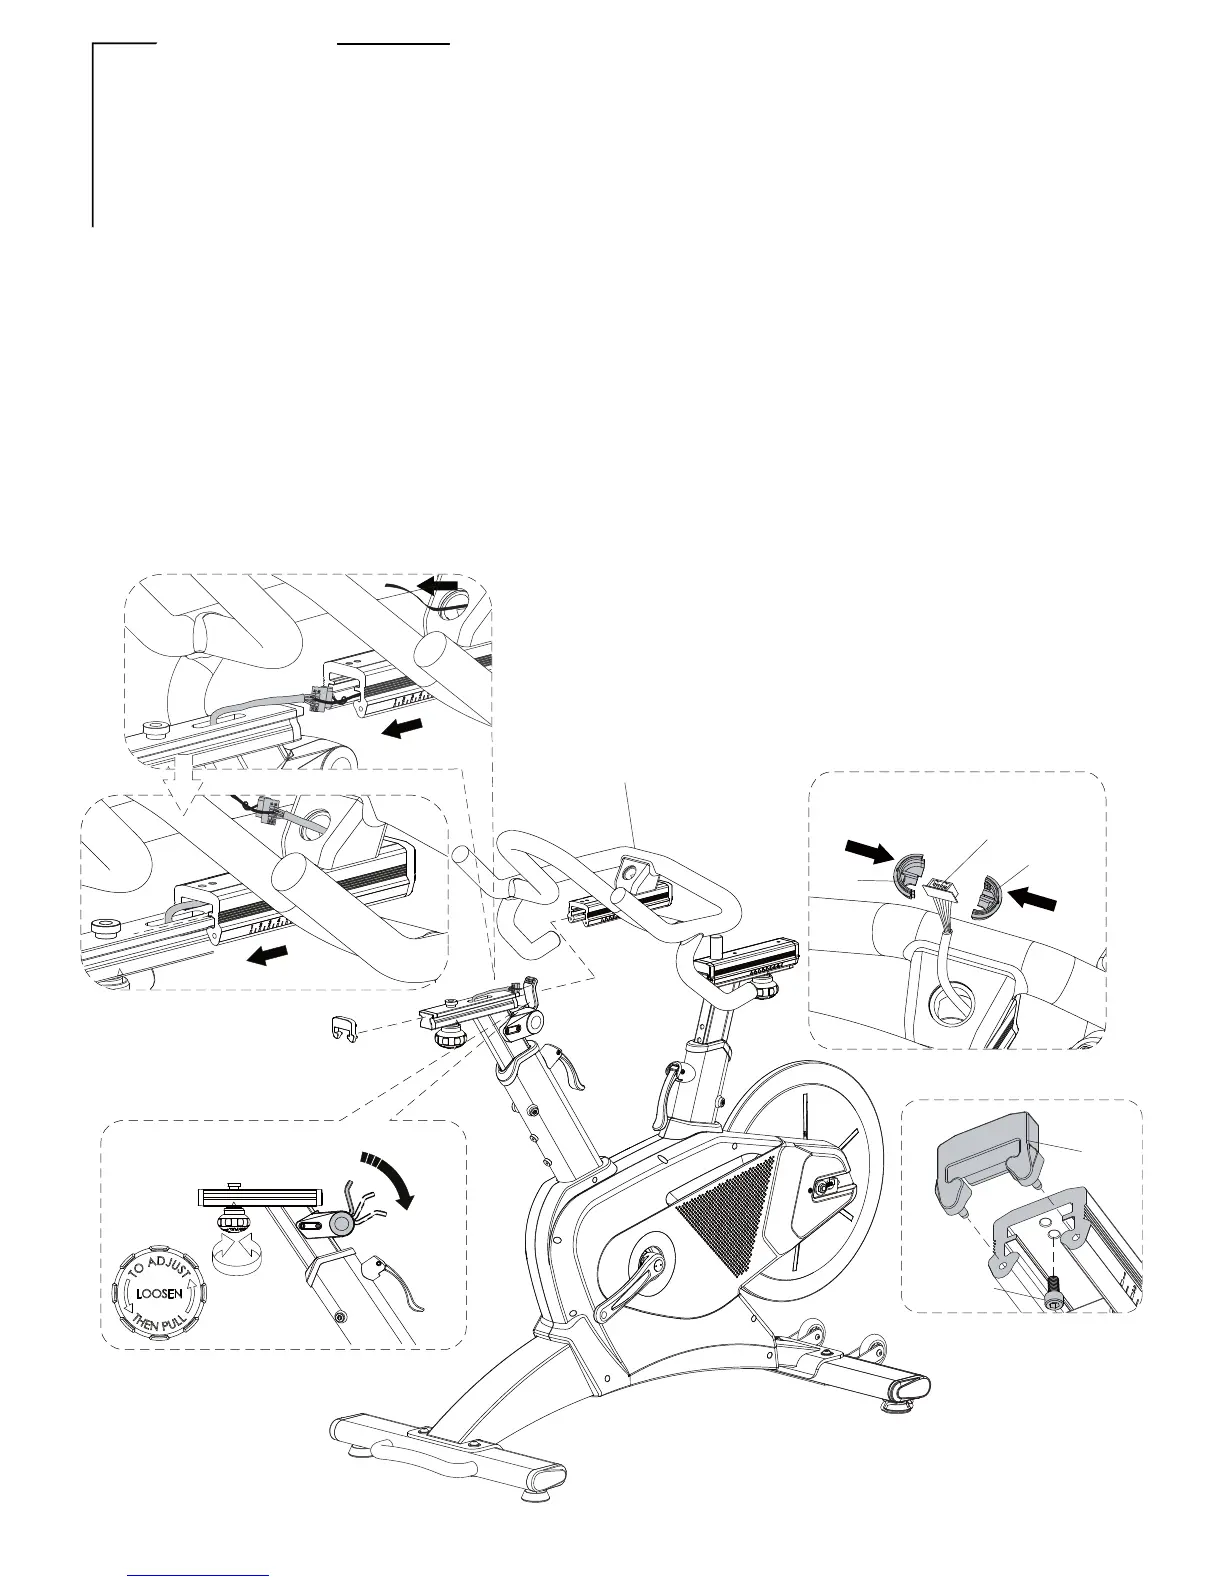
HOW TO ASSEMBLE THE HANDLE BAR
Step 1: View A shown:
Loosen the adjusting knob and pull down the resistance lever.
Step 4: View D Shown:
Slide the handle bar (E) to front and tight the
screw (A44)at second hole position. After
then,attach the plastic cover (A45).
Step 5: After the above steps completed, tight
the adjusting knob (as View A shown) to finish
the handle bar assembly.
Step 2: View B shown:
Pull out the tied wires and locate it along the post. Sliding the handle bar
tracking housing onto post and pull the tied wires together. Be careful not
to pinching off the wires during the assembly.
Step 3: View C shown:
Pull out the wire (E7) from the hole of handle bar(E) and combine the
plastic cover (E4 & E5).
VIEW A
VIEW B
VIEW C
VIEW D
A45
A44
E4
E
E7
E5
FIGURE 3
FIGURE 3 -