• 7 •
5. SET UP INSTRUCTIONS
5.1 Remove any cord wraps and uncoil the charging cable.
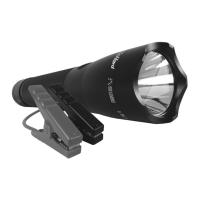
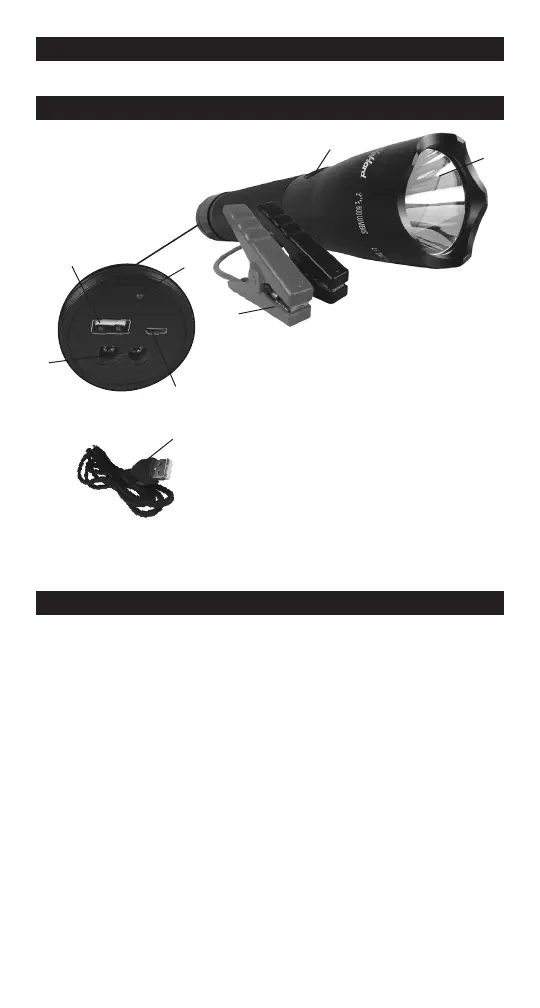
6. FEATURES
5
4
6
1. Jumper cable output socket
2. USB 2.1A output port
3. Battery level LED
4. Power button
5. Flashlight
6. Smart cable/clamps
7. Micro USB 5V, 1A input port
8. Micro-USB charging cable
Not shown:
9. String for tactical jump starter
10. Bag for clamps and Micro-USB cable
2
3
7
1
8
7. CHARGING THE UNIT
IMPORTANT! CHARGE THE UNIT IMMEDIATELY AFTER
PURCHASE, AFTER EACH USE, AND AT LEAST EVERY 3
MONTHS, OR WHEN THE CHARGE LEVEL FALLS BELOW 50%,
TO KEEP THE INTERNAL BATTERY FULLY CHARGED AND
PROLONG BATTERY LIFE. FAILURE TO DO THIS WILL REDUCE
THE BATTERY’S CAPACITY AND MAY VOID THE WARRANTY.
7.1 CHECKING THE LEVEL OF THE INTERNAL BATTERY
Press the Power button to check the battery level of the unit.
The LEDs will indicate the battery level, as follows:
• Red LED ashing: ≤ 5% power
• Red LED lit: ≤ 50% power
• Green LED lit: > 50% power
Charge the internal battery if the level is below 50%.