July 2021
EXECUTION OF ANALYSIS CYCLE - RANDOM ACCESS
- During a cycle it will be possible at any time to insert a new sample in each of the free
positions present.
- Mix the sample thoroughly before inserting it into the instrument as described above
RESULTS
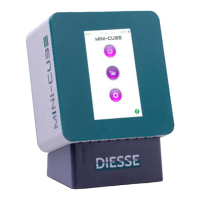
At the end of the 20 minutes (14 min for Pediatric) the instrument displays the result.
Green color indicates ESR within the normal range.
Red color indicates an ESR that has exceeded the normal level.
The results are expressed in mm / h (Westergren 1st hour).
The results can be printed via Bluetooth printer (Optional)
You will need to connect it to the instrument first from the menu.
Printing can take place automatically at the end of the analysis, or
- Press the ARCHIVE key
- Select the samples for consultation / printing of the results
QUALITY CONTROL
Entering the settings menu, under QC, you can enter the
characteristics of each control, just read the bar code of the QC
Diesse. Then, every time the control is inserted in any position of
the instrument, it will be recognized as QC, and displayed on the
screen, as shown in the image.
The tube with the white cap indicates the Normal control, the
one with the black cap the Pathological control.
In case you are using another trade control, it is recommended that you
create dedicated barcode labels and manually enter the data.
REFILL
- Press the SETTINGS button
- Select REFILL on the second page
- Insert the TEST DEVICE NEXT in the appropriate compartment
(as shown in the figure)
- Press the CHECK key
- Press OK to confirm the test number to reload
- Automatic update of the number of tests displayed on the
instrument screen (top left)
 Loading...