If the device will not be used for an extended time period, remove the battery and store
the device in a dry and dust-free area. Improper use of the battery can lead to explosion
or leakage.
If the battery leaks, avoid contact with skin, eyes and mucous membranes. Use gloves. If
you are exposed to battery acid, rinse the affected areas with plenty of clean water and
immediately seek medical attention. Remove discharged batteries from the device as they
present an increased risk of leakage.
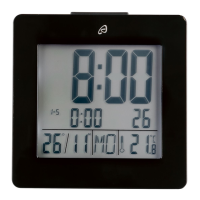
Set up the alarm clock safely
The alarm clock is not intended for use in rooms with high humidity (example: bath room).
Make sure that:
the device isn’t placed on a thick carpet or bed during operation ;
no direct heat sources (i.e. radiators) influence the device;
no direct sunlight reaches the device;
contact with splashing or dripping water must be avoided (don’t place any items filled
with liquids, i.e. vases, onto or next to the device);
the device doesn’t stand near magnetic fields (i.e. speakers);
candles and other open flames must be kept away from this product at all times to
prevent the spread of fire
no foreign objects penetrate the housing.
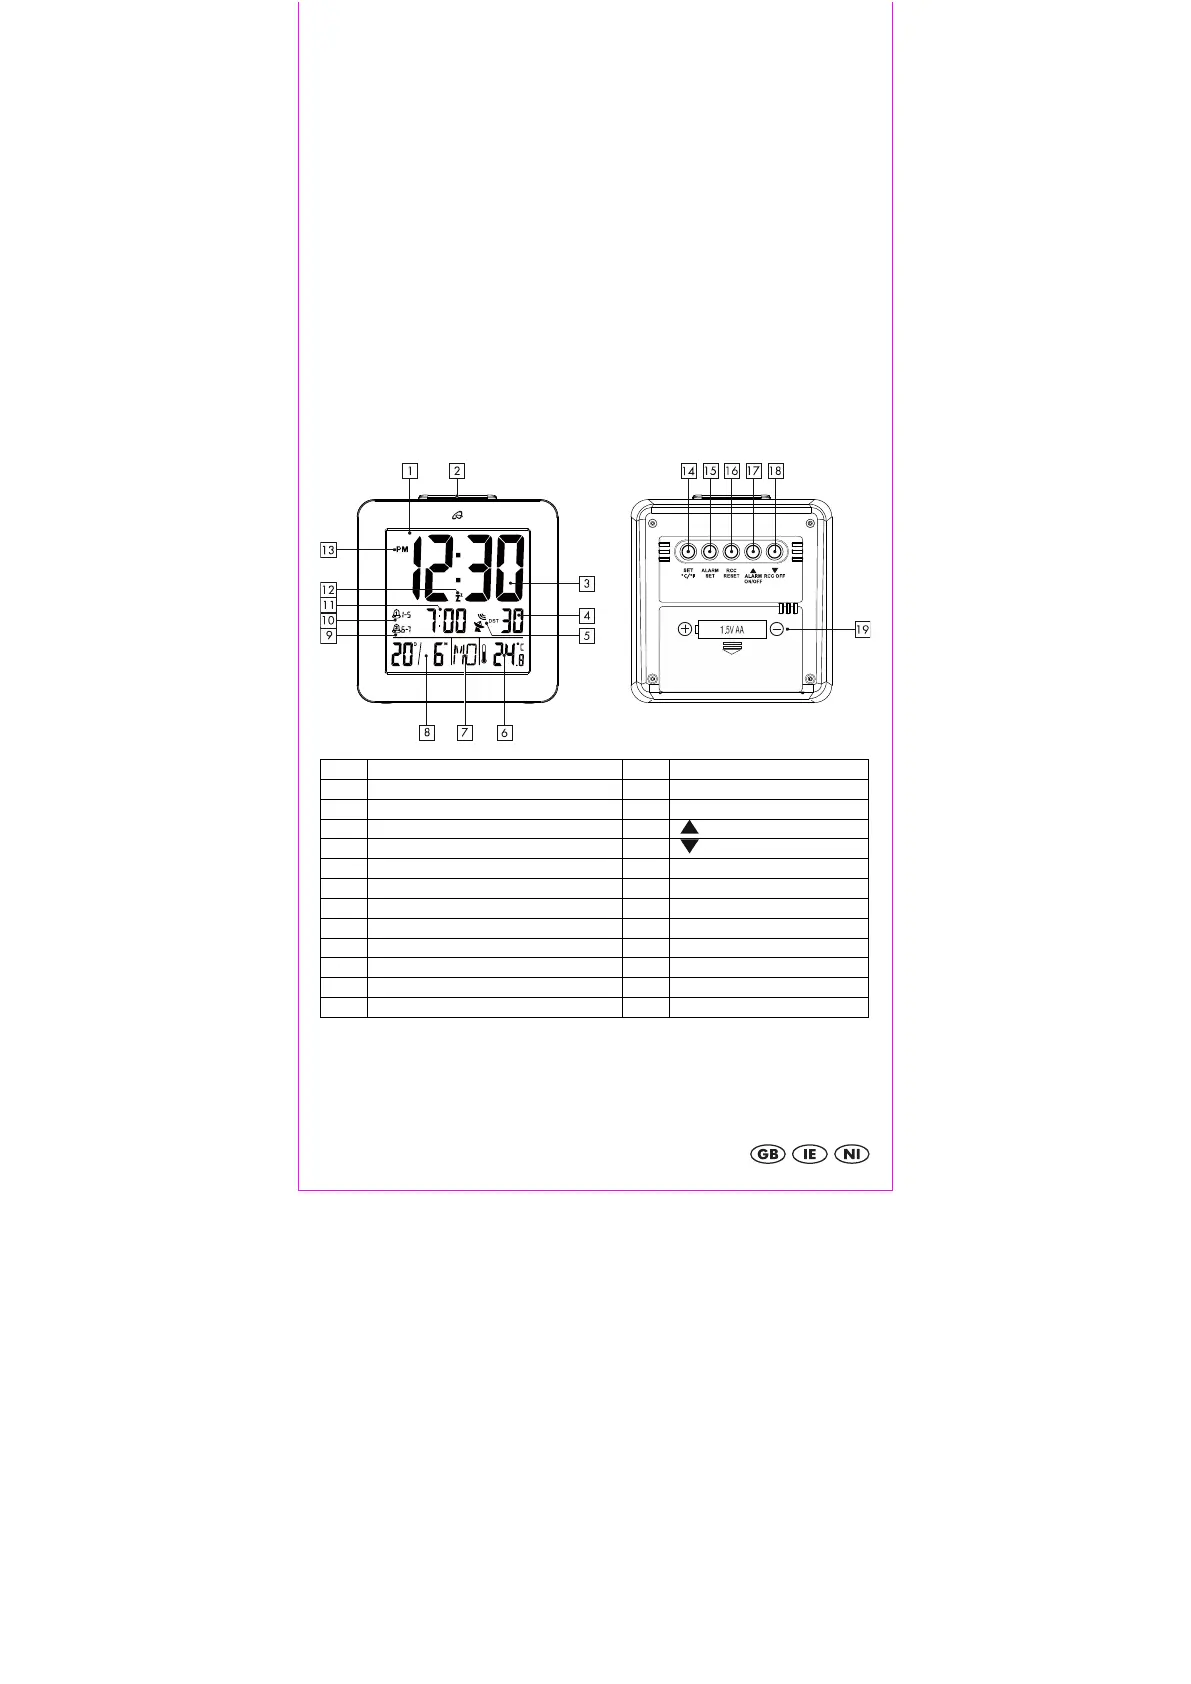
Display and controls
/ ALARM ON / OFF
5 Radio tower indicator / DST 18 / RCC OFF
Day of the week indicator
Date indicator, D=day, M=month
Setup
Remove the protective film from the display of the alarm clock. Open the battery
compartment 19 on the backside of the device and insert a 1.5V AA R6/LR6 battery in
the correct polarity. Close the battery compartment 19.