DVM-100 & DVM-400 Installation Guide 860-00187-00 REV A
Copyright © 2013 Digital Ally, Inc. 3-5
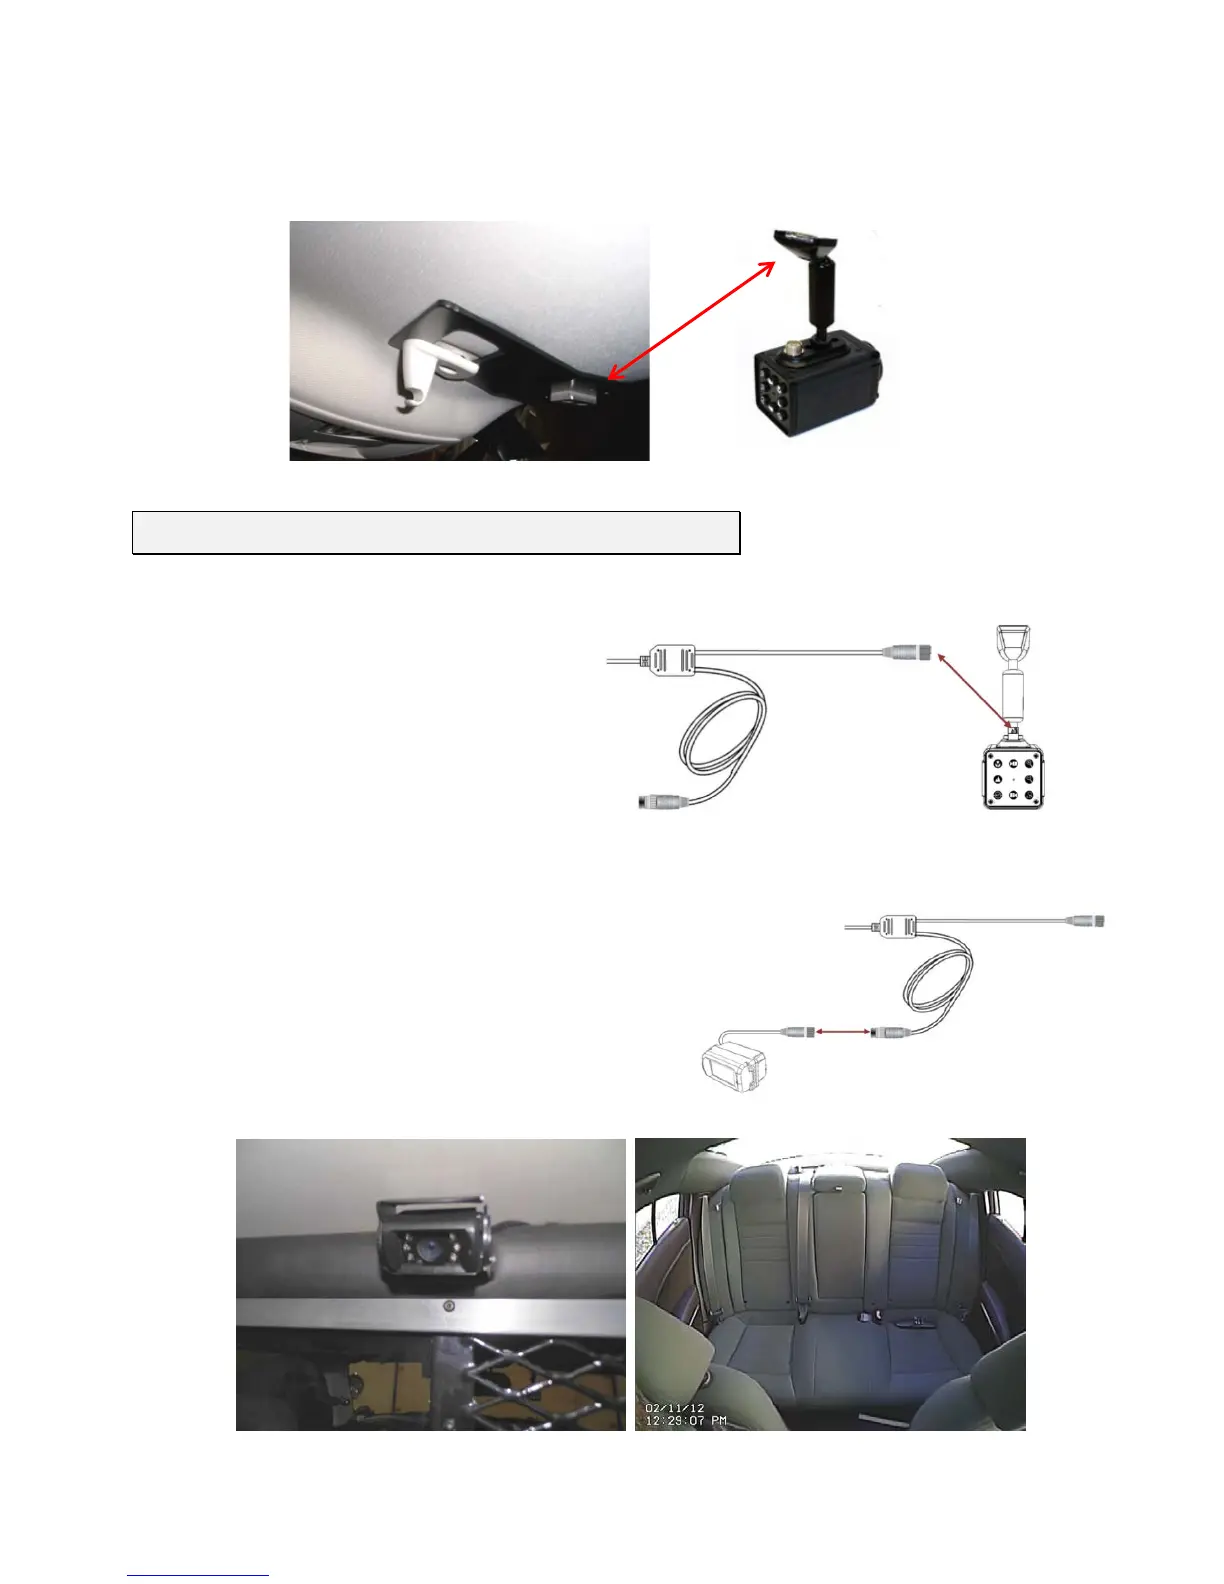
• Attach the visor mount through the visor clip and attach front camera to the
mounting plate (DVM-400 only)
Front Camera
• Route the cable toward the 10x
camera and connect to the CAM-
10XC. Attach the camera to the
visor mounting plate. (The DVM-100
front camera is embedded in the
rear of the unit).
Rear Camera
• Determine a mounting location for the rear
camera. The example below has the camera
mounted in the center of the cage. This gives a
wide angle view of the entire back seat. Route
the remaining portion of the camera cable to
the external surface mount camera and
connect. Secure extra cable in the headliner
away from any other existing cabling and/or
airbag.
Camera Installation (DVM-400 Only) Step 4: