l.lntroduction
Thank
you
for
your purchase
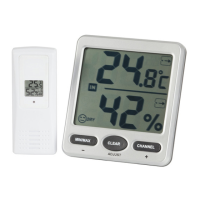
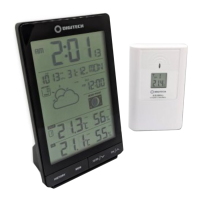
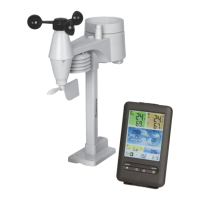
of the XC-0328 Wireless
Indoor/Outdoor
8-Channel Thermo-Hygrometer
with Jumbo Display. The
following user
guide provides
step
by step instructions for installation,
operation
and
troubleshooting.
2.Getting Started
,
Note: The
power
up
sequence must be
performed
jn
the order
shown in this
section
(insert
batteries in the remote transmitte(s)
first,
Display
Console second).
The unit consists
of a display
console
(receiver),
and
a thermo-
hygrometer
(remote
transmitter).
2.'l Parts List
Item
l
Display
Console
Frame
Dimensions (LxHxW):
11.4x12.7x2.scm
2.2 Recommend
Tools
Hammer and nail
for hanging
remote thermo-hygrometer
transmitter.
2.3 Thermo-Hygrometer
Sensor Set Up
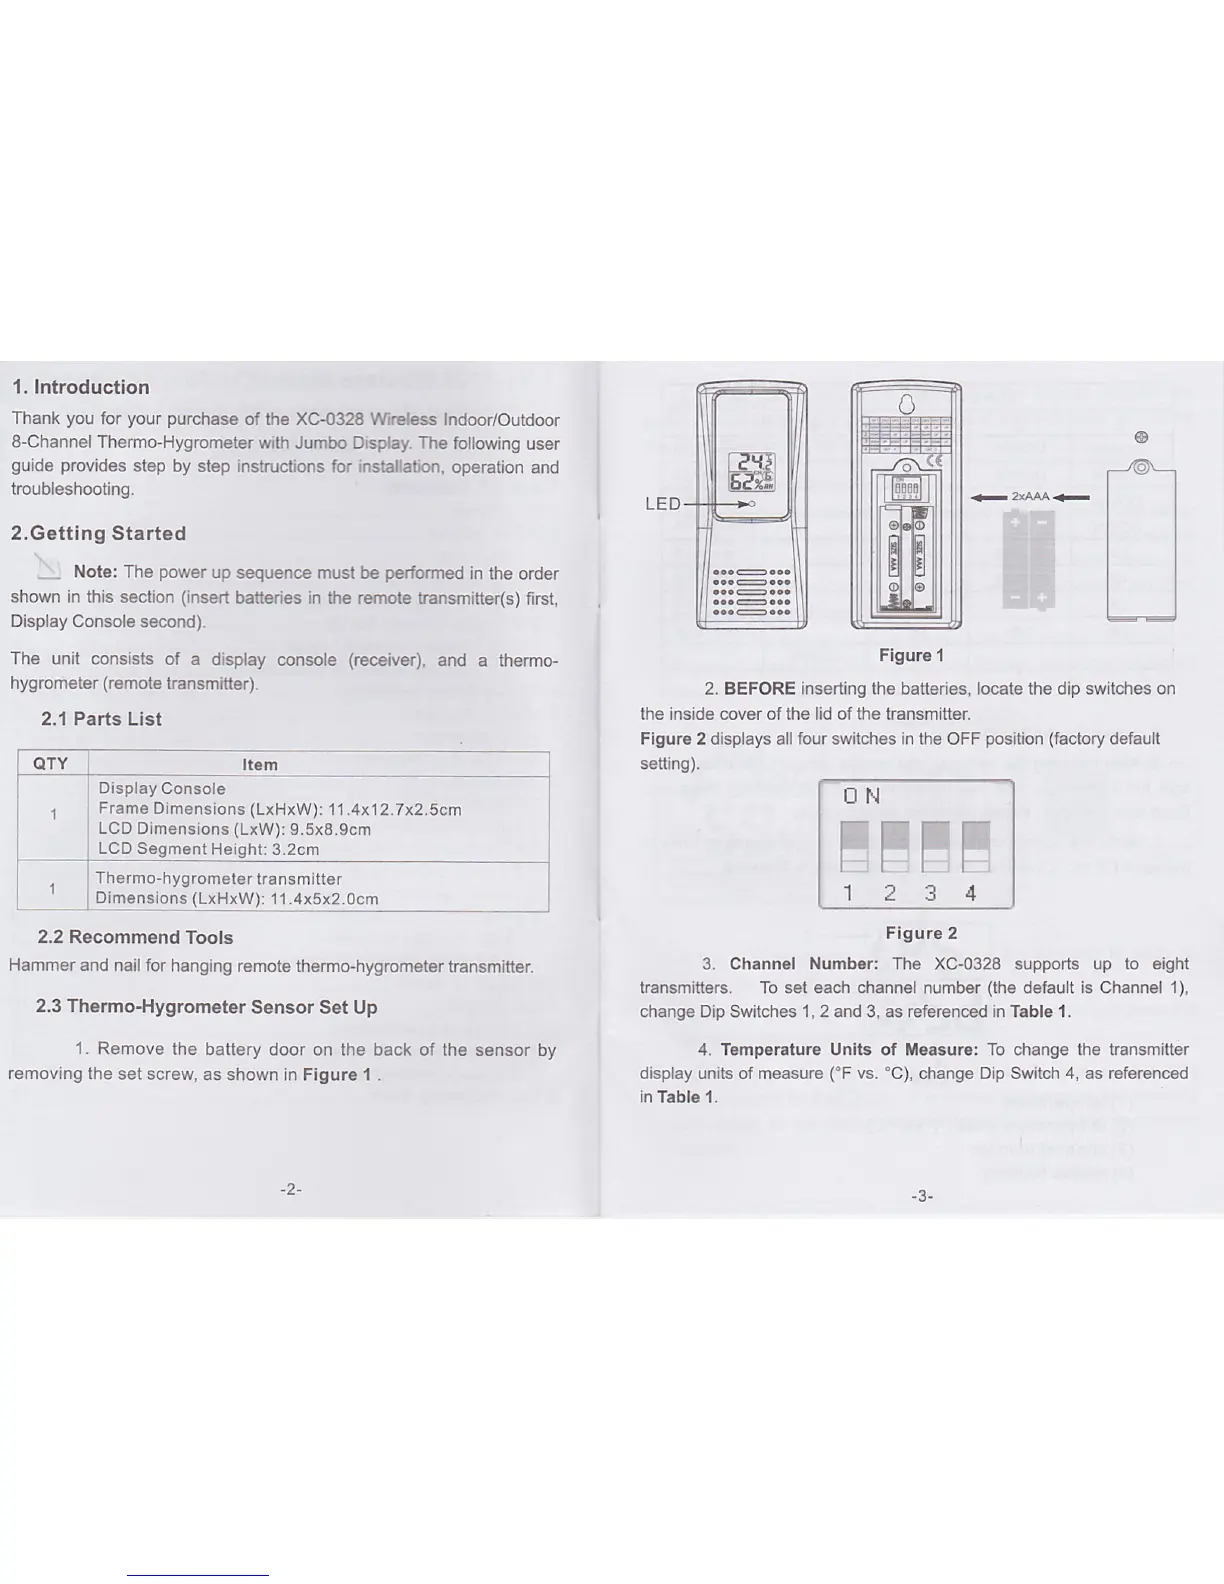
1. Remove
the
battery door on the back of the
sensor by
removing the
set screw,
as shown in Figure 1 .
OTY
*,-m
ffi-
-n
Figure
1
2. BEFORE inserting the batteries, Iocate the dip switches on
the
inside cover of
the lid of the
transmitter.
Figure 2
displays
all four switches in the
OFF
position
(factory
default
setting).
ON
Figure
2
3. Channel Number: The XC-0328 supports up to eighl
transmitters. To set each channel number
(the
default is Channel 1),
change Dip Switches
1
,2
and 3, as referenced
in
Table 1 .
4. Temperature Units of Measure: To change the transmitter
display units of measure
('F
vs. 'C),
change Dip Switch 4, as
referenced
in Table 1.
IttI
'l
234
LCD Dimensions (LxW):
9.5x8.9cm
LCD Segment
Height:
3.2cm
,
Thermo-hygrometertransmitter
[
'
Dimensions],L-xHxw):
11 .4x5-\2.0cm
l
-J-