Note:
• Please use the provided OCR CD to organize the name cards.
• Handle photo with care. Any dust scratches or fingerprints will show up on your
saved images.
• Scanned name cards will capture a standard dimension of 91x55mm. The
scanned image will have a slight border around the name card.
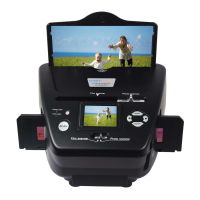
7: General operations
Note:Maybe there is some difference between the preview image and saved
image, please subject to the image that you saved in SD card.
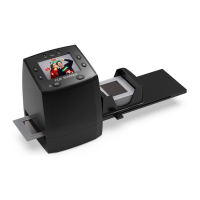
◆ Quick Start
1. If you want to scan the films
, please switch two switches on the top of the
device to the left side. Otherwise if you want to scan the photos, please
switch to the right side.
2. Put Slide/Negative onto the Slide/Negative Holder or insert photo into
appropriately sized photo tray (5”x7” (5R), 4”x6” (4R), 3 ½”x5” (3R), name
card)
3. Insert the Slide/Negative Holder into the slot on the right of the device or
insert photo tray into photo tray slot from the top of the device.
4. Apply the power to the fil
m & photo scanner by two ways:
(1) USB: Connect the film & photo scanner to PC with USB cable
(2) 5V adapter: Connect the adapter to the device with USB cable
5. Press POWER button to turn on the film & photo scanner.
Note: (1) When the Film scanner mode is selected, the Film scan indication
LED is on.
2) When the Photo scanner mode is selected, the Photo scan indication
LED is on.
6. Follow the menu on screen for scanning.
7. After finished the scanning, take out the
memory card.
Note: The film & photo scanner has a built-in memory for recording, when
there is a memory card inserted, it will be the top priority for saving data
8. Or read pictures from PC by USB mode
9. When capturing in either photo or film modes, please remember to push
both slide switches to the correct placement.
A notification will appear on-screen as a reminder to carry out the following:
1. Photo: push both sliders to the right
2. Film: push both sliders to the left.
8 - EN
 Loading...