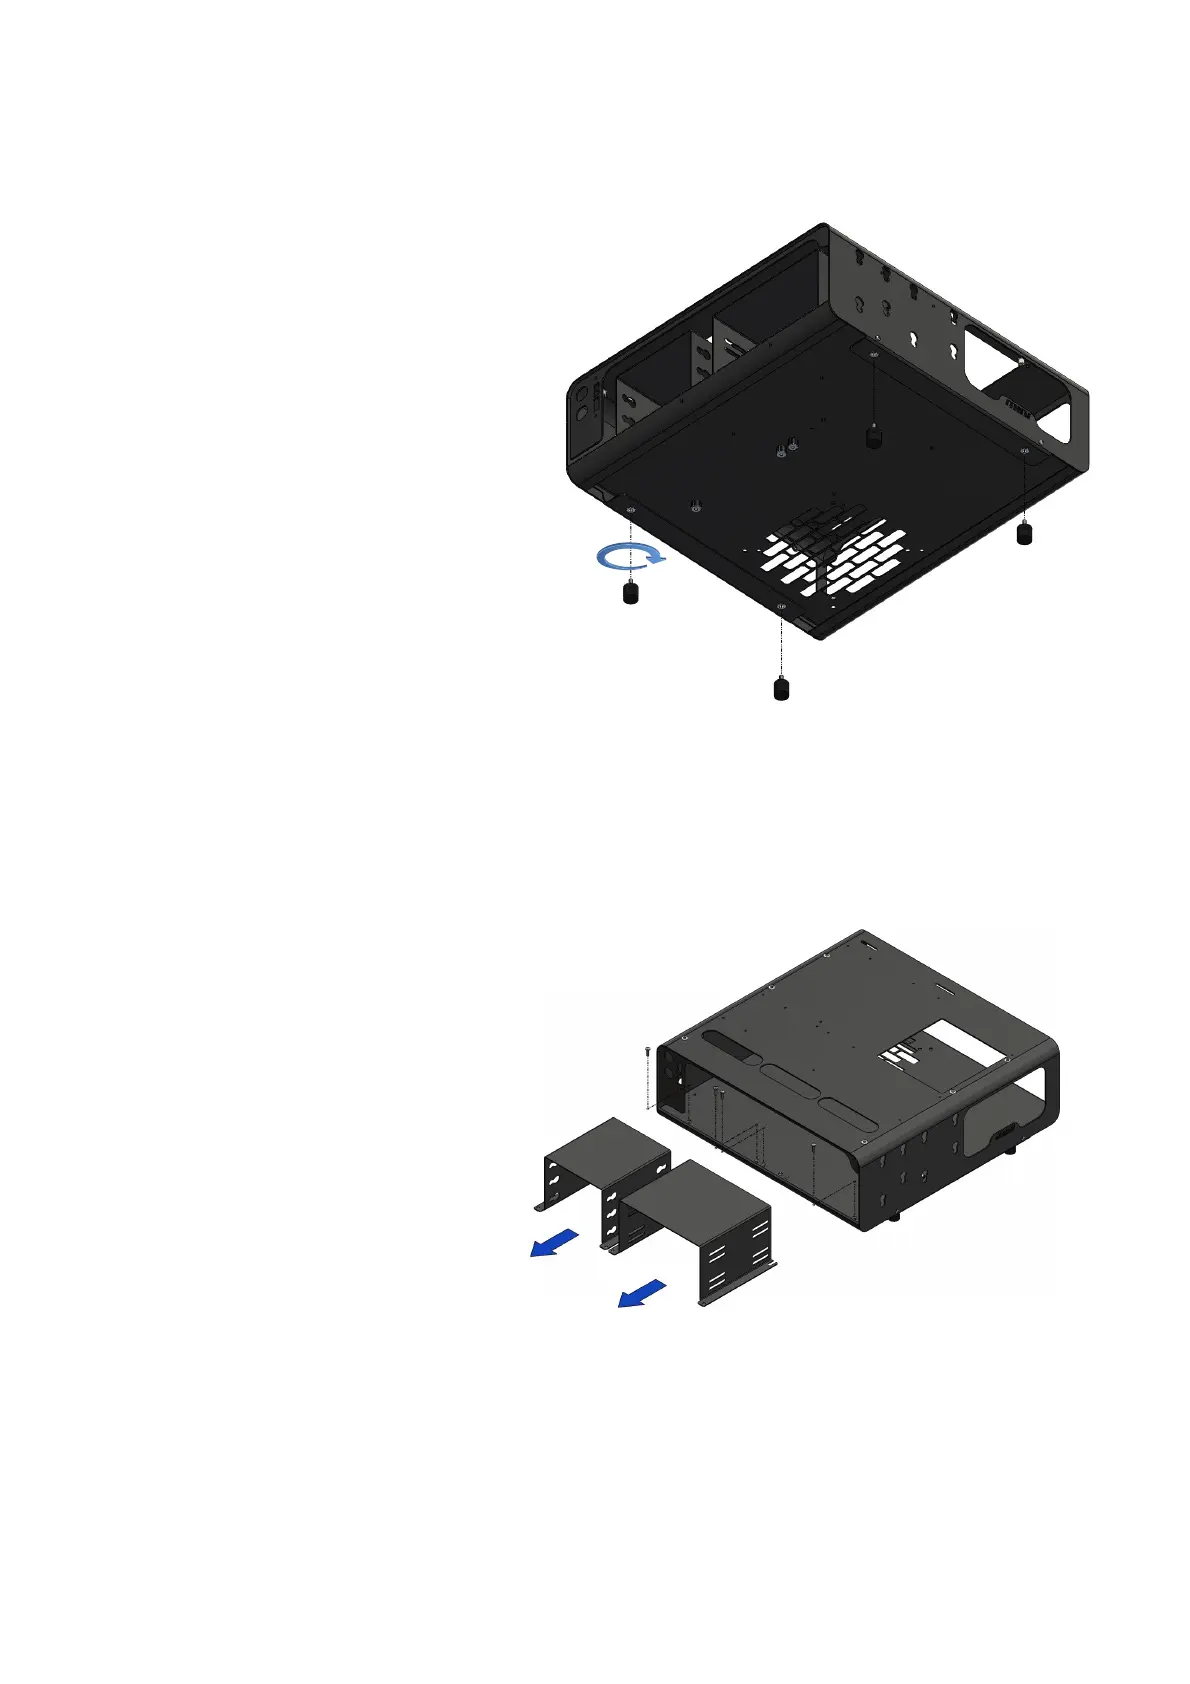
ASSEMBLY DimasTech Mini V.2.0 – STEP-1
- Assemble No.4 VC067_rubber-
feet_M4 (8) into the dedicated M4
threaded inserts, located at the base
of the DIMAS_100_C_RF-RB_V.2.0
(1) body, as shown in the figure
beside
ASSEMBLY DimasTech Mini V.2.0 – STEP-2
- Unscrew the 4 screws
VC048_M3x10 housed in the front
part of the DimasTech Mini V.2.0
and extract the two preassembled
components DIMAS_23 (3) and
DIMAS_24 (4), as shown in the
figure beside
Note: The number indicated in the brackets indicates the corresponding
identification in the table on the page No.2