Press OK to proceed to the test and start the test by
pressing
again. The indicator light on the receiver
flashes if the communication is OK.
Press
to switch between different zones for the
test signal. Finish with
OK and turn the selection dial
to the position you want.
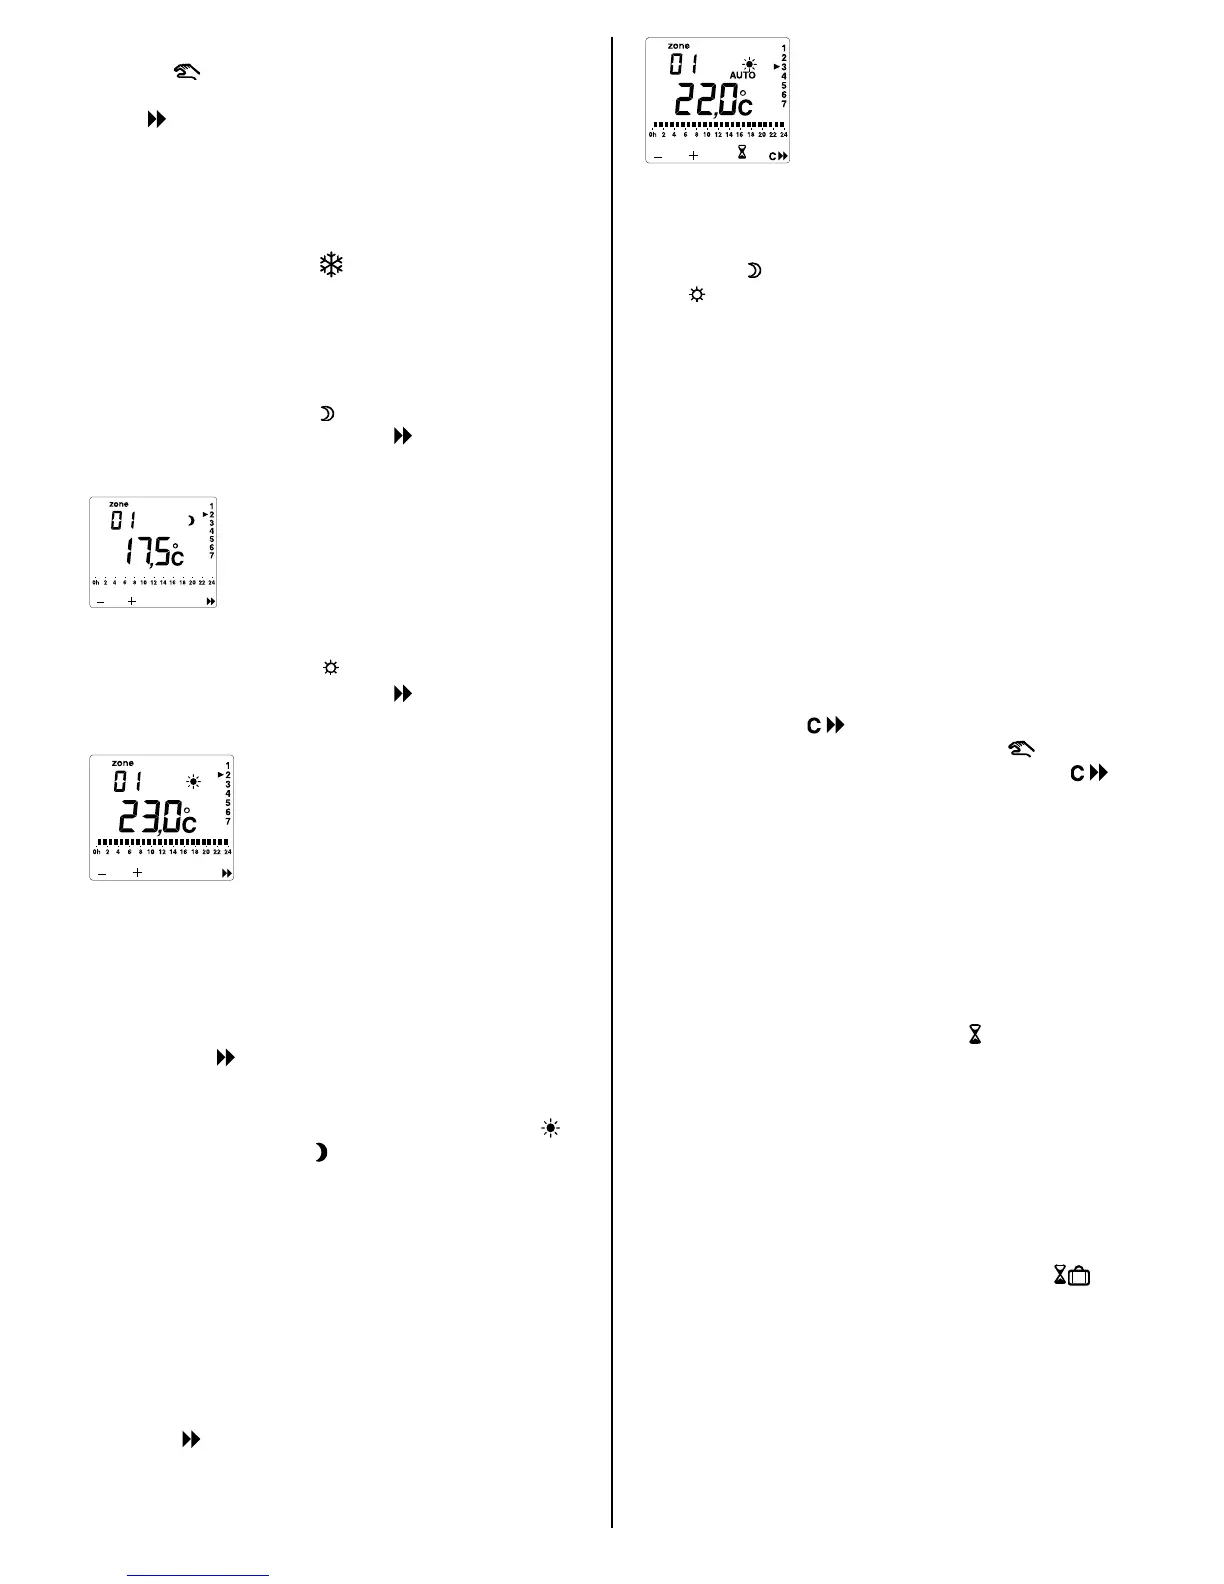
5. Setting temperatures
Setting the temperature for frost protection
Set the mode selector to .
Set the temperature with the
+ or – button.
The mode selector in this position sets the frost
protection/OUT temperature in all zones.
Setting the temperature for reduction
Set the mode selector to .
Select the relevant zone with the
button.
Set the temperature with the
+ or – button (see
figure).
Setting the comfort temperature
Set the mode selector to .
Select the relevant zone with the button.
Set the temperature with the
+ or – button (see
figure).
The comfort temperature and the economy
temperature can also be set when the DigiHeat is in
the AUTO position.
6. Week programming
Set the mode selector to PROG. Select the relevant
zone with the
button and the day with the OK
button. No temperature is displayed and you can see
the programme for the day selected. The indicator for
the first time period (first hour) flashes. Press the
button for comfort or the
button for reduction. The
indicator for the next time period flashes. The time
selected is also shown in the display.
Repeat this procedure for the entire day. When the
day programme has the desired profile, press the
OK
button to save it and the next day comes up.
Repeat the entire procedure for the remaining days
and for all relevant zones
1 to 8.
When the programming has been completed, set the
mode selector to
AUTO. The week programme has
been activated.
Press the
button to select the zone for which the
programme status is to be displayed (see the figure).
7. Control of relay zones
When controlling relay P1=2 (described under
section 4),
will mean that the relay is switched off
and
that the relay is switched on. This applies to
selection with both the mode selector and the week
programme. The display will show ON or OFF
instead of the temperature.
When controlling relay P1=3, the relays will follow the
programme in AUTO, regardless of the position of
the mode selector (for example, light control in
connection with OUT).
8. Cancelling reduction
The DigiHeat 8 has a function for temporarily
overriding the programme zone by zone. This is
typically relevant if you are at home ill for one day
and want comfort temperature in a zone that
normally has reduced temperature. The override is
cancelled automatically at the next status change.
The function is selected in the
AUTO position by
holding down the
button for 3 seconds.
Activated override is displayed with the
symbol.
The override is cancelled by holding down the
button for 3 seconds again.
9. OUT timer
It is possible to programme the DigiHeat 8 to lower
the temperature when you are away from home and
automatically activate the
AUTO position before you
come home. The OUT timer can be set from one
hour to 99 days. For example, if you are away for 9
days, the DigiHeat can be programmed to switch on
the heating after 8 days. The function is selected in
the
AUTO position by pressing the button. 01h will
flash in the display
, meaning 1 hour out. By pressing
the + or – button, you can change the number of
hours set right up to 48h. If you continue to press +,
the display will switch to displaying the time out in
days, for example 03d, meaning 3 days. After you
have selected the correct time, confirm it by pressing
OK. The temperature set then flashes in the display,
for example 14.5c. This can be set by pressing the +
or – button. After you have selected the correct
temperature, confirm it by pressing OK. The
symbol shows that the function has been activated.
The function can be deactivated by turning the mode
selector to a position other than AUTO.
14

 Loading...

