1. Prepare the paint according to
the manufacturer’s recommendations
This is probably one of the most important steps
toward trouble-free spraying!
Remove any skin that may have formed on the top of
the paint. If necessary, thin the paint. Finally, strain
the paint through a fine nylon mesh filter bag
(available at most paint dealers) to remove particles
that could clog the spray tip
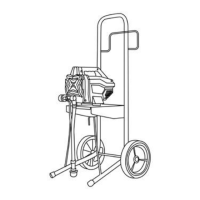
3. Unscrew tip and guard assembly from gun.
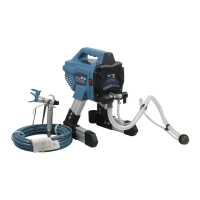
4. Uncoil hose and connect one end to gun. Use two
wrenches to tighten securely and tightly.
5. Connect other end of hose sprayer.
6. Oiling
Fill throat packing nut with lubricating oil(3~5 drops) to
prevent premature packing wear, Do this every time
when you spray.
7. Check the electrical service Be sure the electrical
outlet is properly grounded. Longer extension cords
may affect the sprayer performance. Use more spray
hose, not longer extension cords.
8. Plug in the sprayer. First be sure the ON/OFF
switch is OFF and the pressure control is turned
fully
counterclockwise. Plug the
sprayer
into a grounded
outlet that is at least 3 m away from the spray area to
reduce the chance of a spark igniting, spray vapors or
dust particles.
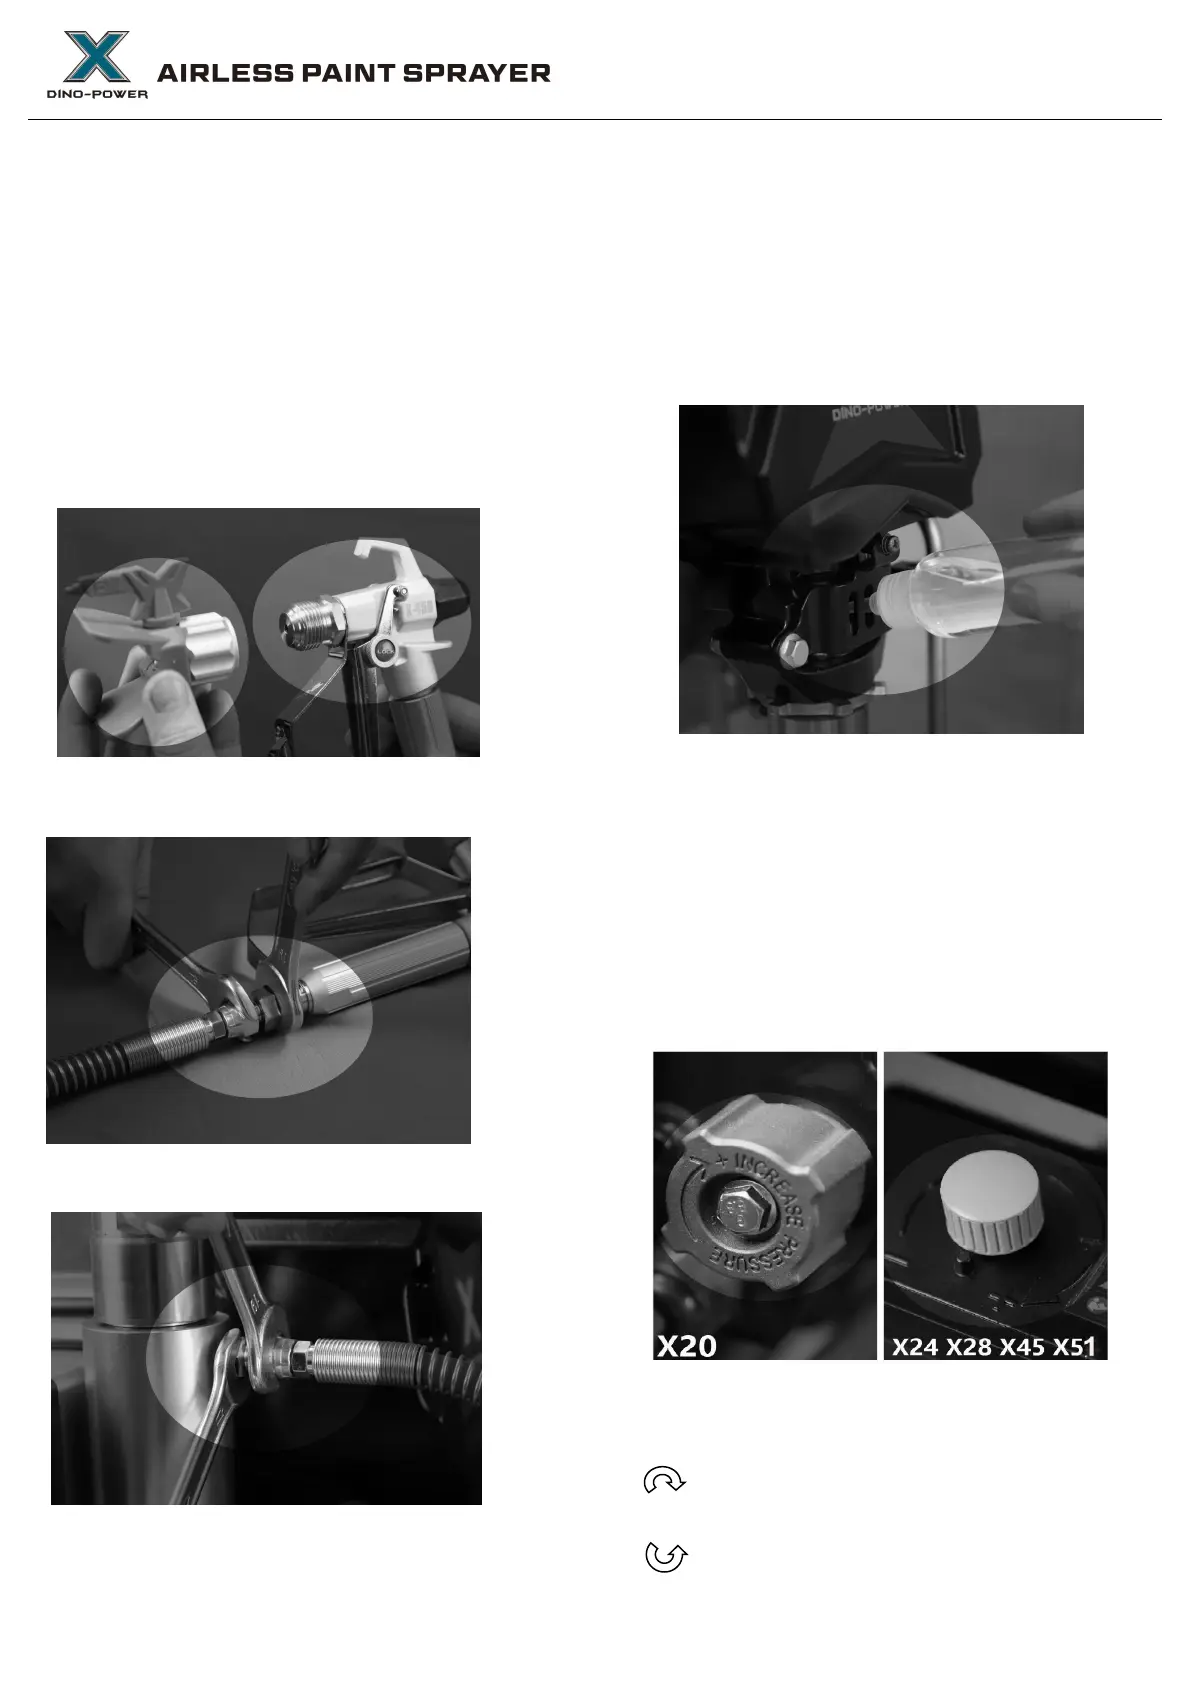
Pressure regulator valve
Clockwise: stronger / Higher pressure
Counter clockwise: weaker / Lower pressure
 Loading...