3 • System Setup
Doc. 22181-97001 02/18
71
NOTE
Set the rest of the kit contents aside for use later.
3. Working from the mounting arm backward, route the tablet power and
Ethernet cables from the tablet holder.
4. Check that the power cable can reach the tablet in any desired orientation,
and then secure the power cable with the spiral cable wraps. If the setup
includes an Ethernet cable, it should be routed similarly.
5. Route the network connector (a USB cable that is either attached to the
network adapter or part of the network adapter) as follows (see
Figure 3-33):
a. Route the cable from the top of the tablet holder downward (leaving
about 254 mm (10 in) of cable beyond the top of the tablet holder),
over the arm of the tablet holder, and toward the DC.
b. Secure the cable with the spiral wraps on the upper and lower sections
of the tablet holder arm.
6. Route the tablet power cable as follows (see Figure 3-33):
a. Route the power cable from the top of the tablet holder downward
(leaving about 254 mm (10 in) of cable beyond the top of the tablet
holder), over the arm of the tablet holder, and toward the DC.
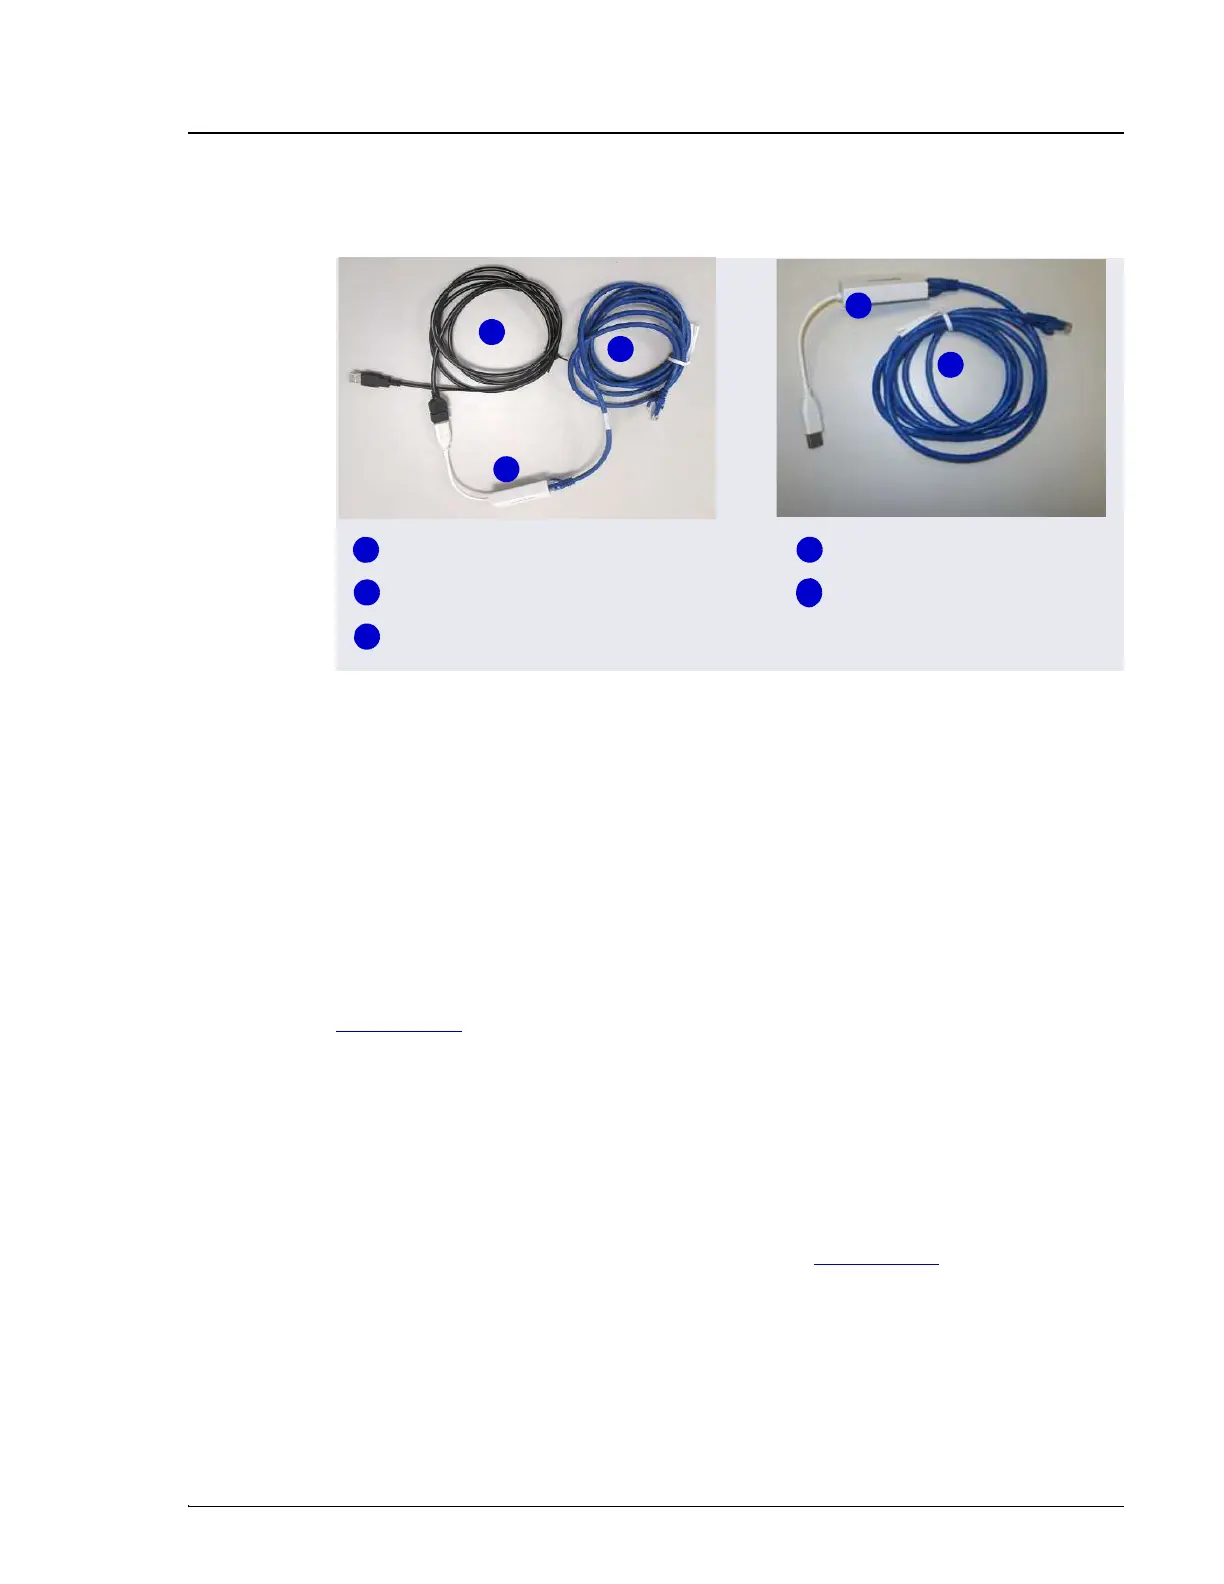
Figure 3-32. Tablet Cable Options
3
1
2
4
5
USB-to-Network Adapter
Ethernet Cable
1
2
3
4
5
Ethernet Cable
Ethernet Cable
USB-to-Network Adapter
 Loading...