us.diono.com/installation-videos
1-855-463-4666
42
43
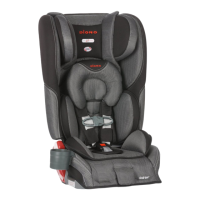
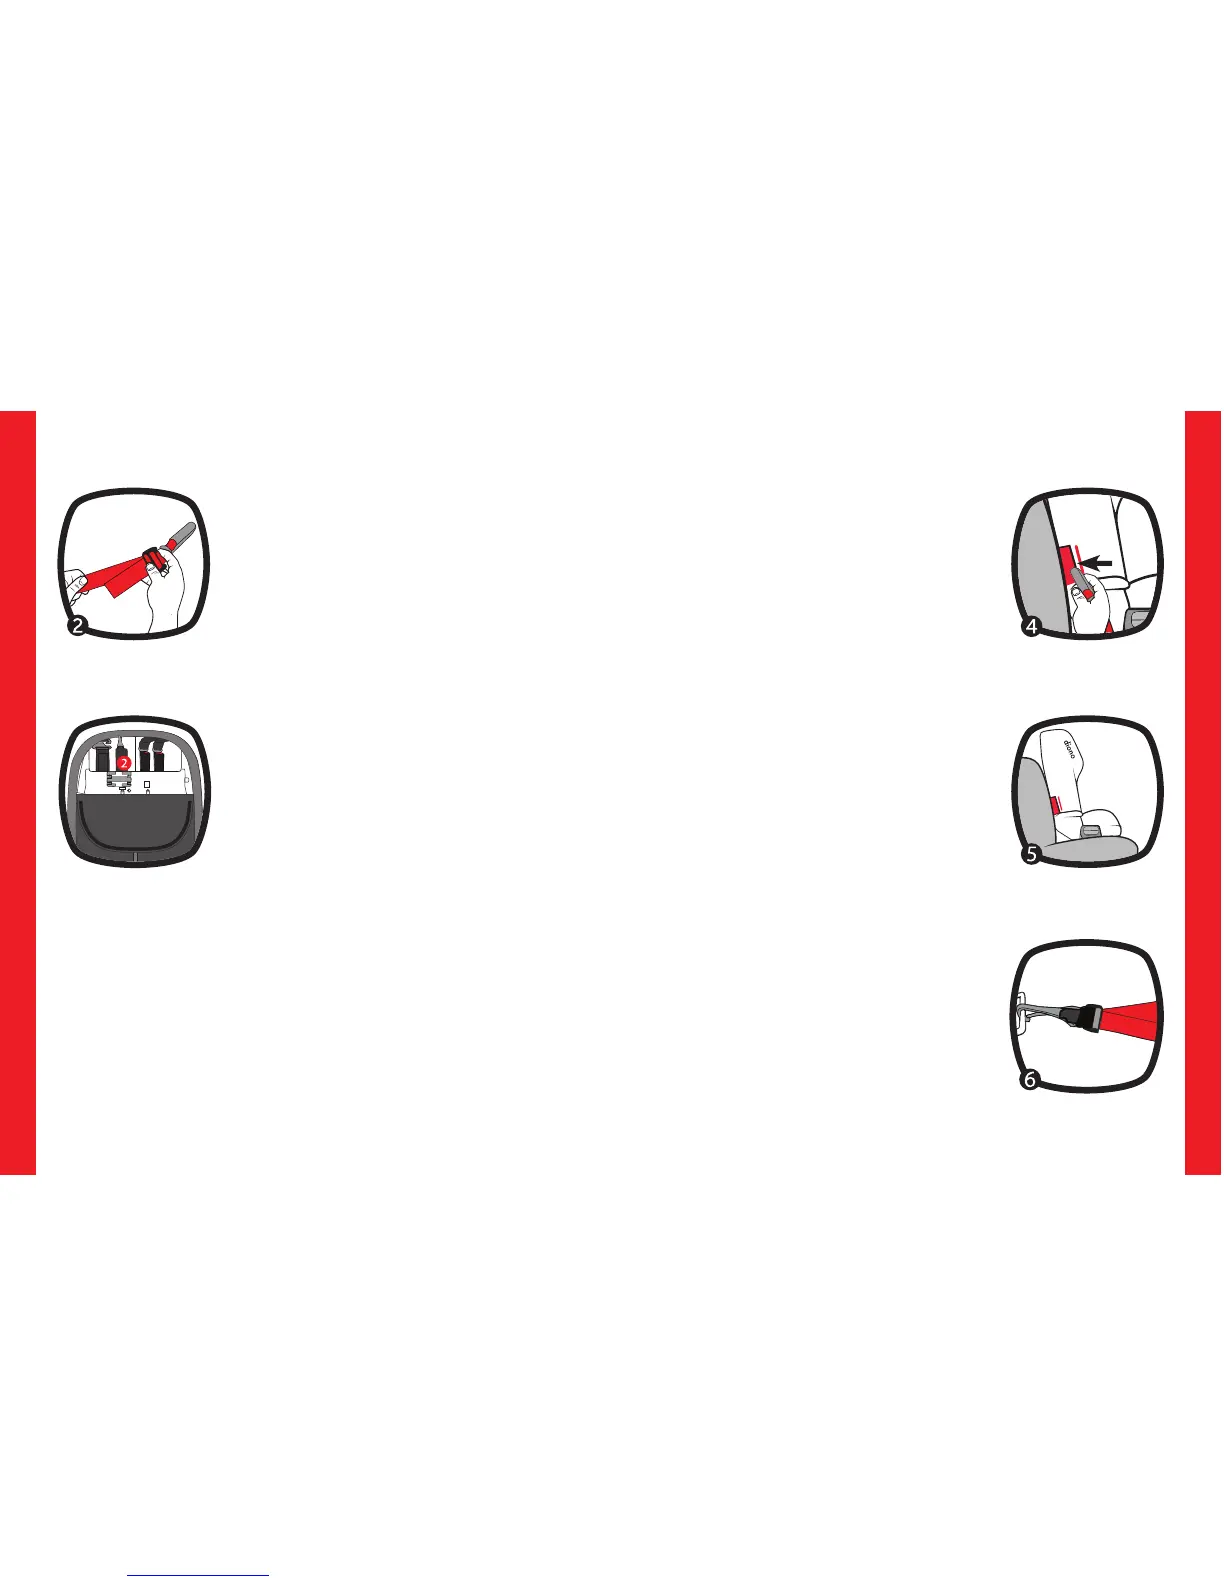
2. Extend the LATCH Strap.
For easier installation, extend the
LATCH strap to its maximum length
by pressing the gray button and
pulling on the strap.
3. Unhook and Remove Top Tether
Strap from Storage Location on
back of seat.
Look for the Top Tether location 2.
FORWARD FACING
4. Place LATCH in Forward-facing
belt path.
Unzip the pocket to the right side
of the latch storage area, this will
allow you to move the latch
connectors down to the forward
facing belt path. Feed LATCH
anchors as shown; once
completed – close the zip pocket.
5. Place Car Seat Forward-Facing
in Back Seat of the Vehicle
Place forward-facing in vehicle
seat and center the car seat
between the lower LATCH
anchors. The base should sit flat on
the vehicle seat.
6. Loosely Attach Top Tether Strap
Do not tighten. Consult vehicle’s
owner manual for specific location.
FORWARD FACING