23
22
CHAPTER 2
Setting up and connecting
2
2
CHAPTER 2
Setting up and connecting
2
2
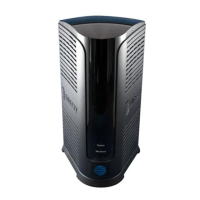
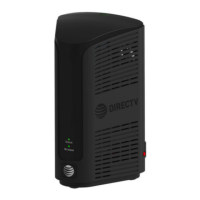
Connecting your DIRECTV
®
Receiver
Your DIRECTV Receiver supports a variety of connection possibilities to ensure that
it is compatible with whatever type of TV, VCR, or A/V receiver you might have.
This manual describes five different setup possibilities in detail. The one that is right
for you depends on what type of A/V equipment you have in addition to your
DIRECTV Receiver. To get the best audio and video possible with your particular set
of A/V equipment, use these pages to choose the connection option that most
closely matches your situation.
Option A: DIRECTV Receiver to TV with RF cable only
Option A is the most simple setup option. If you are not planning on using a VCR and
your TV has no A/V connectors, use this option. (See page 23 for details)
Option B: DIRECTV Receiver to TV with A/V cables
Option B is also for people not planning on using a VCR, but this option improves
the sound and video quality by making the connections using A/V cables. If you are
not planning to use a VCR, but your TV does have RCA-type A/V input jacks, use
connection Option B. (See page 24 for details)
Option C: DIRECTV Receiver to TV and VCR with RF cables only
Option C is the simplest connection option that includes a VCR. If you want to connect
your DIRECTV Receiver to a TV and VCR, and your TV or VCR does not have A/V jacks,
use connection Option C. (See page 26 for details)
Option D: DIRECTV Receiver to TV and VCR with A/V cables
Option D also allows you to connect the DIRECTV Receiver to a TV and VCR, but Option
D provides improved sound and video quality over Option C. If you are planning to
connect your DIRECTV Receiver to a TV and VCR which both have A/V jacks, use
connection Option D. (See page 28 for details)
Option E: DIRECTV Receiver to TV and A/V receiver
Option E shows you how to connect the DIRECTV Receiver to an A/V system that includes
an A/V receiver. If you plan to use an A/V receiver with your DIRECTV Receiver and TV,
use connection Option E. (See page 30 for details)
Connection option A:
DIRECTV Receiver to TV with RF cable only
If connection option A best matches your needs, follow these steps:
1
Make sure your TV and DIRECTV Receiver are turned off and unplugged.
2
Connect the RG-6 coaxial cable running from your satellite dish to the SATELLITE IN jack
on the back of your DIRECTV Receiver.
3
Connect the coaxial cable running from your cable TV system or off-air TV antenna to the
OFF-AIR IN jack on the back of the DIRECTV Receiver.
4
Connect the supplied phone cord to a telephone wall jack and to the Phone Line jack on the
back of the DIRECTV Receiver.
5
(Optional) Connect the coaxial cable to the Antenna In jack on your TV and to the TV OUT
jack on the back of the DIRECTV Receiver.
6
Plug in the power cords for your DIRECTV Receiver and TV.
To watch DIRECTV
®
programming
To watch DIRECTV
®
programming, tune your TV to channel 3 or 4 (depending on the
position of the CH 3/4 switch on the back of your DIRECTV Receiver). Channel 3 is the
default setting.
NOTE
DIRECTV Receiver : Turned ON
Ant signal : Turned OFF (STBY)
DIRECTV Receiver
TV