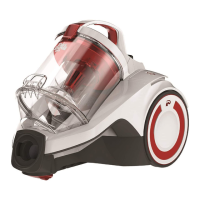
Maintaining the appliance
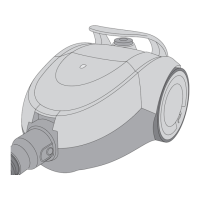
Emptying the dust bin
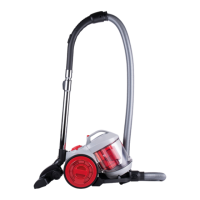
1
Switch o the appliance and pull the plug from
the socket.
2
Press the dust bin release catch
(Fig.
1
/
5
) and remove the dust bin from its console
in the appliance (Fig.
13
).
3
Place dust bin closely
above a waste bin and release the dust bin (Fig.
14
).
4
Dispose of the contents of the dust bin in a waste
bin. Gently tap out the dust bin to remove any soil-
ing.
5
Close the emptied dust bin.
6
Re-insert the
dust bin into its console in the appliance so that you
feel it click into place.
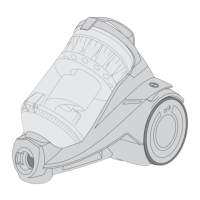
Cleaning the separator and lter
NOTE:
The appliance, the separator and the pre-motor
lter should be cleaned regularly in order to
maintain the suction power. Empty and clean the
dust bin at the latest when the cleaning/empty-
ing display lights up (g.
13
).
1
Remove the dust bin from the appliance, >”Emp-
tying the dust bin” on page 18.
2
Push the upper
dust bin cover release (g.
1
/
1
).
3
Remove the
pre-motor lter (Fig.
15
).
4
Remove the separator, to-
gether with the separator cover, from the dust bin
(g.
16
).
5
Release the separator cover (g.
17
).
6
Remove the cover from the separator (Fig.
18
).
7
Remove the separator and dispose of the con-
tent in a waste bin.
8
Rinse the pre-motor lter and
the separator out thoroughly under running water.
9
Leave the cleaned parts to dry completely for at
least 24 h.
9
Insert the separator cover into the sep-
arator.
10
Insert the separator cover into the separa-
tor (g.
19
).
11
Insert the separator, together with
the separator cover, into the dust bin (Fig.
20
).
12
Place the pre-motor lter on the dust bin (Fig.
21
).
13
Close the dust bin cover.
14
Re-insert the dust bin
into its console on the appliance body. You must be
able to feel the dust bin click into place.
Cleaning the exhaust lter
CAUTION!
The ne ns on the exhaust lter are sensitive.
Never clean the ns with water and only ever use
soft brushes for cleaning.
NOTE:
Replace any damaged, discoloured or deformed
exhaust lters with new ones.
1
Press the key to release the exhaust lter cov-
er and ip the exhaust lter cover away towards the
rear (g.
22
).
2
Remove the exhaust lter by pull-
ing on the catch (Fig.
23
).
3
Carefully tap out the ex-
haust lter.
4
Carefully clean the exhaust lter with a
soft brush.
5
Re-insert the exhaust lter into its con-
sole on the appliance (Fig.
23
).
6
Turn the retaining
ring clockwise.
Cleaning the mini turbo nozzle
1
Disconnect the mini turbo nozzle from the handle
or the telescopic tube.
2
Turn the retaining ring an-
ti-clockwise (g.
24
).
3
Carefully open up the appli-
ance top of the mini turbo nozzle (Fig.
25
).
4
Thor-
oughly clean the brush by hand. In case of stubborn
soiling, carefully use tweezers or scissors (Fig.
26
).
5
Place the appliance top on the 4 tabs on the appli-
ance bottom and then carefully close the appliance
top.
6
Push the circlip back on.
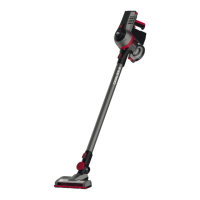
Accessories
• Filter set (1 dual pre-motor lter, 1 exhaust lter) –
2225001 (g.
27
/A)
• Filter unit (lter screen, lter cup) – 2210005
(g.
27
/B)
• 1 parquet brush – M203-5 (g.
27
/C)(*)
• 1 mini turbo brush “Fellino” – M219 (g.
27
/F)(*)
• 1 midi turbo brush – M221 (g.
27
/G)(*)
• 1 long exible crevice nozzle – M232 (g.
27
/H)(*)
• 1 hard oor nozzle – M236-1 (g.
27
/D)(*)
• 1 carpet nozzle – M242 (g.
27
/D)(*)
(*) optional
Troubleshooting
Before you contact our customer service department
or send the appliance to the Dirt Devil customer ser-
vice department, you will nd a lot of additional in-
formation in the service area of our website which
will help you solve problems.
www.dirtdevil.de/service
WARNING!
Switch o the appliance before you start trouble-
shooting. Never use a faulty appliance.
!
18
EN