TOOLREQUIRED:PHILLIPSORFLATHEADSCREWDRIVER
OUTILNÉCESSAIRE:TOURNEVISÀPOINTECRUCIFORMEOUÀTÊTEPLATE
HERRAMIENTANECESARIA:DESTORNILLADORPHILLIPSOPLANO
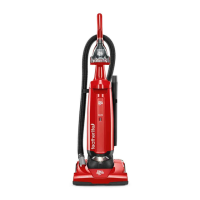
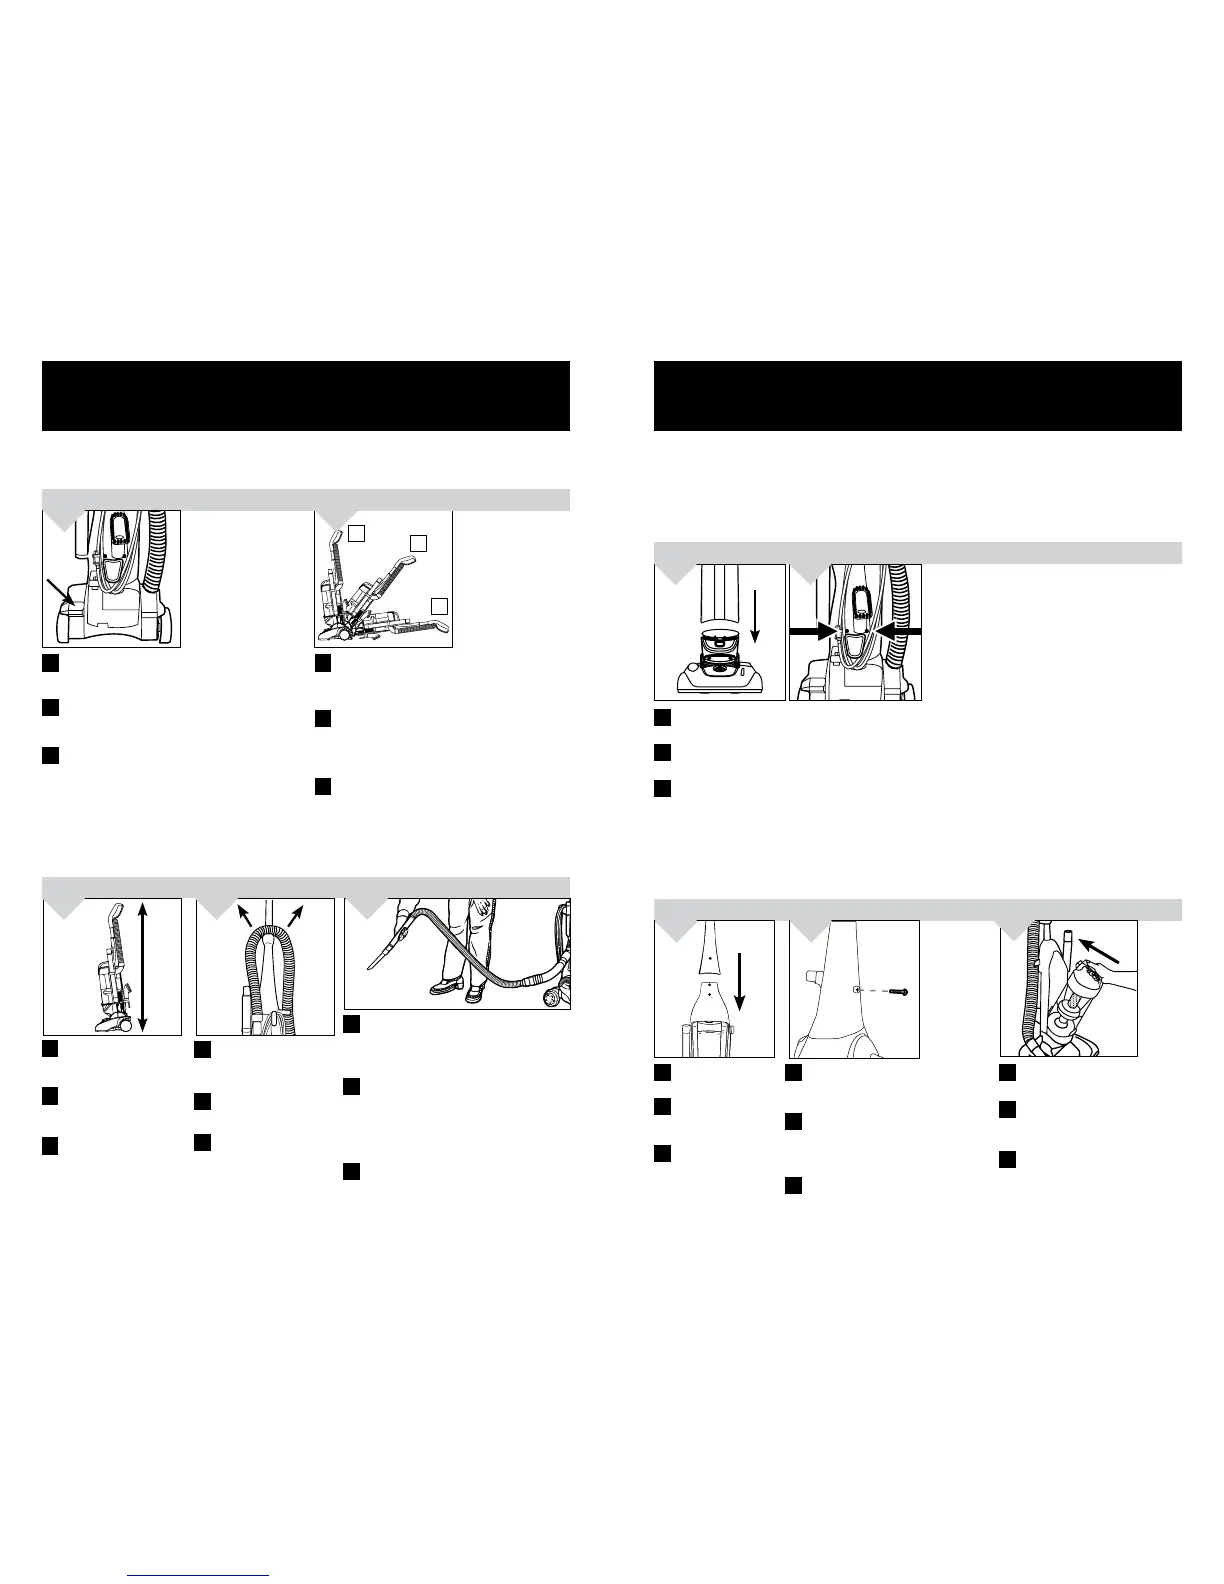
Attachbackpanelofcleanerbypushingdownintoplace.Insertthetwo(2)screwsintothebackoftheback
panelandtightenuntilsecure.
Fixerlepanneauarrièredel’appareilenplaceenlepoussantverslebas.Insérerlesdeux(2)visdansl’arrière
dupanneauetlesvissersolidement.
Coloqueelpaneltraserodelaaspiradorapresionándolohaciaabajoensulugar.Insertelosdos(2)tornillos
dentrodelaparteposteriordelpaneltraseroyajústeloshastaquequedenbiensujetos.
Replace dirt container by tilting
backuntilitsnapsintoplace.
Remettez le godet à poussière
en l’inclinant vers l’arrière pour
l’enclencher.
Vuelva a colocar el recipiente de
polvo inclinándolo hacia atrás
hastaquequedetrabado.
ATTACH BACK PANEL
FIXER LE PANNEAU ARRIÈRE
COLOQUE EL PANEL TRASERO
ATTACH DIRT CUP
FIXER LE VIDE-POUSSIÈRE
COLOQUE EL DEPÓSITO DE POLVO
1. 2.
1.
1316
E
E
F
F
S
S
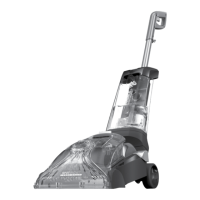
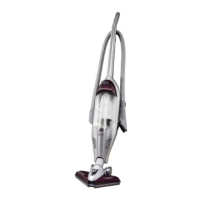
Move the handle and adjust it to the desired
positionfor(A)storingtheupright,(B)operating
thecleaner,and(C)de-pressthehandlerelease
pedalagaintocleanunderfurniture.
Déplacez la poignée et réglez-la à la position
souhaitéelorsquevous(a)rangezl’aspirateur,(b)
faites-lefonctionner,et (c) appuyezsurlapédale
de déclenchement de la poignée pour nettoyer
souslesmeubles.
Muevaelasayajústelaenlaposicióndeseadapara
(a)guardarlaaspiradora,(b)operarlaaspiradora
y (c) pisar el pedal de liberación del asa nueva-
menteparalimpiardebajodelosmuebles.
Toreleasehandle,pushthehandlerelease
pedallocatedonthelowerleftsideofthe
cleaner.
Pour dégager la poignée, appuyez sur la
pédalededégagementdelapoignéesituée
surlapartieinférieuredel’aspirateur.
Paraliberarelasa,piseelpedaldeliber-
acióndelasalocalizadoenlaparteinferior
izquierdadelaaspiradora.
4.
FLOOR / CARPET CLEANING
NETTOYAGE DES PLANCHERS/MOQUETTES
LIMPIEZA DE PISOS / MOQUETAS
HANDLE RELEASE PEDAL
PÉDALE DE DÉGAGEMENT DE LA POIGNÉE
PEDAL DE LIBERACIÓN DEL ASA
E
E
E
E E
F
F
F
F
F
S
S
S
S
S
Remove the hose
from the hose
caddy.
Retirerletuyaudu
porte-tuyau.
Retirelamanguera
del portamanguer-
as.
Cleaner must be in its
upright position to raise
brushroll.
Mettez l’aspirateur en
position vertical pour
leverlabrosse.
La aspiradora debe estar
en su posición vertical
para levantar el cepillo
giratorio.
1.
2.
ABOVE FLOOR CLEANING
NETTOYAGE AU-DESSUS DU SOL
LIMPIEZA POR ENCIMA DEL NIVEL DEL PISO
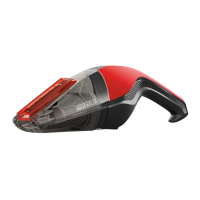
Chooseanyofthehandyaccessoriesoruse
thehosealone.Simplypushtheattachment
firmly onto the end of the wand or hose
handle.Toremovetool,twistandpullapart
gently.
Choisissezlesaccessoiresselonvosbesoins
ou utilisez uniquement le tuyau. Insérez
simplement les accessoires sur l’extrémité
delarallongeoudelapoignéedutuyauet
appuyez fermement. Pour retirer un acces-
soire, tournez-le et retirez-le avec précau-
tion.
Elija cualquiera de los útiles accesorios o
uselamanguerasola.Sim-plementeempuje
elaccesorioconfirmezaenelextremodela
lanzaodelasadelamanguera.Paraquitar
elaccesorio,gireytiresuavemente.
3.
A
B
C
HOW TO ASSEMBLE
ASSEMBLAGE
CÓMO ENSAMBLAR
E E
F
F
S
S
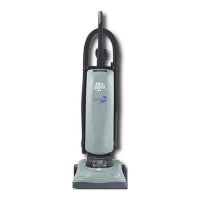
Placehandleontotop
ofbackpanel.
Insert one (1)screw into the back of
the handle and tighten, making sure
thehandleplugissecure.
1. 2.
HANDLE (BACK) ASSEMBLY
ASSEMBLAGE DU MANCHE (ARRIÈRE)
ENSAMBLAJE DEL MANGO (TRASERO)
Placezla poignéesur
le haut du panneau
arrière.
Insérez une (1) vis à l’arrière de la
poignée et serrez, en vous assurant
que la fiche de la poignée est fixée
solidement.
Coloque el asa en la
parte superior de la
cubiertaposterior.
Inserteun(1)tornilloenlapartetrasera
delasayapriételo,asegurándoseque
laclavijadelasaestéasegurada.
3.
HOW TO OPERATE: CONTINUED
MODE D’EMPLOI : SUITE
CÓMO FUNCIONA : CONTINUACIÓN
 Loading...