12
3 Before use
3 Before use
3.1 Unpacking
1. Unpack the appliance and all its accessories.
2. Check that the contents are intact (Fig. 1).
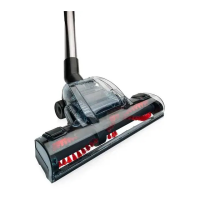
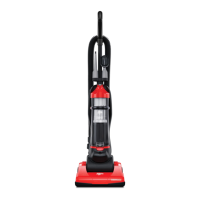
3.2 Selecting the proper nozzle
The furniture brush (Fig. 2/2a, 2b), the upholstery nozzle (Fig. 2/3) and
the crevice nozzle (Fig. 2/4) are included as accessories in the scope of
delivery besides the floor nozzle (Fig. 2/1).
- Furniture brush (Fig. 2/2a, 2b):
Use this to vacuum dust off objects that have sensitive surfaces. The
head of the furniture brush can be rotated through 360°. Adjust it
according to requirements.
- Upholstery nozzle (Fig. 2/3):
Use this to vacuum up dust off upholstered furniture.
- Crevice nozzle (Fig. 2/4):
Use this to vacuum dust from hard to reach places.
- Long flexible crevice nozzle (Fig. 3)
Use this to vacuum dust from distant, hard-to-reach places.
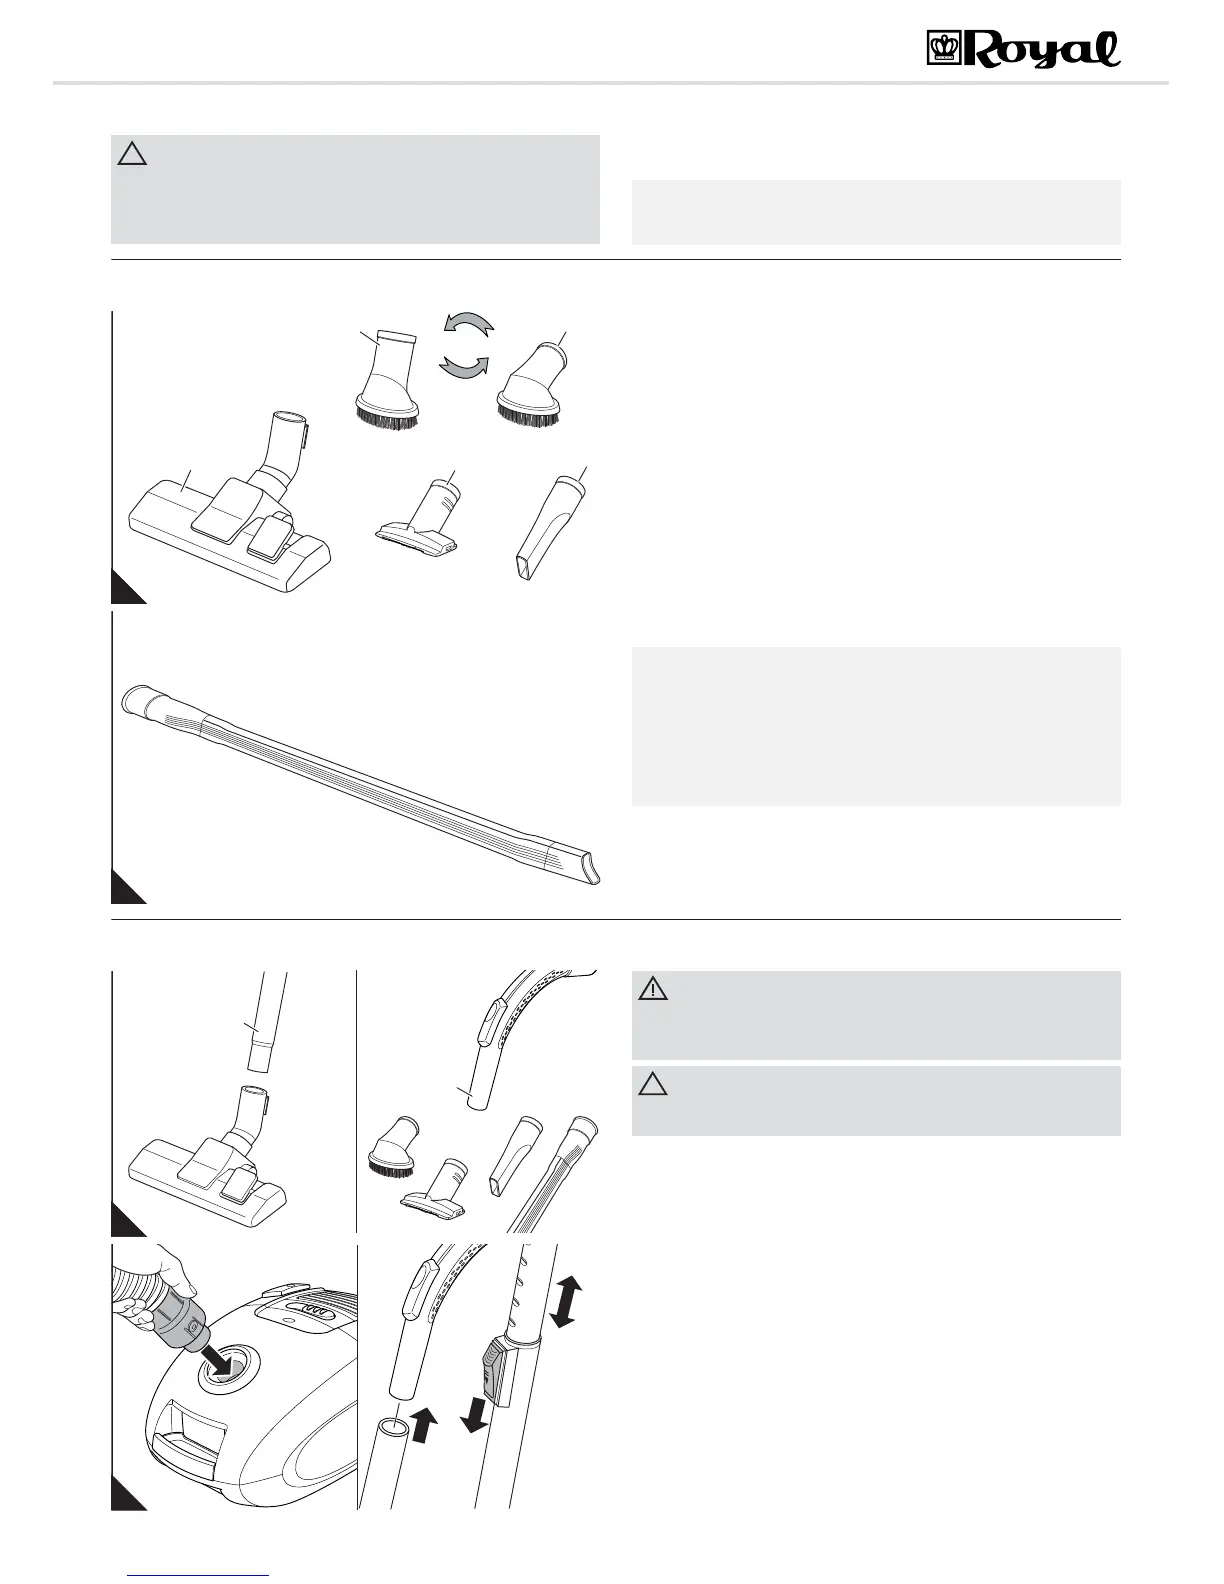
3.3 Assembly
1. Attach the selected nozzle to the bottom end of the telescopic tube
(Fig. 4/A1) or of the handle (Fig. 4/B1).
2. Insert the end of the suction hose into the intake opening (Fig. 5/A) of
the vacuum cleaner until you hear and feel it locking into place.
If using the telescopic tube:
3. Insert the handle into the upper end of the telescopic tube (Fig. 5/B).
4. Adjust the length of the telescopic tube (Fig. 5/C). Press down the re-
lease latch on the tube to do this. Then extend the telescopic tube to
the desired length. Let go of the release catch while pulling until it locks
in place. You will hear a distinct click.
When you use the long, flexible crevice nozzle, under certain circum-
stances the pressure inside the vacuum cleaner might drop too far thus
triggering the safety valve. The signal for this is e.g. a whistling noise
(depending on the vacuum cleaner model) and greatly reduced suction
performance. In this case, depending on the vacuum cleaner model and
equipment, you have to reduce the suction power or open the bypass
vent until the valve no longer triggers.
A
1
B
1