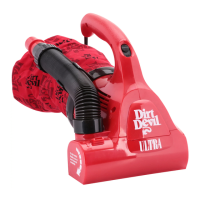
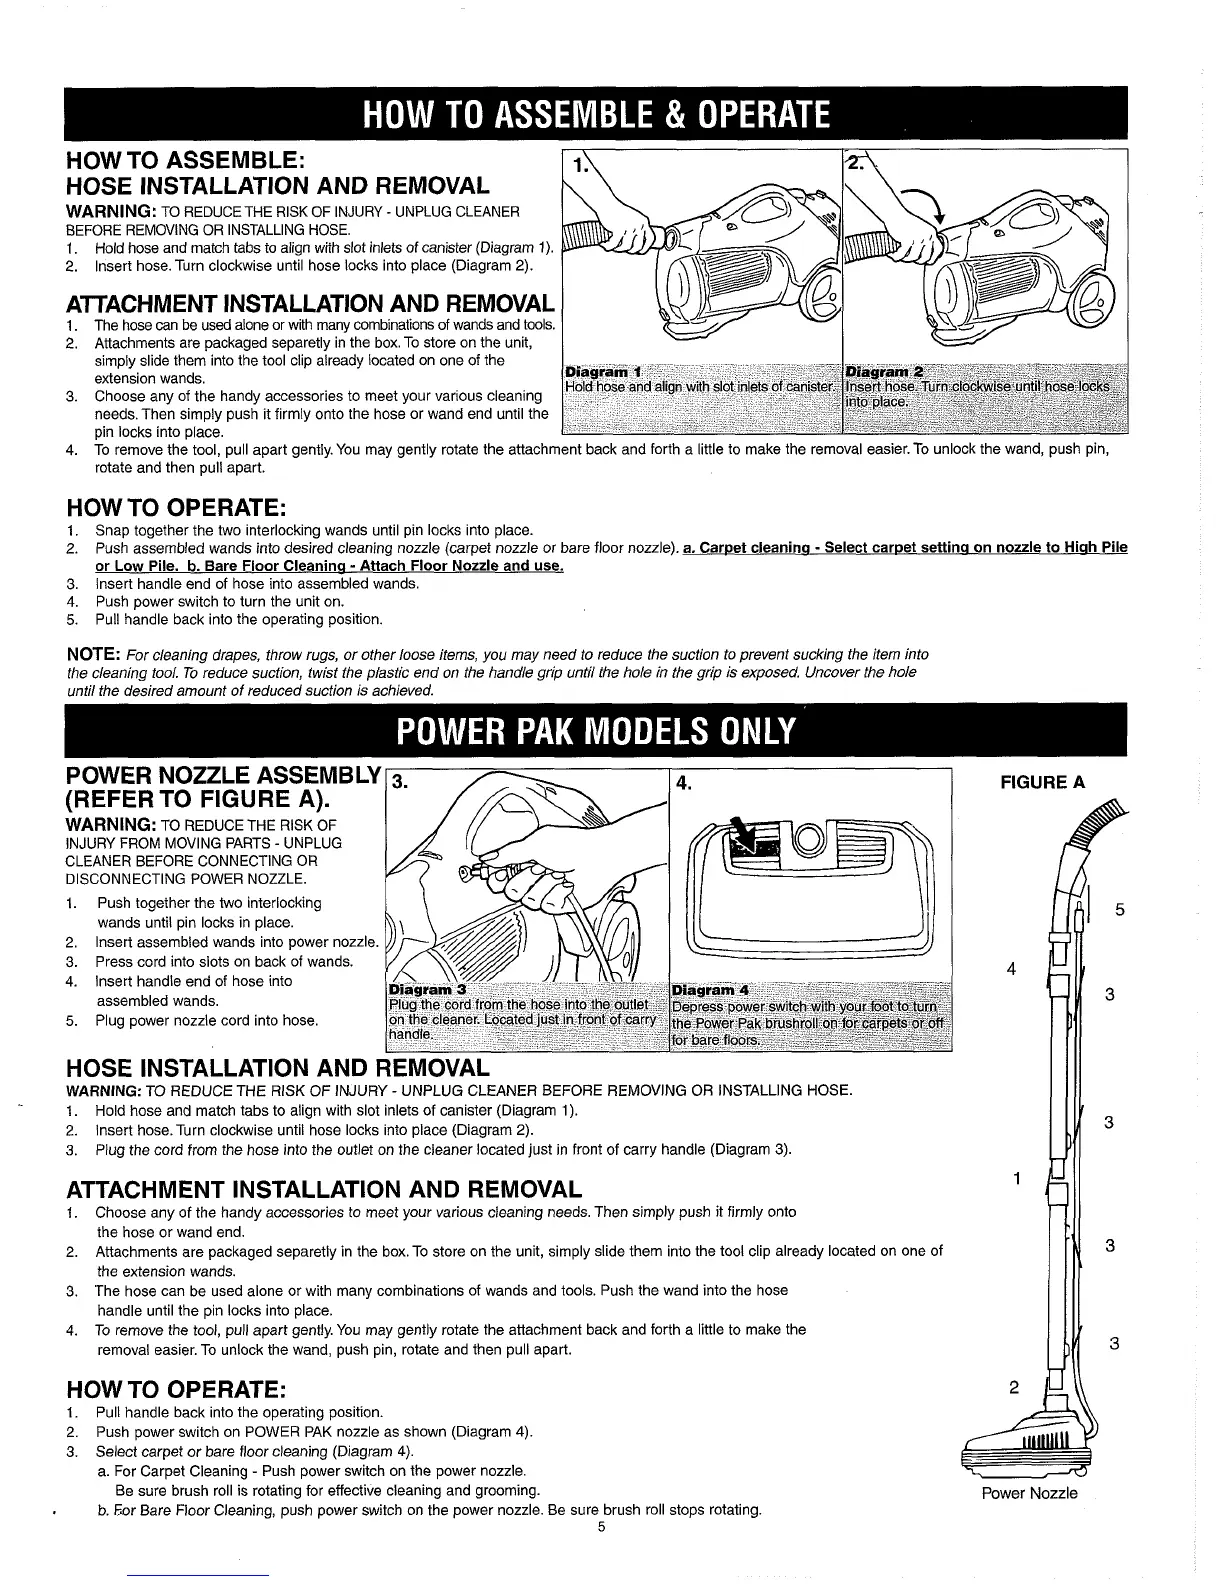
HOW TO ASSEMBLE:
HOSE INSTALLATION AND REMOVAL
WARNING:
TO REDUCETHE RISKOF INJURY
-
UNPLUG CLEANER
BEFORE REMOVING OR INSTALLING HOSE.
1.
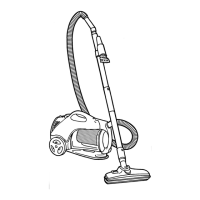
Hold hose and match tabs to align with slot inlets of canister (Diagram
1).
2.
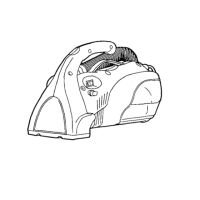
lnsert hose. Turn clockwise until hose locks into place (Diagram 2).
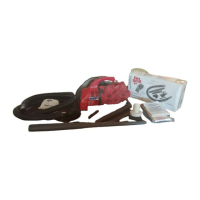
ATTACHMENT INSTALLATION AND REMOVAL
1. The hose can be used alone or with many combinations of wands and tools.
2.
Attachments are packaged separetlv in the box. To store on the unit,
-
~
4.
yo remove thi tool, pull apart gently. You may gently rotate the attachment back and forth a little to make the removal easier. To unlock the wand, push pin,
rotate and then pull apart.
s~mply shde them Into the tool cl~p already located on one of the
extens~on wands
3.
Choose any of the handy
accessories
to meet your vanous cleanmg
needs.Then slmply push ~t flrmly onto the hose or wand end unt~l the
in
locks Into dace
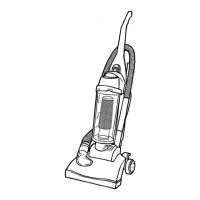
HOW TO OPERATE:
1.
Snap together the two interlocking wands until pin locks into place.
2.
Push assembled wands into desired cleaning nozzle (carpet nozzle or bare floor nozzle).
a. Caroet cleanina
-
Select careet settina on nozzle to Hiah Pile
or Low Pile.
b.
Bare Floor Cleanina
-
Attach Floor Nozzle and use.
3.
lnsert handle end of hose into assembled wands.
4.
Push power switch to turn the unit on.
5.
Pull handle back into the operating position.
NOTE:
For cleaning drapes, throw rugs, or other loose items, you may need to reduce the suction to prevent sucking the item into
the cleaning tool.
To
reduce suction, twist the plastic end on the handle grip until the hole
in
the grip is exposed. Uncover the hole
until the desired amount of reduced suction is achieved.
Diagram
1
Hold hose and align with slot inlets of canister.
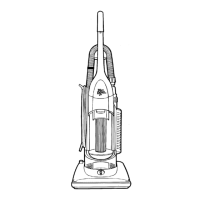
POWER NOZZLE ASSEMBLY
(REFER TO FIGURE A).
WARNING:
TO REDUCE THE RlSK OF
INJURY FROM MOVING PARTS
-
UNPLUG
CLEANER BEFORE CONNECTING OR
DISCONNECTING POWER NOZZLE.
1. Push together the two interlocking
wands until pin locks in place.
2.
lnsert assembled wands into power nozzle.
3.
Press cord into slots on back of wands.
4. lnsert handle end of hose into
assembled wands.
5.
Plug power nozzle cord into hose.
Diagram
2
lnsert hose. Turn clockw~se until
hose
locks
lnto place.
HOSE INSTALLATION AND REMOVAL
WARNING:
TO
REDUCE THE RISK
OF
INJURY
-
UNPLUG CLEANER BEFORE REMOVING OR INSTALLING HOSE.
1.
Hold hose and match tabs to align with slot inlets of canister (Diagram 1).
2.
lnsert hose. Turn clockwise until hose locks into place (Diagram
2).
3.
Plug the cord from the hose into the outlet on the cleaner located just in front of carry handle (Diagram 3).
ATTACHMENT INSTALLATION AND REMOVAL
1.
Choose any of the handy accessories to meet your various cleaning needs. Then simply push it firmly onto
the hose or wand end.
2. Attachments are packaged separetly in the box. To store on the unit, simply slide them into the tool clip already located on one of
the extension wands.
3. The hose can be used alone or with many combinations of wands and tools. Push the wand into the hose
handle until the pin locks into place.
4. To remove the tool, pull apart gently. You may gently rotate the attachment back and forth a little to make the
removal easier. To unlock the wand, push pin, rotate and then pull apart.
HOW TO OPERATE:
1. Pull handle back into the operating position.
2.
Push power switch on POWER PAK nozzle as shown (Diagram 4).
3.
Select carpet or bare floor cleaning (Diagram
4).
a. For Carpet Cleaning
-
Push power switch on the power nozzle.
Be sure brush roll is rotating for effective cleaning and grooming.
.
b. For Bare Floor Cleaning, push power switch on the power nozzle. Be sure brush roll stops rotating.
5
FIGURE A
Power
Nozzle