6
In the Box (As shown in gure I)
1. Bracket A (on top) 2. Bracket B (on left)
3. Bracket C (on right) 4. Bracket D (support bracket)
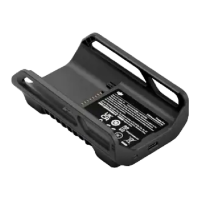
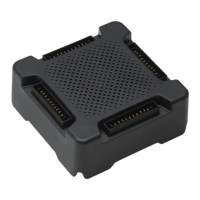
5. Bracket Connector 6. OSDK Adapter
7. USB Cable (with 2 type A ports) 8. Power cable
9. Cable Clip 10. Support Base
11. Thumb Screw 12. Type A Screw (M1.6)
13. Type B Screw (M2.0) 14. Type C Screw (M3.0)
15. Type D Screw (M1.6 step) 16. Screwdriver
Assembly and Connection
1.As showningure
Ⅱ
assemble the body of the mounting bracket and
OSDK adapter, then tighten the type A, B and D screws.
2.Asshowningure
Ⅲ
, mount the Manifold 2 onto the mounting bracket
body, then tighten the thumb screws.
3.Asshowningure
Ⅳ
:
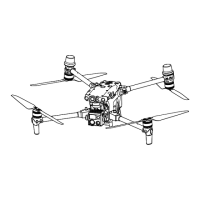
a. Mount the Manifold 2 and mounting bracket to the upper cover of the
aircraft
b. Remove the sticker under the OSDK adapter
c. Mount the support bases, then tighten the type C screws. Make sure
to install the Manifold 2 and mounting bracket in the direction shown in
thegure.DONOTreverseanyitem.
4.Asshowningure
Ⅴ
:
a. Connect the USB 3.0 port (Type A) on the Manifold 2 to the USB port
of the OSDK adapter using the USB cable (with 2 Type A ports)
b. Connect the power port on the Manifold 2 to the power port of the
OSDK adapter using the power cable
c. Connect the cable on the OSDK adapter to the aircraft’s OSDK port.
d. Connect other cables if necessary, and then put the cables into the
cable clip on the mounting bracket.
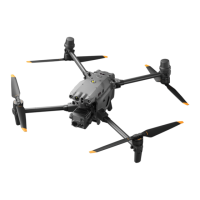
Asshowningure
Ⅵ
, the OSDK expansion module can be used
in conjunction with the upward single gimbal. Make sure to mount
theOSDKexpansionmodulerst.
 Loading...