M4110 Leakage Reactance Interface User Guide
72A-2243-01 Rev. B 9/04 3-17
September 17, 2004
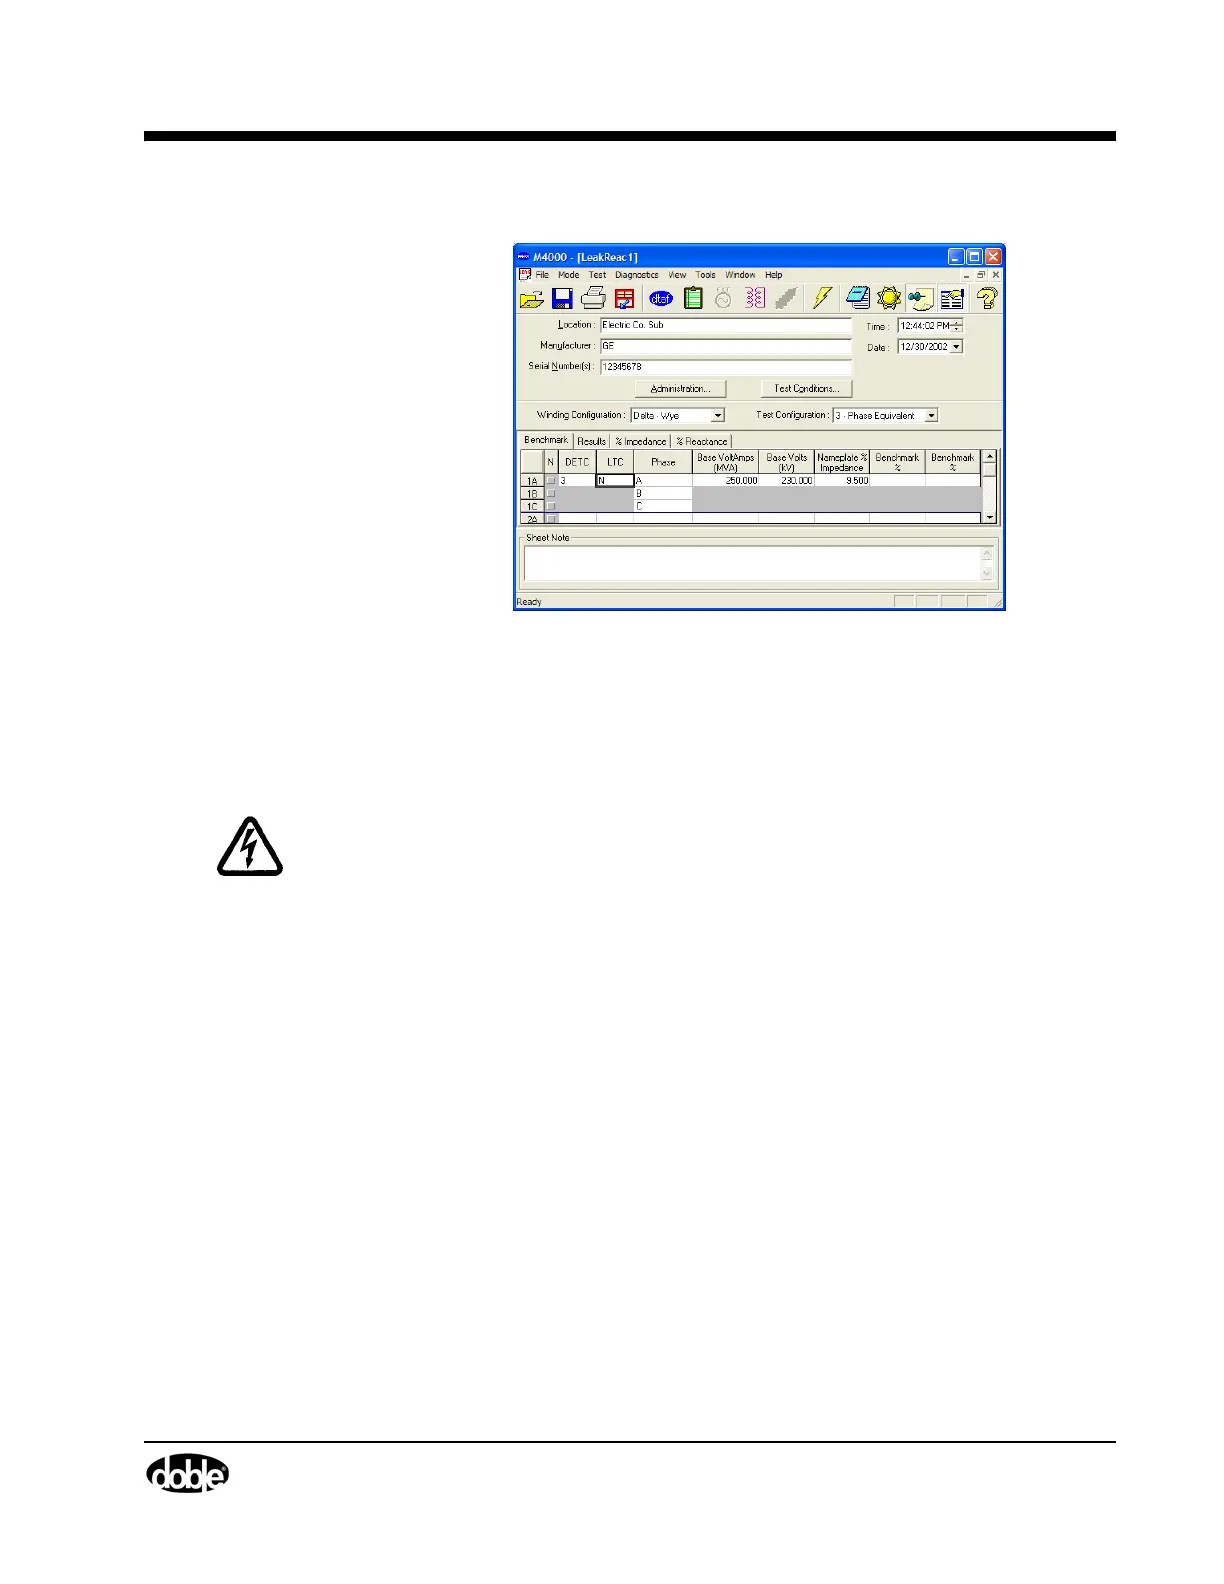
Figure 3.7 Leakage Reactance Test Nameplate Data
11. To begin the test, press F2 or click the lightning bolt icon. If the
Nameplate data has not been entered, you will be presented with a final
warning screen before you start the test.
WARNING If using the M4130 Leakage Reactance Module, the safety switches and
safety strobe are not used! Observe necessary safety precautions!
12. Adjust the variac until the value of current opposite the analog current bar
on the screen falls in or as near as possible to the recommended test
current range. The test voltage should exceed at least 15 volts.
13. Press the F3 key to measure. The message, “Do not change voltage;
collecting data” will be displayed.
14. When the M4000 has made the necessary measurements, the message,
“Test Done” will be displayed.
15. Press F5 to accept the results, or any of the other keys whose functions are
described at the bottom of the screen:
F1 Screen Help
F2 Restart Test
F5 Accept Results
F6 Discard Results
F7 Print Results
F8 Save Results