F
G
H
I
J
K
113˚F [45˚C]
41˚F [5 ˚C]
AUTOMATIC SHUT DOWN
The DOLPHIN will automatically shut down after a work cycle of 12 hours. Should a second cycle
be required, switch off the power supply for at least 30 seconds before restarting.
SWITCH OFF THE POWER SUPPLY BEFORE REMOVING THE DOLPHIN FROM THE POOL.
Caution:
Surges and interruptions to electric power may cause the DOLPHIN to restart.
After completing cleaning:
• SWITCH OFF the power supply.
• Pull the Dolphin to the surface by gently pulling the cable.
• Lift the Dolphin out of the water by the handle – NOT THE CABLE.
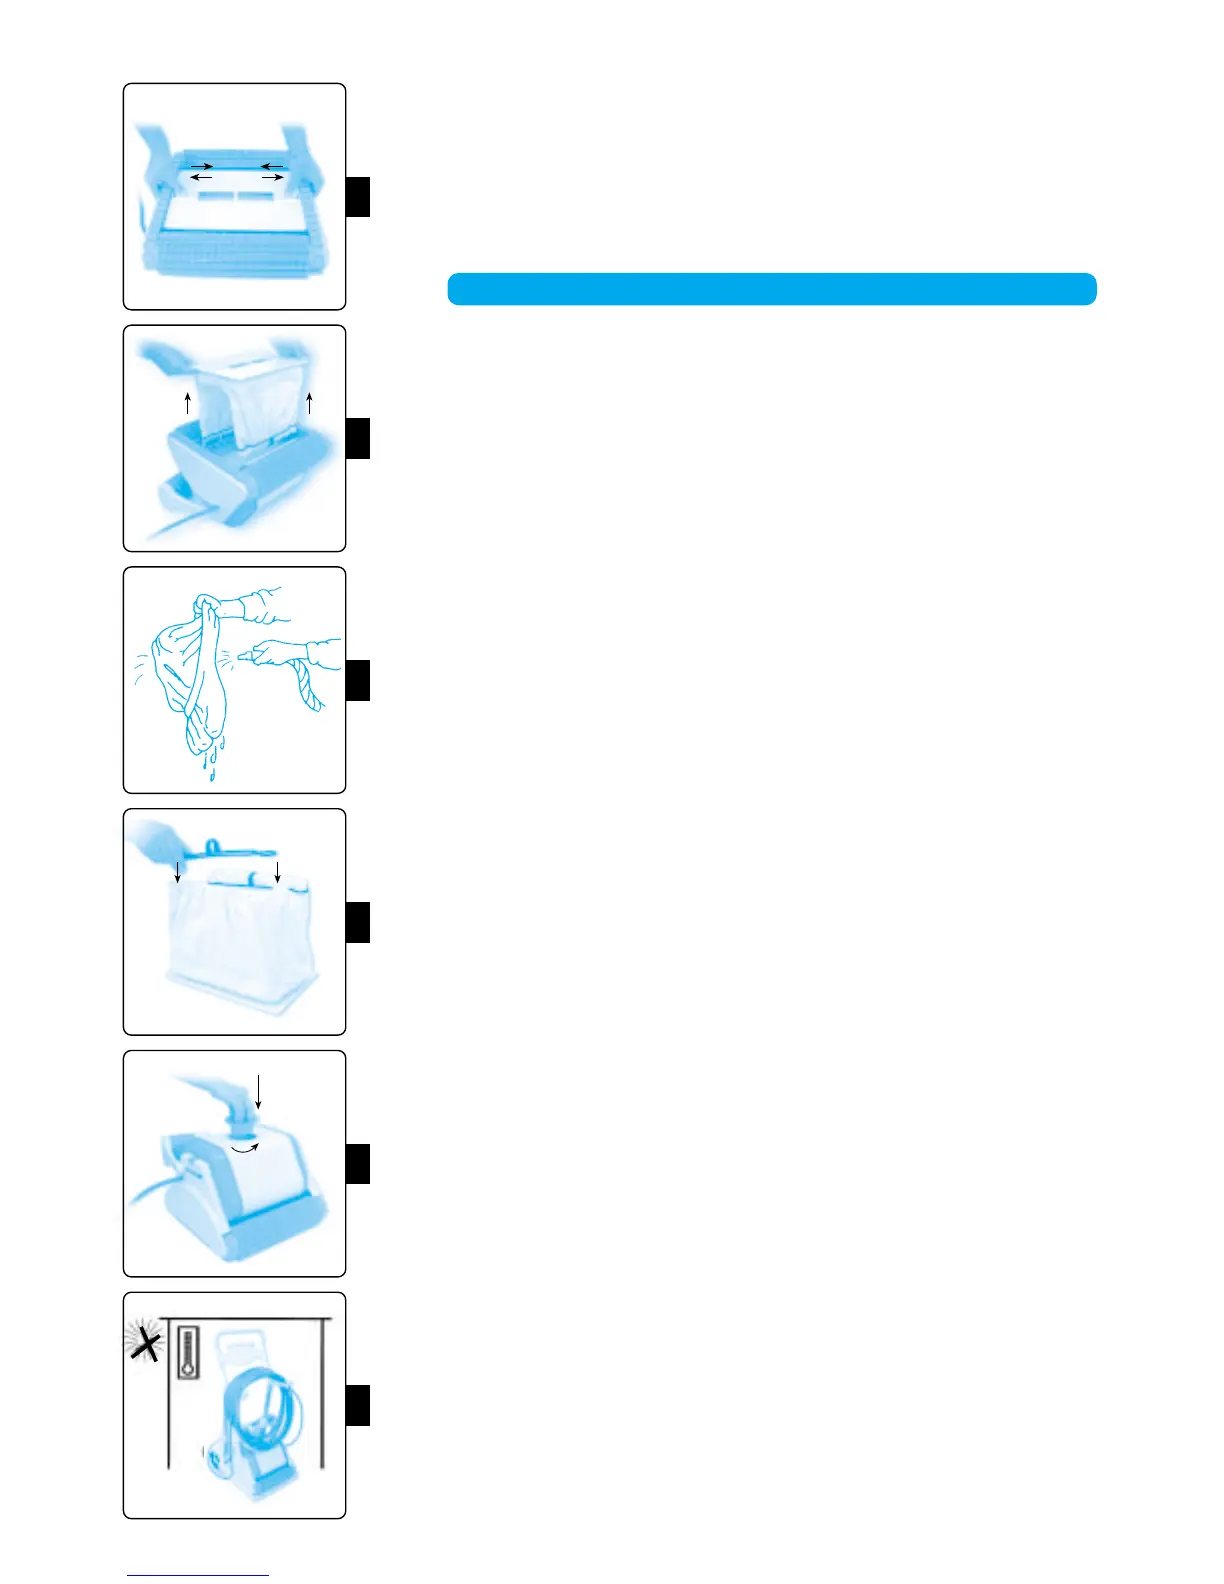
• Place the Dolphin upside down, release the 2 yellow locking clips (#5 p.5). Fig. F. and remove
the bottom lid assembly (#6 p.5) Fig. G.
• Remove the 2 black filter bag clips (#7 p.5) and the filter bag (#8 p.5).
• Turn the filter bag inside out and wash thoroughly with a garden hose. Fig. H.
• The bag may be laundered using a regular synthetics cycle. This should be done at least once
every 2 months. An additional filter bag is included.
• Remove the yellow inlet cover (#9 p.5) by pulling it gently upwards.
• Remove the inlet flaps (#10 p.5).
• Clean the inlet flaps, cover and under the locking clips.
• Reinstall the flaps & the inlet cover.
• Replace the filter bag with the tag on the outside & positioned centrally along the long side
of the bottom lid.
• Stretch the elastic ring of the bag over the 2 metal frames and over the white lip
of the bottom lid.
• Gather all the excess filter material into the center of the metal frames.
• Gather the material along the top of the frames so that the corners of the bag are adjacent
to the corners of the frame.
• Install a black filter bag clip over the top of each frame Fig. I.
• Install the bottom lid assembly in the body and lock it in place.
• Before cleaning moving parts ensure power supply is turned off & unit is unplugged.
• Turn the roller brushes (#11 p.5) and remove anything caught under the tracks (#12 p.5).
• Turn the Dolphin over & remove the yellow impeller tube (#13 p.5) by turning it gently counter
clockwise. Fig. J.
• Remove debris or hair clogged in the impeller (#14 p.5).
• Replace the impeller tube.
• Change the position of the handle by pressing downwards on the yellow latches and locking the
handle in the opposite diagonal position.
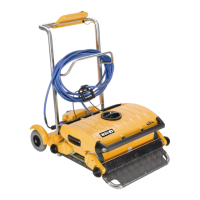
• Store the Dolphin upright on the Caddy and coil the cable loosely around the Caddy hooks. Fig. L.
• Store the Dolphin in a dry, shaded place Fig. K.
Fig
Fig
Fig
Fig
Fig
Fig
2