Do you have a question about the Dometic 9000 Series and is the answer not in the manual?
Describes the safety alert symbol and its purpose, emphasizing adherence to messages to prevent injury or death.
Explains signal words like WARNING and CAUTION used to indicate hazard levels and potential consequences.
Refers to following safety instructions, installation compliance with local/national codes, and relevant standards.
Lists critical warnings regarding qualified technicians, product modification, electrical shock, fire hazards, and flood hazards.
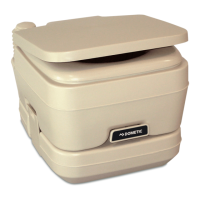
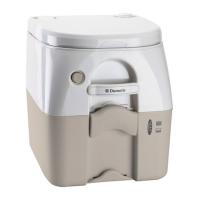
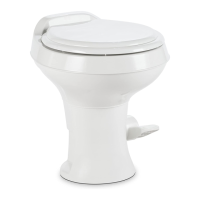
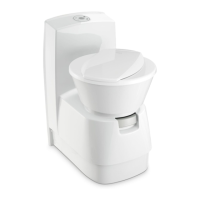
Lists the components that are supplied with the Dometic toilet unit.
Lists accessories and parts that are available for purchase separately.
Details the specific materials used for various components of the toilet, such as vitreous ceramic and ABS plastic.
Outlines the necessary electrical, water supply, and discharge system requirements for proper operation.
Provides detailed dimensional measurements for the 9300, 9400, and 9500 series toilets.
Details guidelines for water pumps, pressure tanks, and connections required for the fresh-water system.
Guides on planning the placement of switch/status panels and routing electrical connections.
Details methods for identifying and marking centerlines and access holes for toilet installation.
Step-by-step instructions for installing the toilet using through-the-floor connections.
Step-by-step instructions for installing the toilet using through-the-wall connections.
Covers routing water supply lines, wiring, and connecting control modules or panels.
Procedure to verify the installation by testing for water leaks after initial setup.