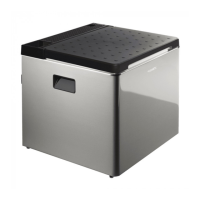
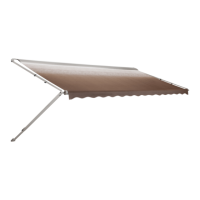
Operation ACX35, ACX40, ACX40G
20
➤ Push the sleeve of the hose line (3) into the safety coupling (5) until you hear it
latch.
➤ Open the valve (6) on the safety coupling (5).
➤ Open the valve of the gas cylinder or container.
!
➤ Check all connections with leak spray.
There are no leaks at the connections if no bubbles form.
Disconnecting the cooler from the external gas supply
➤ Close the valve (6) of the safety coupling (5) of the gas port.
➤ Disconnect the hose line (2) by pushing the sleeve towards the valve handle.
➤ Put the cap (4) onto the safety coupling (5).
➤ Turn the temperature controller (fig. 3 2, page 5) to “”.
6.6 Connecting the ACX35 or ACX40 cooler to a gas
cylinder
Note the following country-specific gas type and gas pressure categories:
➤ Connect the ACX35 or ACX40 cooler to the gas hose (fig. 6, page 7) and the
gas cylinder (fig. 7, page 8).
WARNING!
Never check for leaks with an open flame or near sources of ignition.
Country Device categories
Denmark, Finland, Hungary, Norway, Poland, Sweden I
3
B/P – 30 mbar
Belgium, Czech Republic, France, Italy, The Nether-
lands, Portugal, Slovakia, Spain, United Kingdom
I
3
+ – 28 – 30 / 37 mbar
Austria, Germany, Luxembourg, Switzerland I
3
B/P – 50 mbar
ACX35-ACX40-ACX40G-O-15s.book Seite 20 Freitag, 22. September 2017 6:24 18

 Loading...