Mounting the Micro Heki Micro Heki
8
See fig. 7
➤ Check the direction of travel when installing.
➤ Place the outer frame in the middle of the roof opening.
➤ Press the outer frame in the roof slightly so that the packing compound spreads
out.
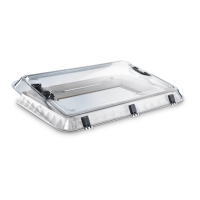
See fig. 8
➤ Wall thickness 23 – 42 mm: Attach the outer frame with the appropriate instal-
lation kit.
➤ Wall thickness 43 – 60 mm: Attach the outer frame with the adapter frame and
the appropriate installation kit. Use the screws included in the scope of delivery
of the adapter frame.
➤ Tighten the screws 10 minutes after installation.
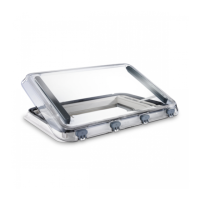
See fig. 9
➤ Mount the fastening brackets on the internal frame.
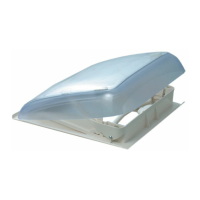
See fig. 0
➤ Push the inner frame onto the outer frame.
➤ After installing, check the roof light works properly.
I
➤ Remove the protective film from the acrylic glass.
➤ If necessary, enter the new vehicle height and weight in the vehicle documents.
NOTE
If the protective film is exposed to sunlight for too long, it cannot be
taken off without leaving a residue.
Micro-Heki--IO-16s.book Seite 8 Dienstag, 13. Februar 2018 5:56 17