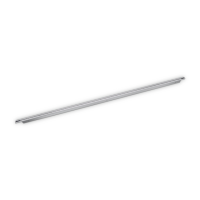
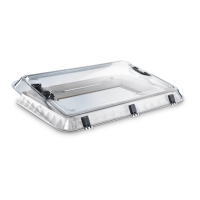
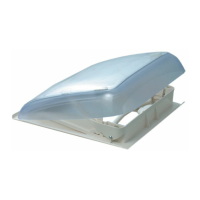
RainTec RT100 RT100 installation
13
6 RT100 installation
6.1 Required installation material
For the installation of the rain gutter, you will need:
Drill bit with 3 mm diameter
Screwdriver or bit with drive TX15
Suitable flexible sealant, e.g. Sikaflex
®
-252
6.2 Notes on the installation position
When choosing the installation location, observe the following:
A
NOTICE!
The cables and cabinets in the interior of the vehicle may not be
damaged by drilling the holes.
For optimal adhesion mount the rain gutter at ambient temperatures of
18 – 22 °C.
6.3 Installing the RT100
➤ Before installation, test to see if the lighting works.
See fig. 2 to fig. 8
Supplementary to fig. 2
➤ Clean the area on the wall of the vehicle above the sliding door.
The adhesive surface must be clean, free of grease and oil, and dry.
Supplementary to fig. 4
I
➤ Guide the connection cable down and out.
➤ Align the rain gutter in a centred fashion using the two inclined surfaces
at the sides and then press them into the wall of the vehicle.
NOTE
The rain gutter can no longer be moved if the adhesive surface is
on the vehicle wall. Check beforehand for correct alignment.