14
Cross-sections
The wires connected to this terminal must have the following
minimum cross section area:
RM2355/RM2455/RM2555•
Maximum length of 8 metres from refrigerator to the battery.
6 mm
2
cross-section low voltage multi strand cable.
RM4605/RM4805•
Maximum length of 8 meters from refrigerator to the battery.
10 mm
2
cross-section low voltage multi strand cable.
Cable lengths > 8 meters will require a larger cross-sectional
cable.
CONNECTION MARKED “ConneCt to permanent 12 Volt
DC house Battery” (RM2355/RM2455/RM2555) OR
“12V DC house” (RM4605/RM4805)
This connection supplies the AES refrigerator control system
and must not be interrupted at any time whilst using the refrig-
erator on 240 volt, gas, and 12 volt. This is a permanent 12 volt
connection.
The (+12V) and (-) poles have to be connected directly to the
permanent 12V DC house battery.
Do not use the chassis for the return lead.
The 12V supply must not be connected to a voltage controller
or similar device as the AES control system itself monitors the
DC voltage.
The +12V must be permanently attached and must not be cut
out when the ignition key is turned off. All connections should
be screwed or soldered to keep voltage drop to a minimum.
Cross-sections
The wires connected to this terminal must have a minimum
cross-section area of 1.5 mm
2
.
D+ CONNECTION
The connection D+ (alternator) has to be connected to the cor-
responding outlet of the vehicles electrical system - either a
12V or a 24V DC alternator. The D+ connection accepts
24V. Please note that the refrigerator accepts 12V only. Do not
connect the refrigerator to 24V!
This connection provides a signal to the refrigerators AES
control system informing the control system when the vehicle
engine is running.
The AES refrigerator can not select 12V as the energy source
unless the vehicle engine is running.
Cross-sections
The D+ (alternator) is a signal cable and therefore 1-1.5 mm
2
is
sufficient.
MOUNTING INSTRUCTIONS
REPOSITIONING THE HINGES
The refrigerator is equipped with reversible doors. A special
door reversing kit must be used to reverse the doors. This kit is
delivered with RM2355 but must be bought separately for
RM2455 and RM2555 (part number 2932750-13/2) as well as
for RM4605 and RM4805 (part number 2932750-11 (black)
and 2932750-08 (brown)). For further information, please
contact your dealer.
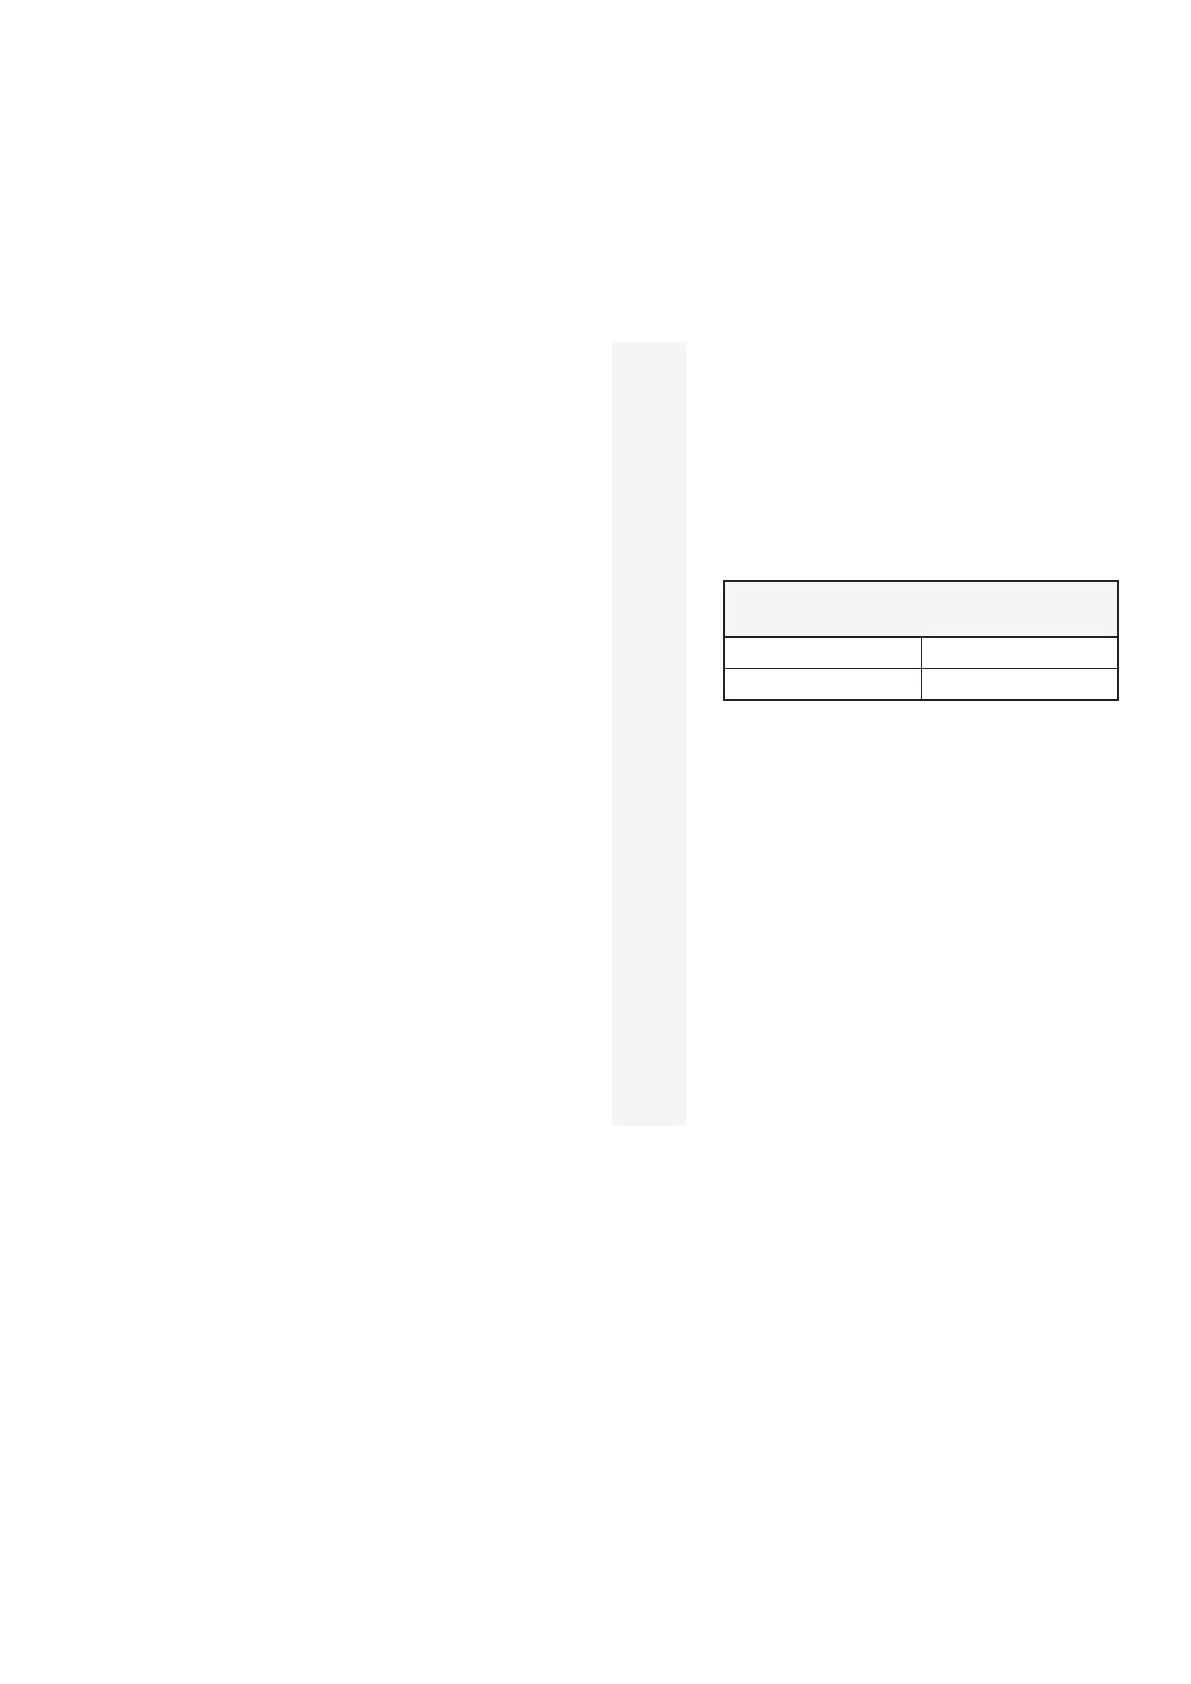
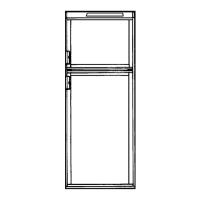
MOUNTING THE DOOR PANEL
Door panels for RM2355 must be supplied by
the manufacturer. This enables the manufacturer
to match the door panel with the rest of the cabi-
netry inside the motor home or caravan.
Before starting the mounting work, read the
instructions thoroughly. Check that the panel
dimensions are in compliance with those given in
the following table:
Dimensions (mm)
(Thickness max 4 mm)
Height Width
641±1 497±1
We recommend that the panel is mounted before
the refrigerator is installed in the enclosure. The
lower decoration strip and parts bag are taped
inside the door.
To mount the door panel, follow these steps:
Slide the panel from the bottom of the door 1.
into the grooves on the vertical edges of the
door.
Push the panel upwards. Take the two plastic 2.
panel stops from the parts bag and put them
in the two holes at the lower door frame.
Put the decoration strip across the door and 3.
fasten it with three screws from the parts
bag.
RM2355