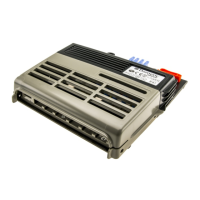
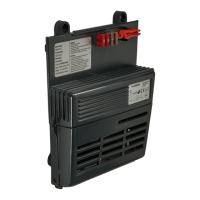
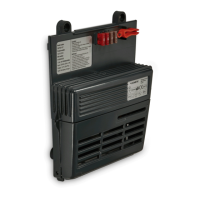
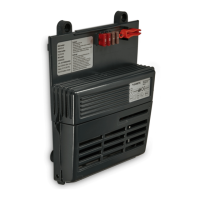
Using the switch-mode power supply SMP301-11
12
Switching via external 12 V switching voltage
➤ Make sure jumpers 6 (fig. 2 5, page 3) and 10 (fig. 2 8, page 3) are not set.
➤ Set jumper 9 (fig. 2 4, page 3).
✓ The switch-mode power supply can now be managed via the external 12 V
switching voltage.
Switching via power supply
I
➤ Set jumper 6 (fig. 2 5, page 3).
✓ The 24 V output power will be supplied whenever the power supply is
connected.
8 Using the switch-mode power supply
The switch-mode power supply switches on as soon as an external power supply is
available.
8.1 Replacing the plug-in fuses
Only replace a plug-in fuse (fig. 2 2, page 3) that has blown with a plug-in fuse of
the same value.
Use the fuse extractor (fig. 1 2, page 3) to easily remove and insert the plug-in
fuses.
➤ Disconnect the switch-mode power supply from the power supply.
➤ Press the two clips (fig. 1 4, page 3) in the direction indicated by the arrows
and lift the cover off (fig. 1 5, page 3).
➤ Only replace plug-in fuses that have blown with new plug-in fuses of the type
“ATO Type – LITTLEFUSE” and the same rating.
➤ Re-attach the cover to the switch-mode power supply.
➤ Put the switch-mode power supply back into operation.
NOTE
Setting jumper 6 (fig. 2 5, page 3) overrides the settings of jumpers 9
(fig. 2 4, page 3) and 10 (fig. 2 8, page 3).
SMP301-11--IOM-7s.book Seite 12 Donnerstag, 21. November 2019 4:58 16
 Loading...