47
46
CONTENTS
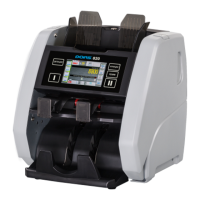
Banknote counter DORS 820 Banknote counter DORS 820
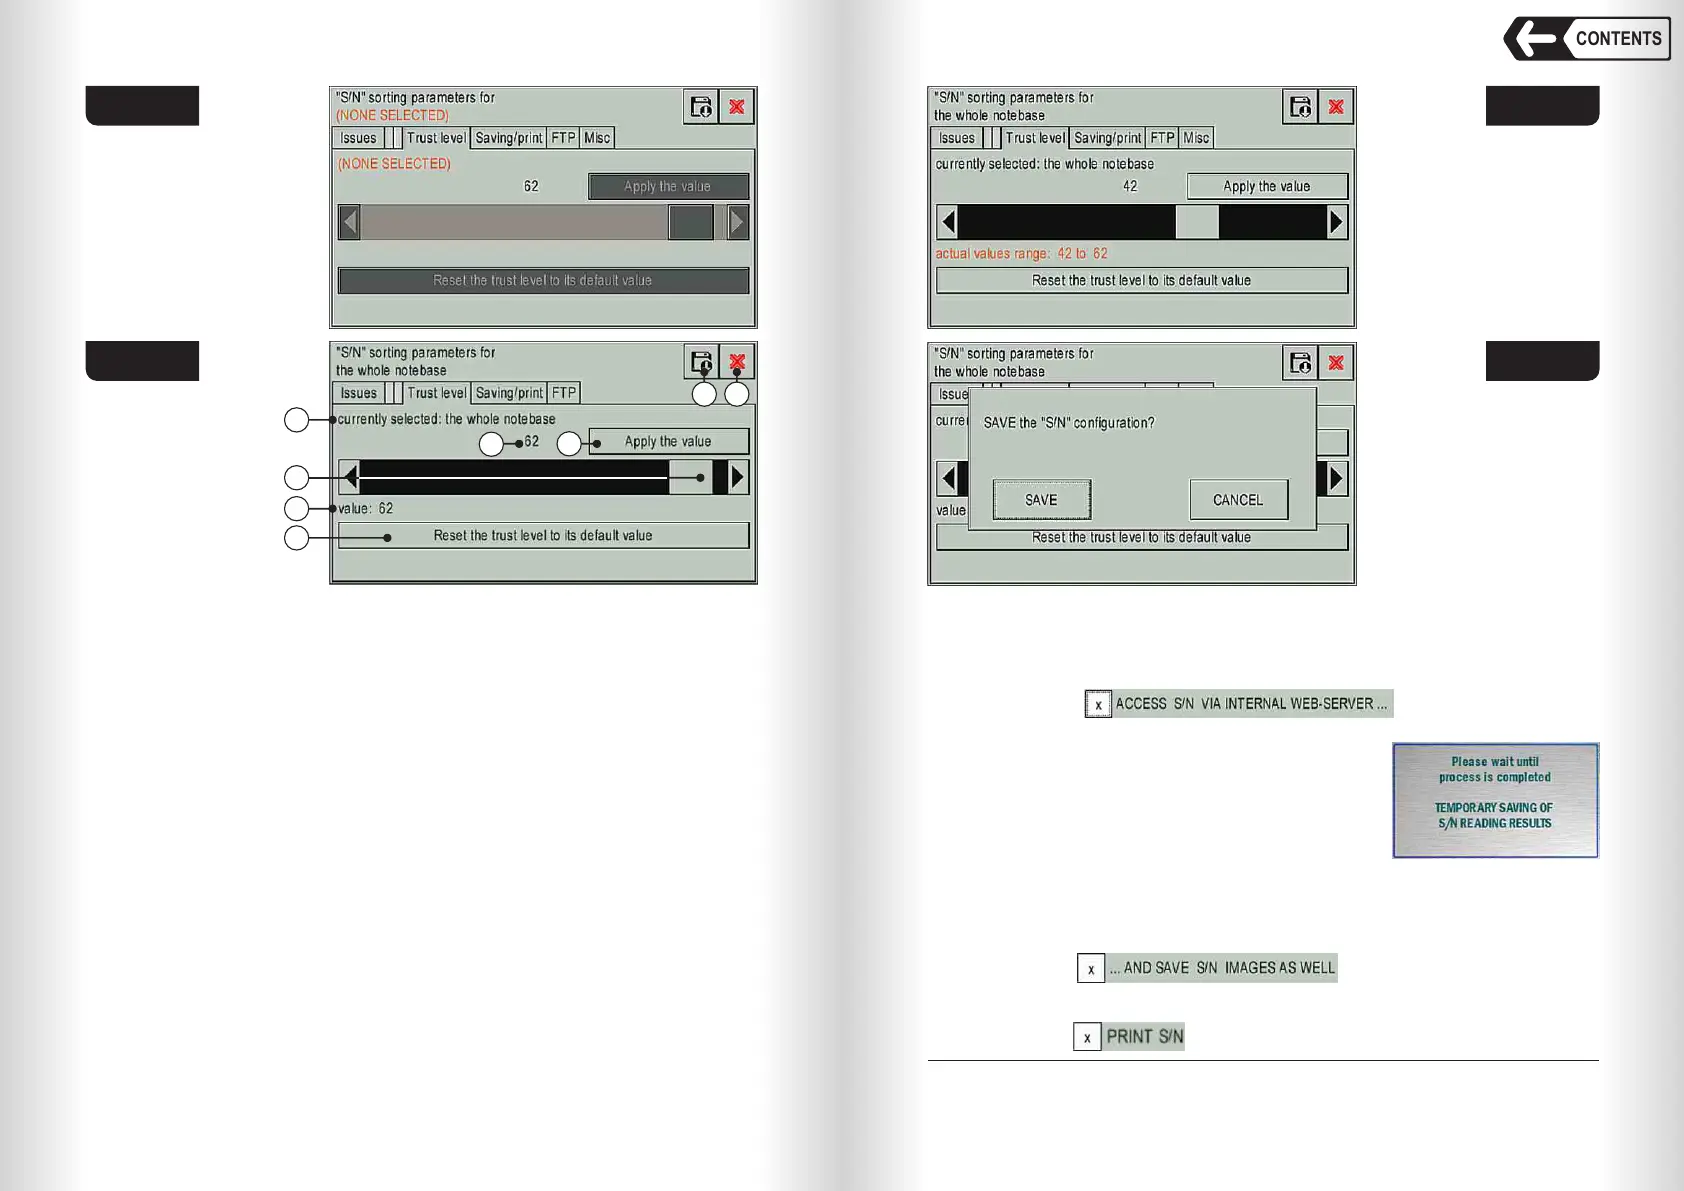
Fig. 75 shows:
1 Selected currency, denomination and issue (here all available currencies
are selected).
WARNING: All the changes will be implemented for selected currency,
denomination and issue only.
2 Trust level value scrollbar – will set the value from -5 to 65.
3 Actual trust level value (or value range, see Fig. 76): the last saved value or
default value (factory setting). Value range will appear when the settings for
selected currencies, denominations and issues are different.
4 The key will reset trust level for selected currencies, denominations and
issues to its default value.
5 Current trust level value set by the scrollbar.
6 Apply the value key will apply trust level value set by the scrollbar selected
currencies, denominations and issues. WARNING: Actual trust level value
will be applied only when all changes are saved (key 7 in Fig. 75).
7 The key will open a window (Fig. 77) to save actual trust level values for all
the made changes.
8 Exit key.
SAVING MODES tab (Fig. 78).
The tab allows you to configure the storage of count data and access to it
through the built-in WEB server via HTTP, and printing serial numbers on a
printer receipt.
The checkbox activates the generation
of files with the results of the recount of banknotes (including serial numbers) and
allows access to them through the device’s web server.
The data for 10 counts of banknotes can be stored
(the data remains stored until it is cleared from memory
or until the power is turned off). After each recount,
an informational message appears
After the counter’s memory is full, a message will appear indicating that the
memory needs to be cleared (see Fig. 79). If the counter is connected to a
6
computer , the data will be transferred in automatic mode while the counter’s
memory will be cleared, and there will be no memory overflow.
The checkbox activates saving the images of
s/n together with the s/n text. If activated, it increases the size of the file and the
time required to save the data.
The checkbox adds detected S/N text to the printer output data.
6
— T he computer must have SN receiving and saving software installed and launched.
Fig. 76
Fig. 77
1
2
3
4
5
6
7 8
Fig. 74
Fig. 75
 Loading...