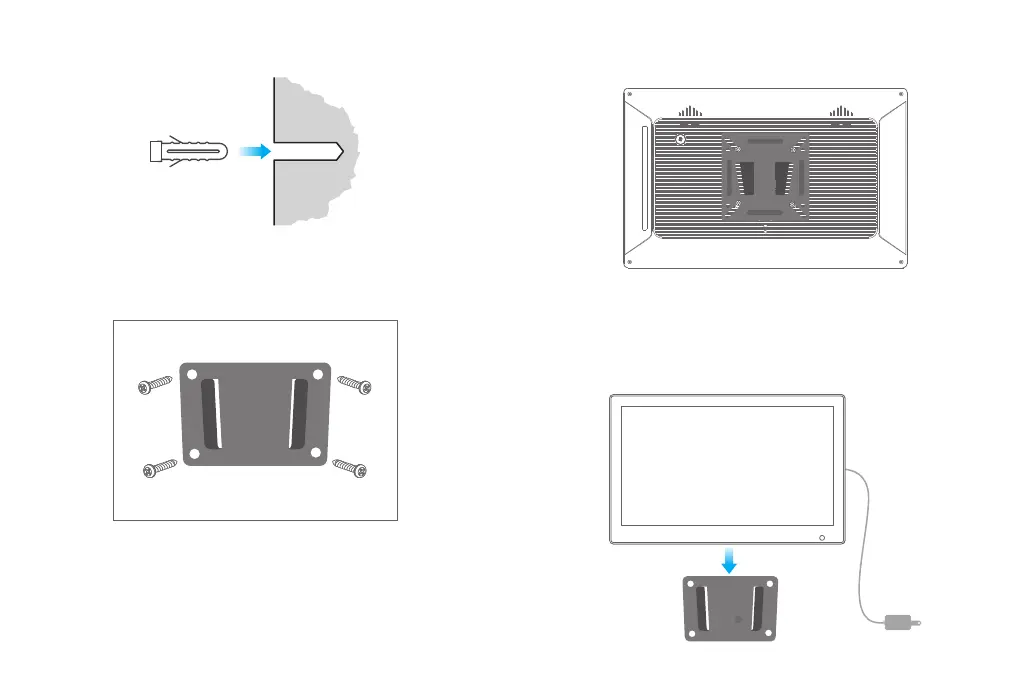
③ Install the anchors. Use a hammer to tap the four anchors into the four holes
drilled in the previous step.
④ Secure the wall mount. Attach the wall mount to the wall in a "V" shape (with the
big opening facing up), and drive the four long screws into the anchors to fix the
wall mount on the wall.
3. Installing the Frame Back Bracket
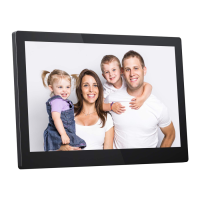
① Lay the photo frame face-down on a flat surface. The power button should be in
the upper left corner.
② Attach the back bracket to the back of the photo frame. Place the spring washers
under the screw heads, and use a screwdriver to tighten the 4 short screws on the
back of the photo frame.
4. Attaching the Photo Frame to the Wall
① Plug the power cord into the DC IN port on the photo frame.
② Hold the photo frame with the display screen facing towards you.
③ Put the frame back bracket a little bit higher than the wall mount, align the frame
back bracket with the wall mount, slide down slowly to hang the frame on the wall.
④ Installation is complete.
5
6