Installing Your Drinkpod
Installing Your Drinkpod 1-9
Tapping Water Source
source
Option A: Tapping Accessory Water Line
In this section, you will require 1/4 in. White PP Tubing, and may also need
B
1/4 in. Compression To Quick Connect Adapter, and pliers, or an adjustable wrench or
1/2 in. wrench.
1. If nothing is currently connected to your water accessory line, skip forward to Step
#7 on page 2-3.
2. If appliance is connected to water accessory line, start by powering o and
unplugging the appliance.
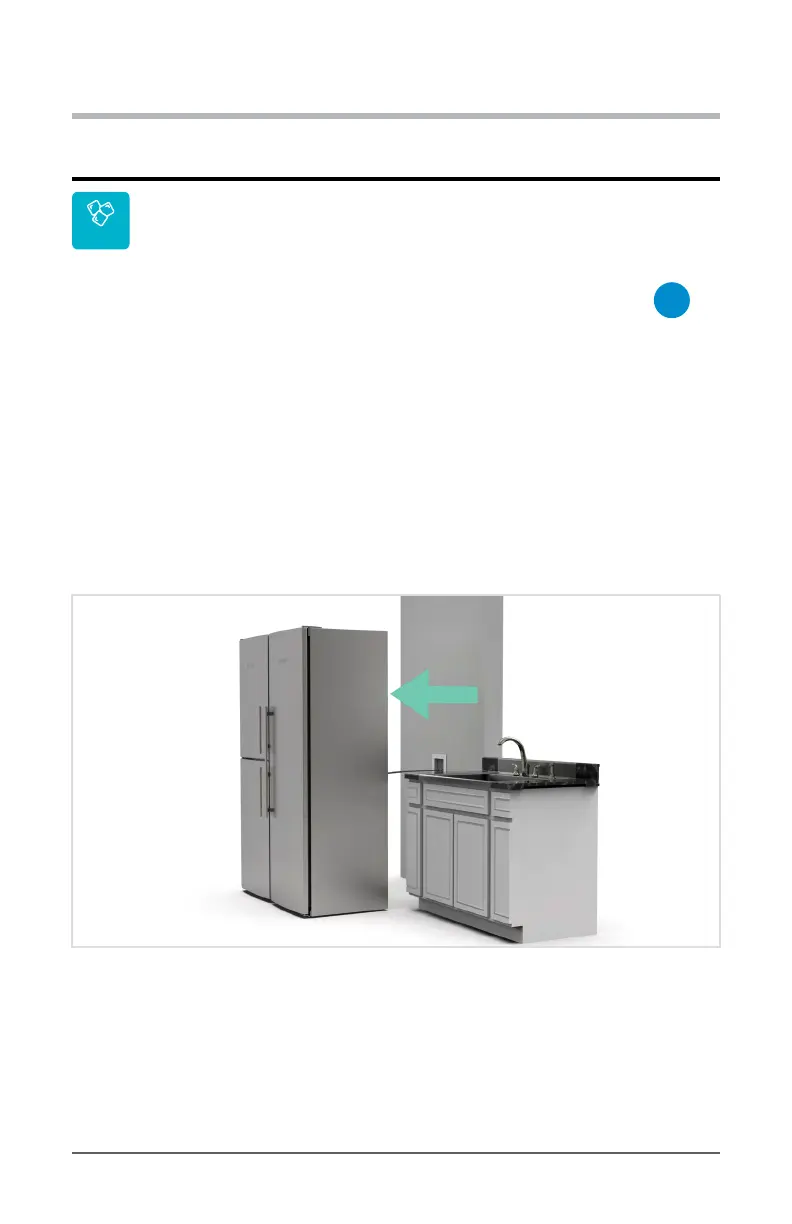
3. Pull the refrigerator (or other appliance) away from wall suciently to allow access to
wall and oor behind it.
Diagram 2.3A.3 Pulling Back Appliance To Access Water Source Line & Valve
4. In most scenarios, your shuto valve and connection will look similar to the rst diagram
below. We’ve also included the second and third most common setups in the proceeding
diagrams. The instructions should remain accurate, regardless of which setup yours is, as
long as it incorporates a shuto valve. Should the latter not be the case, you will have to
locate the shuto valve before proceeding.
INSTALLING YOUR DRINKPOD