Do you have a question about the Drive R800KD-RD and is the answer not in the manual?
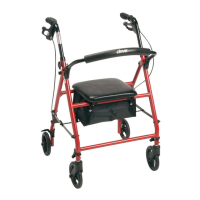
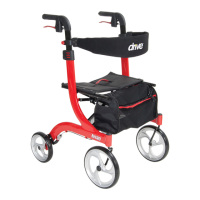
Lists all items included in the packaging: backrest, wheels, seat, bag, and assembly hardware like knobs and clips.
Instructions for unfolding the frame and attaching the front wheels using tightening knobs and c-clips.
Details on attaching the back wheels with brake handles and securing brake cables to the frame.
Guides on inserting brake handle tubes into the frame and setting the desired height using tightening knobs.
Steps for attaching the padded backrest by depressing black thumb buttons into the frame brackets.
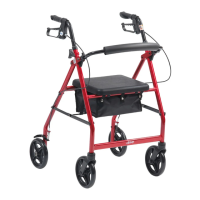
Ensure the rollator is fully opened, the seat is down, and the folding bar is locked.
Verify that both adjustment knobs are fully tightened and at equal heights before testing stability.
Confirm that loop locks prevent wheels from rolling when engaged and allow free movement when released.
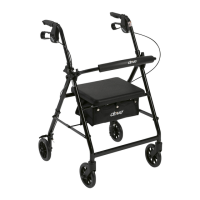
Always lock loop locks before sitting and avoid using the seat on inclines or uneven ground.
Replace tires promptly when they become significantly worn or damaged for continued safety.
Pull up on loop locks with fingers to slow down or achieve a temporary stop.
Press down on both loop locks with palms until a 'click' is heard to lock wheels.
Pull up on both loop locks with palms to the original position to release the wheel locks.
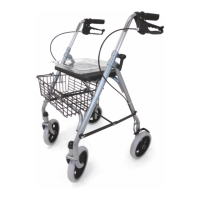
Important notice to hold the brake handle firmly in place without turning during adjustment.
Turn the adjustment nut clockwise to tighten the hand brake system.
Turn the adjustment nut counter-clockwise to loosen the hand brake system.
Visually inspect the product for secure parts, good working order, wear, and obstructions.
Covers defects in materials and workmanship for the lifetime of the original consumer purchaser.
Excludes damage from misuse, negligence, normal wear and tear, or non-durable components.
| Brand | Drive |
|---|---|
| Model | R800KD-RD |
| Category | Mobility Aid |
| Language | English |