PHONE: 858-430-4000 WWW.DRIVECAM.COM SUPPORT@DRIVECAM.COM
DRC201 2006-09-27
Page 3 Installing and Testing the DriveCam Event Recorder
INSTALLING THE BRACKET
The air temperature must be greater than 50°F for the bracket adhesive to bond securely to the
windshield. A large towel soaked with very warm water and placed on the exterior of the windshield over
the mounting position can be used for cold weather installations. Using the vehicle’s defroster can also
be effective. Otherwise, perform the installation in a heated garage.
Step 1 Park the vehicle on a flat, level surface.
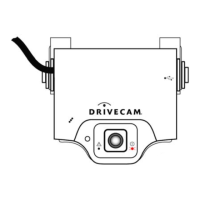
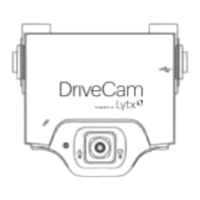
Step 2 Temporarily place the Event Recorder inside the mounting bracket.
Step 3 Using the alcohol wipe (provided), THOROUGHLY CLEAN AND DRY
the area
where you plan to mount the unit.
CAUTION: This step is critical to prevent the unit from falling off at a later date.
Step 4 Temporarily position the assembly (bracket and unit) behind the rearview mirror.
CAUTION: Do not peel the backing from the adhesive strip until instructed to do so.
Important Things to Consider
• Make sure the unit does not interfere with the driver’s primary field of vision.
• Make sure the lens has a clear view of the interior and exterior of the vehicle. Be aware of
potential obstructions such as windshield wipers, window tint, sun visors, circulation fans, and the
rear-view mirror when it is adjusted to its lowest position.
• Make sure the driver has a clear view of the status lights on the unit.
• Position the unit so the lens is as close to the centerline of the vehicle while still leaving room
(about 1¼ inch on the left side of the bracket) to insert the Torx wrench in the mounting screw
around the rearview mirror mounting post (failure to do so will require removing the entire bracket
in order to adjust or service the camera).
• If you are performing multiple installations, test the first one before installing the others. This
involves triggering the unit to record an event and then reviewing the event in HindSight software.
Look for potential obstructions to the forward and rear-facing cameras. Once you are certain that
the correct mounting location has been selected, you can continue installing the remainder of
your event recorders.
 Loading...