PHONE: 858-430-4000 WWW.DRIVECAM.COM SUPPORT@DRIVECAM.COM
DRC201 2006-09-27
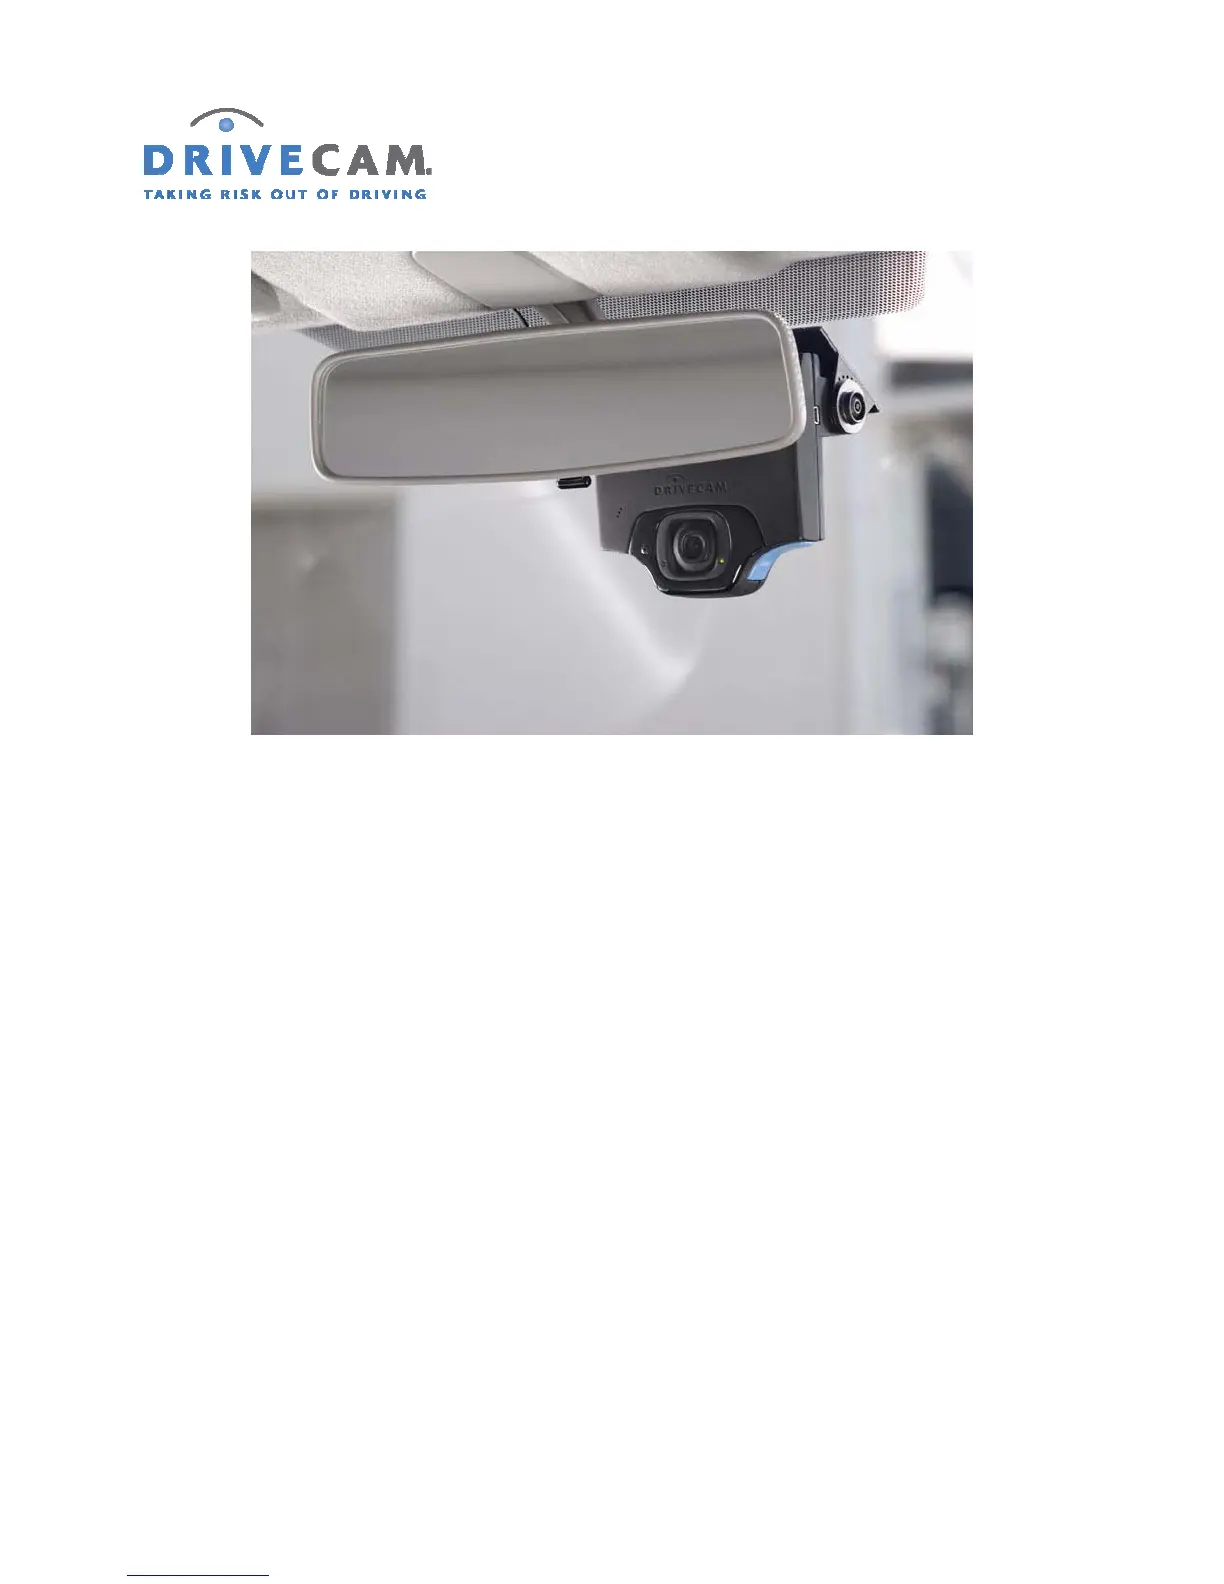
Page 4 Installing and Testing the DriveCam Event Recorder
Step 5 Mark the position of the assembly on the glass with a felt-tip marker.
Step 6 Remove the unit from the mounting bracket.
Step 7 Make sure the guide marks on the glass are level before proceeding.
Step 8 Check the fit of the mounting bracket against the windshield.
If the windshield is curved, you may have to gently shape (bend) the bracket so it will lie flush
against the windshield.
CAUTION: The adhesive is very sticky. Once it is on, it will not easily come off.
Step 9 Remove the backing from the adhesive side of the mounting bracket.
CAUTION: Verify the orientation of the mounting bracket. The bracket has a plastic disk
on each side. The larger disk must be on the left as seen from inside the
vehicle looking out.