Do you have a question about the Dru Maestro 105/2-01 RCH and is the answer not in the manual?
Observe applicable regulations and safety instructions in this manual.
Install the appliance according to national, local, and constructional regulations.
Carefully observe essential safety precautions for installation and operation.
Follow procedures for removing packaging and checking supplied components.
Verify appliance compatibility with gas type and pressure; contact service for conversion.
Ensure proper gas installation with a regulator and accessible gas tap.
Follow guidelines for gas outlet placement and hose routing for safety.
Ensure a properly earthed 230V connection, safely accessible for disconnection.
Identify and understand the functions of the appliance control unit components.
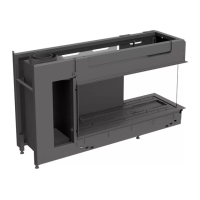
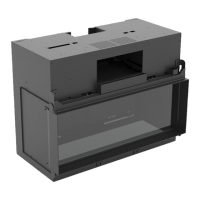
Consider construction dimensions, chimney breast sizes, and heat-resistant materials for placement.
Explore options for platforms, decorative strips, and integrating with side panes.
Connect the appliance to DRU's flue gas discharge and combustion air supply system.
Guidelines for installing roof terminals based on system configuration and bends.
Instructions for fitting wall terminals, including material considerations and slopes.
Connect the appliance to an existing chimney using specific DRU connectors.
Ensure sufficient space and ventilation for the chimney breast for optimal performance.
Install the control hatch to provide access to the control unit and ensure air supply.
Procedures for opening, closing, removing, and reinstalling the appliance glass pane.
Set up the appliance for correct operation with smoke exhaust systems.
Install and position the restrictor slide according to system requirements.
Replace or install the air inlet guide for proper airflow management.
Properly place logs, vermiculite, chips, and glow material for optimal flame appearance.
Procedure for starting the appliance via remote control, app, or home automation.
Details on the potential-free contact for Eco Glow lighting or other uses.
Information on switching or dimming lamps or ventilation systems via the Triac connection.
Overview of operating the appliance using remote control, DRU Fire App, or home automation.
Connect and operate the appliance using a 0-10V direct current home automation system.
Ensure all gas connections are leak-tight before commissioning the appliance.
Verify burner pressure and house installation line-pressure for correct operation.
Steps for initial ignition and checks after installation or adjustments.
Ensure smooth ignition of main and second burners without popping.
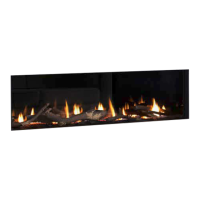
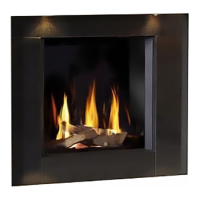
Evaluate the flame picture after the appliance reaches operating temperature.
Information on obtaining replacement parts from service websites, dealers, or importers.
| Brand | Dru |
|---|---|
| Model | Maestro 105/2-01 RCH |
| Category | Indoor Fireplace |
| Language | English |