Revision Date / Version: 2/13/2014 - 7
M2 (PRINTHEAD CABLE REPLACEMENT)
(Always POWER DOWN printer and UNPLUG before doing any repair work)
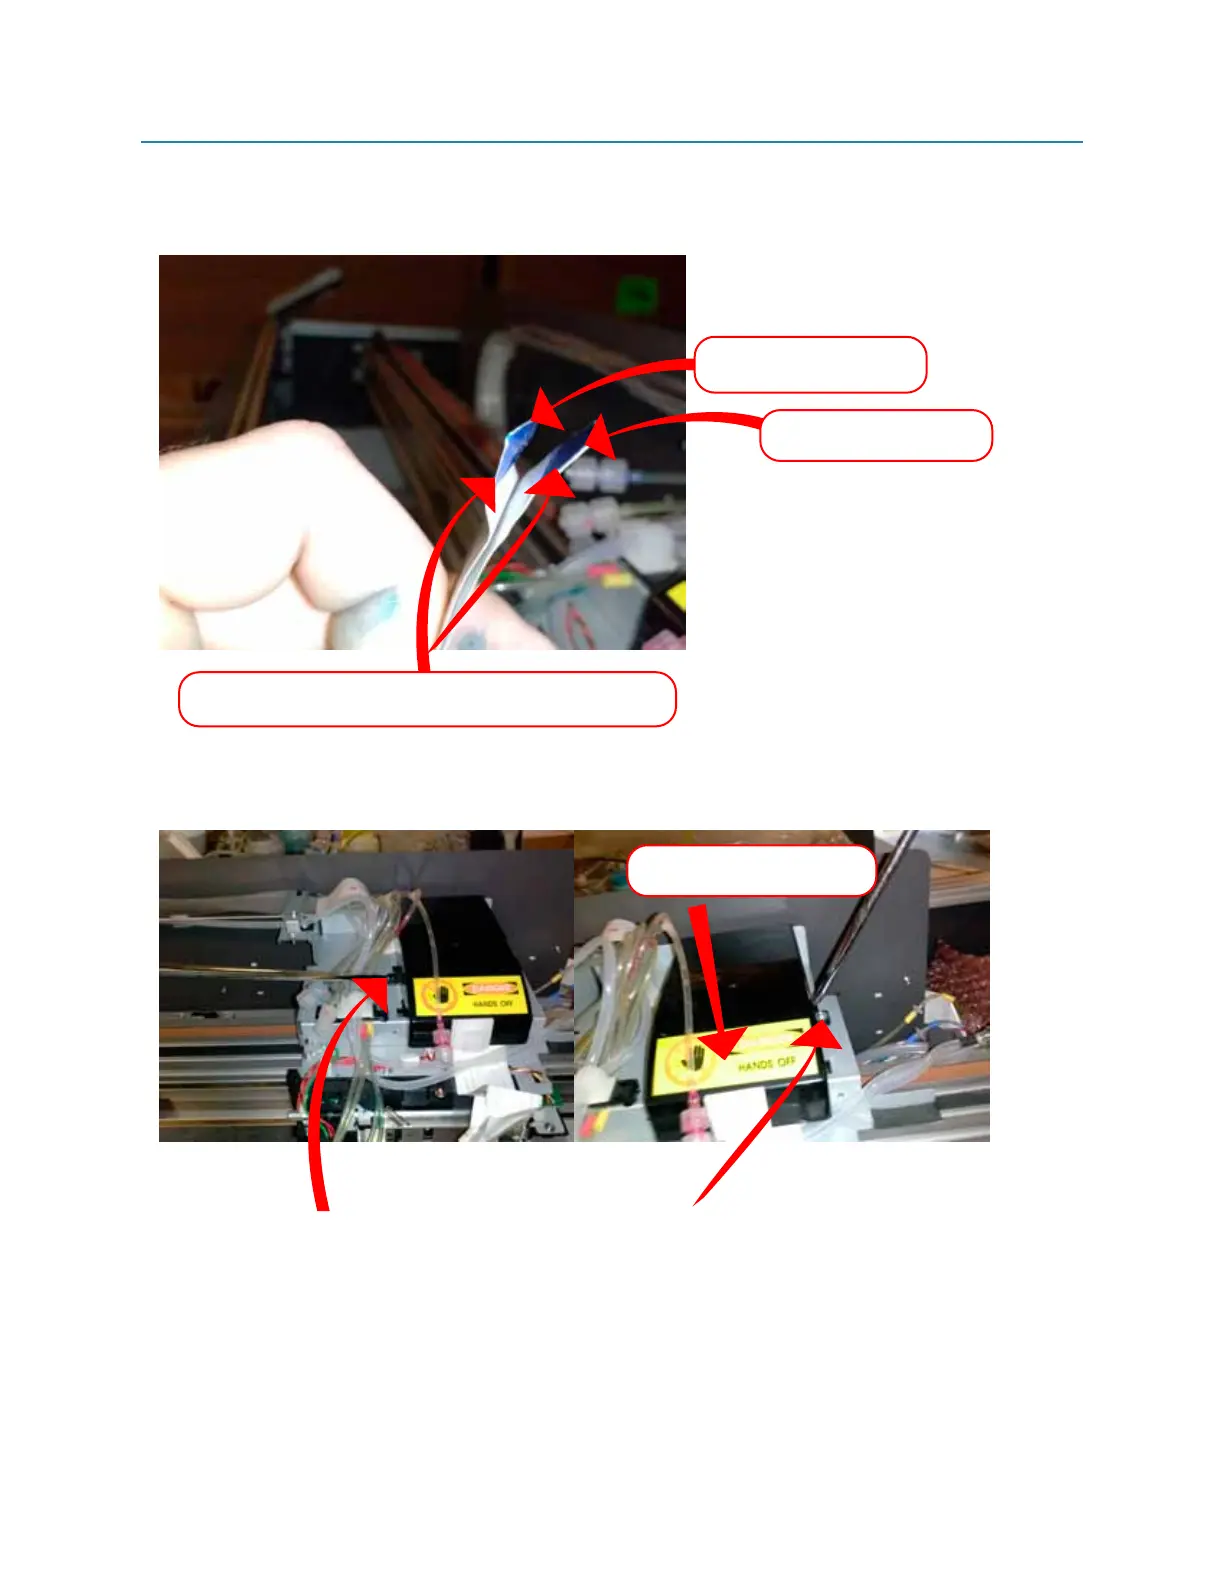
9. Notice which direction the cables are facing in relation to eachother. The “teeth” (electrical
tabs) are facing
AWAY from eachother. (Indicated below 1-H)
10. Remove the black plastic cover (this houses the CR BOARD) (Indicated below 1-I)
Fig 1-H
Fig 1-I
Be sure to replace cables ONE AT A TIME, this insures
the placement and direction for the cables are correct.
UPPER SLOT CABLE
(SLOT 1 on printhead)
LOWER SLOT CABLE
(SLOT 2 on printhead)
Take the two screws holding the cover into place out. Slide the cover forward then remove.
(This will reveal the CR BOARD)
slide the cover forward
then lift to remove