M2 (PRINTHEAD CABLE REPLACEMENT)
(Always POWER DOWN printer and UNPLUG before doing any repair work)
Revision Date / Version: 2/13/2014 - 7
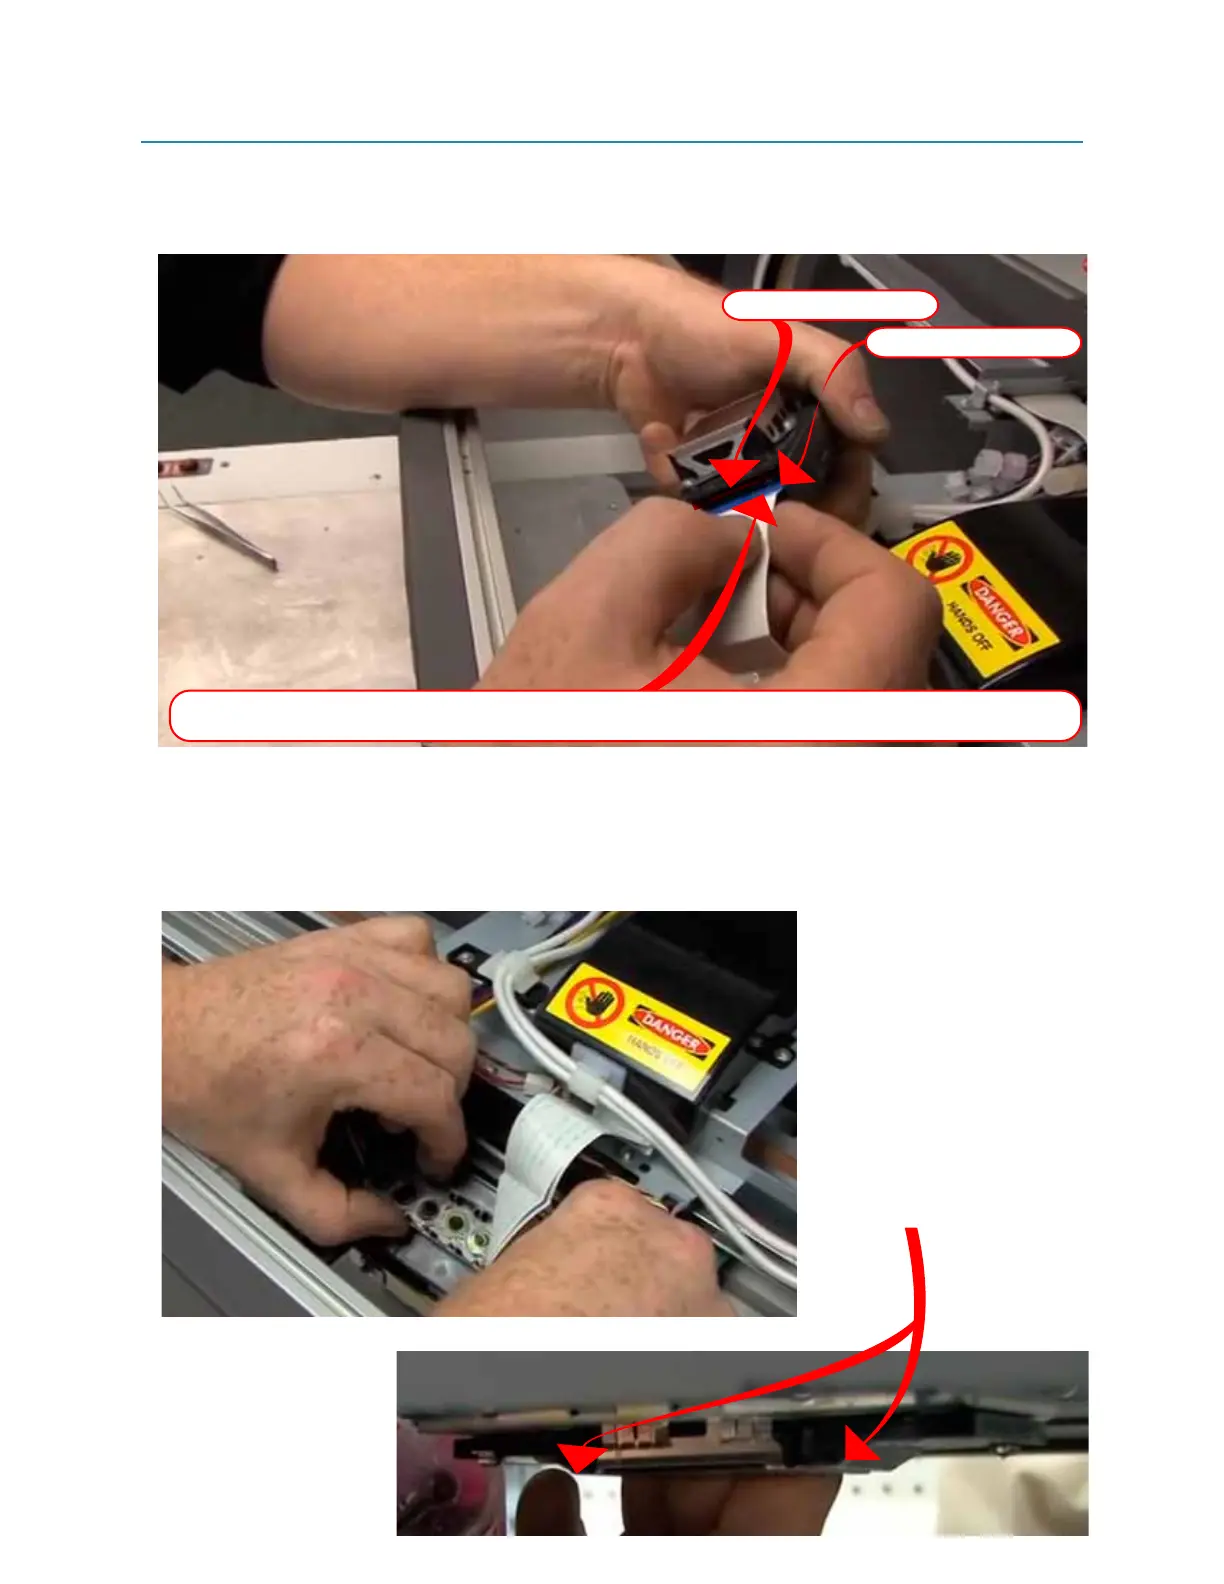
13. Connect the FFC cables to your new printhead. Insure that you are placing the correct cable
into the correct slot on the head. Start with Slot one, and then insert slot two.
(Indicated below 1-M)
14. Carefully re-seat the print head back into carriage. Be careful not to touch or damage the
printhead “FACE”, push back on head and wiggle into position.
(Indicated below 1-N)
Ensure that the head is placed correctly, check that it is FLUSH with black plastic ramps on either
side.
(Indicated below 1-O)
Fig 1-M
Fig 1-N
Fig 1-O
Insert FFC cables into new printhed. Start with the SLOT 1, and insure that the cable teeth are facing the
right way. Line up the cable into the SLOT before you push inn, be careful not to damage cable teeth.
SLOT 2 (lower slot)
SLOT 1 (upper slot)
Ensure that printhead face is flush with
these plastic black “ramps”
 Loading...