Revision Date / Version: 2/13/2014 - 7
(Always POWER DOWN printer and UNPLUG before doing any repair work)
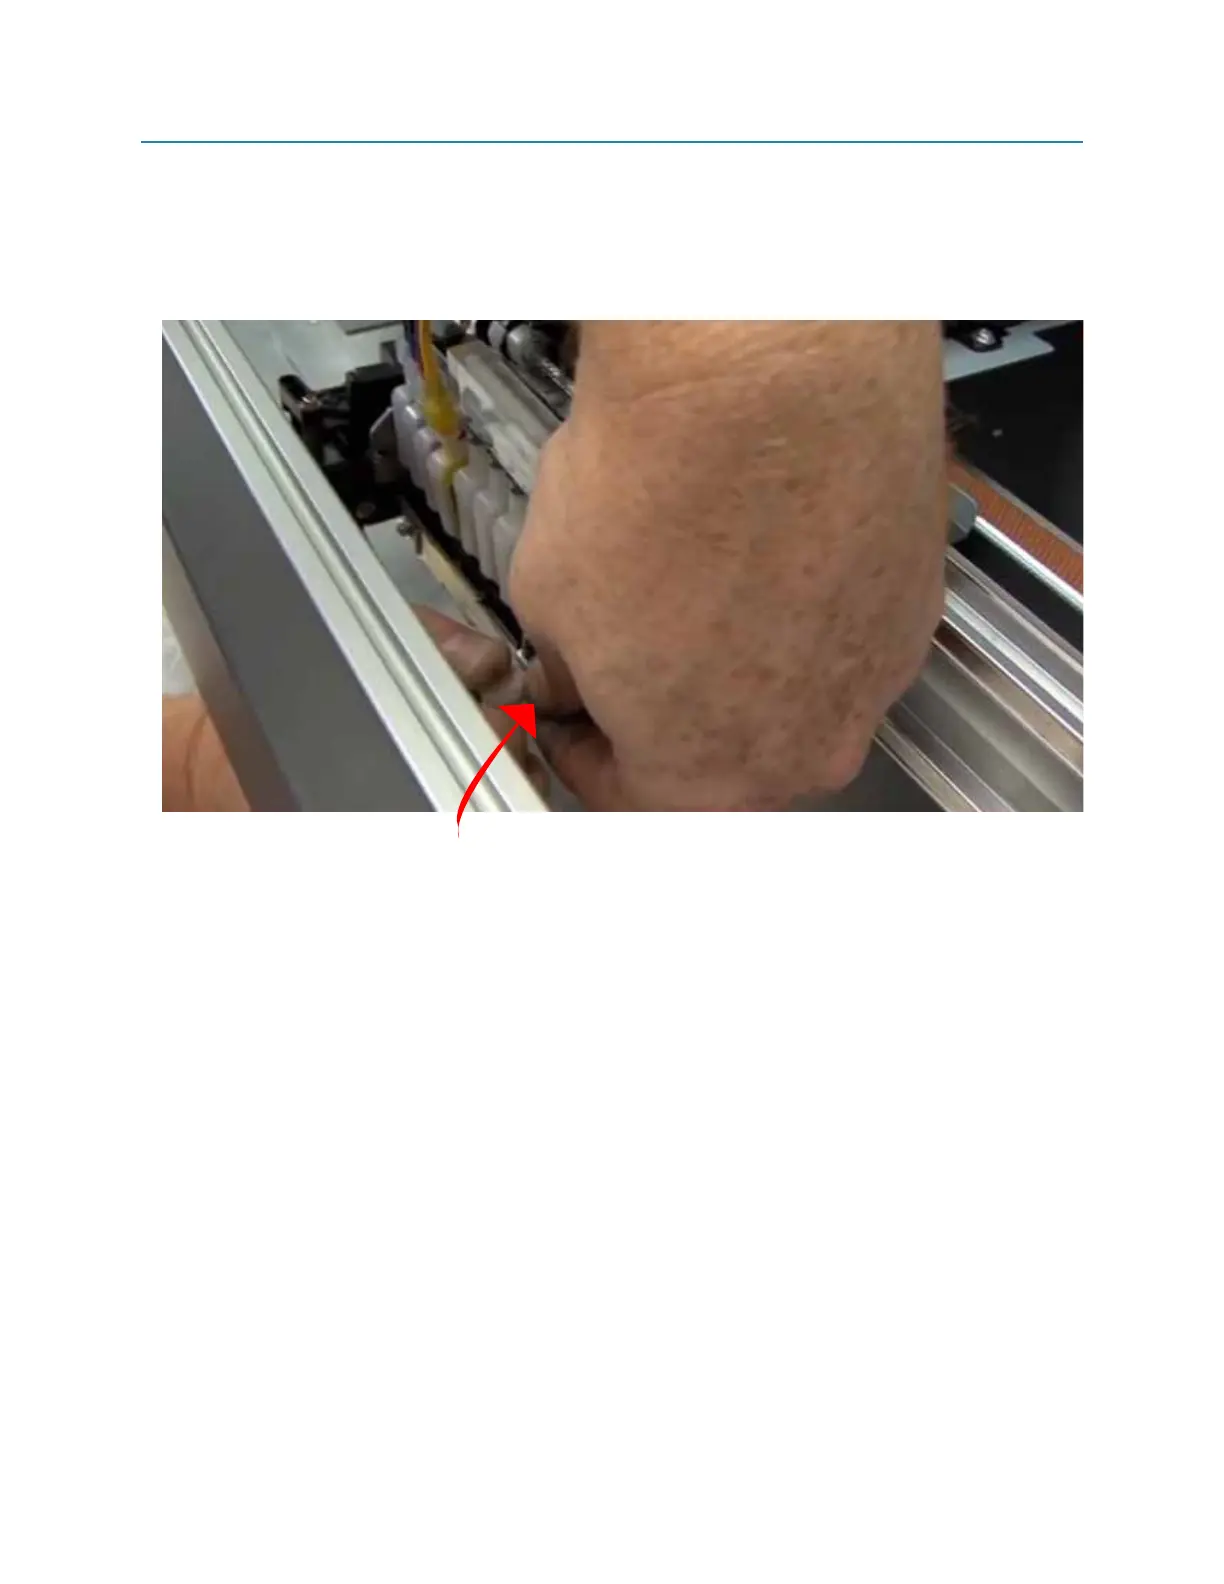
13. Re-Seat the retainer bar. Push down on tabs on reatainer bar as you are putting the
thumbscrews back in. This ensures that printhead stays flush with ramps, and that dampers are
seated correctly.
(Indicated below 1-R)
14. Re-check printhead and insure everything is placed correctly. (Check damper order, and
printhead flush with plastic black ramps)
15. After double checking everything, we can dock the carriage back over the capping station,
restart printer, tighten the CMYK bottle caps.
16. Do at least 2 head cleanings in order to prime the new head and pull out any air that got into
dampers or ink lines. It also helps to wait about 10 minutes after head cleanings, just to allow any
to find it’s way out.
17. Do a nozzle check, the first one usually comes out a little spotty, at this point you can normally
begin printing as usual.
Fig 1-R
M2 (PRINTHEAD CABLE REPLACEMENT)
Push down on retainer bar tab while putting thumbscrew back into place.
 Loading...