07
DANGER
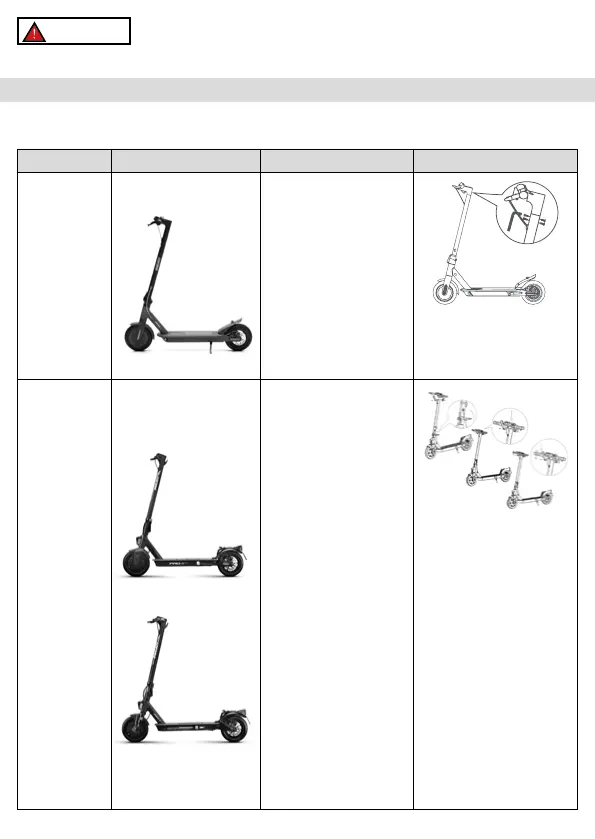
Assembled item, the handlebar must be installed using the special screws contained in the package.
Model Reference picture In the package Handlebar assembly
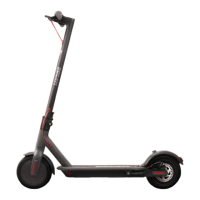
Pro-I Evo Black
edition
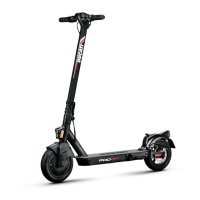
Pro-I Evo White
edition
Accessories:
- Allen wrenches
- 4 screws forhandlebars
- Spare air chamber
- Spare sticker
- Tyre inflation adapter
- Charger
without tightening them, then
use the hex wrench supplied to
tighten them and secure the
handlebars.
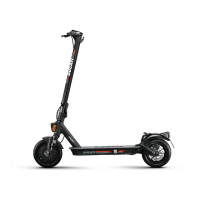
Pro-II Plus
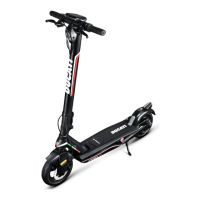
Pro-II Evo
- Allen wrenches
- Components for handlebar
assembly (hook, plastic
- Tyre inflation adapter
- Charger
Steps:
1. Open the kickstand
2. Pick up the handlebar, place
the lever in the closed position
and lower the safety ring.
3. Install the handlebar on
4. Install the hook (see photo)
by approaching it to the rod,
making sure that it is aligned
the screws.
outside into the hole located
under the control panel.
6. Tighten the screws.
7. Align the plastic plate (see
photo) with the second hole/
profile of the control panel,
screw.
2. Package contents and assembly